Assessment
Arduino Open Source Hardware and Basics
Open Source Hardware TinkerForge
Split into four different categories.
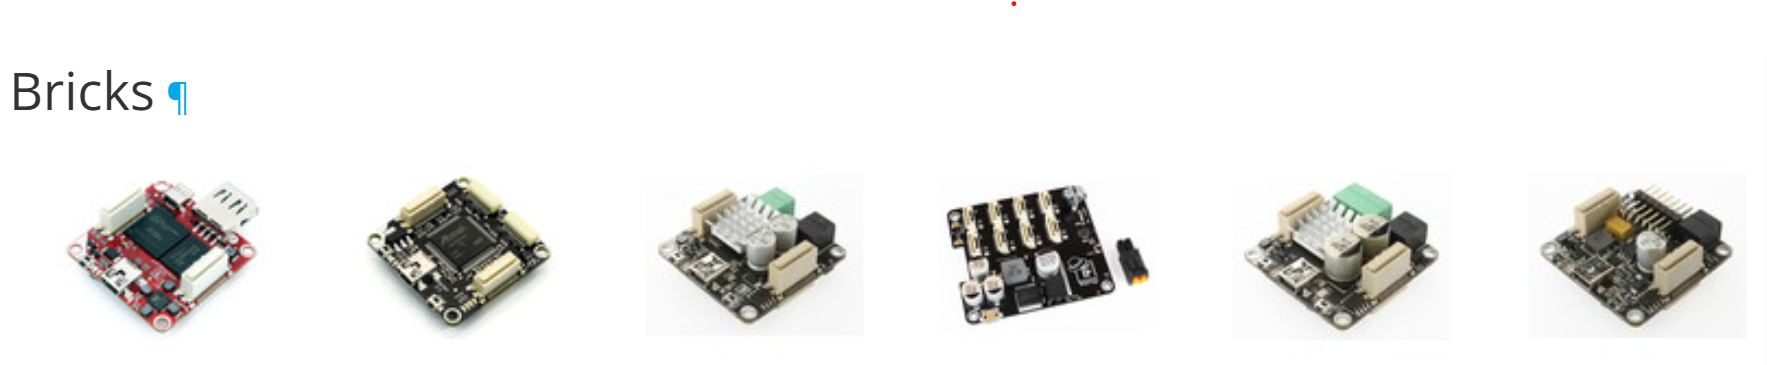
Bricks: Base modules of Tinkerforge with individual functions. Different Bricks can be used in one system. Main purpose is to attach Brickless to system. A Master Brick is special Brick that has USB-C interface (This can be replaced with Ethernet or Master Extension)
Bricklets: Used to extend features of Brick. Such as measuring rotation, voltage, current. As well as switch, digital input/output.

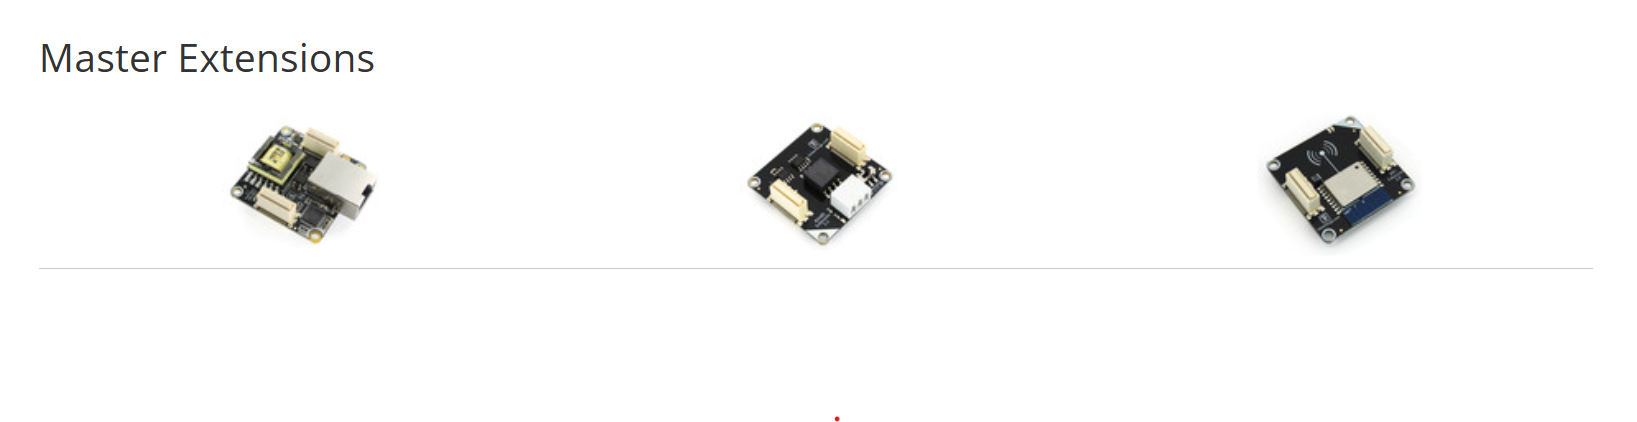
Master Extensions: Extends Master Bricks by other communication interface. These are cable based and wireless based. So instead of USB Bricks and Bricklets can be controlled over Wi-Fi or Ethernet.
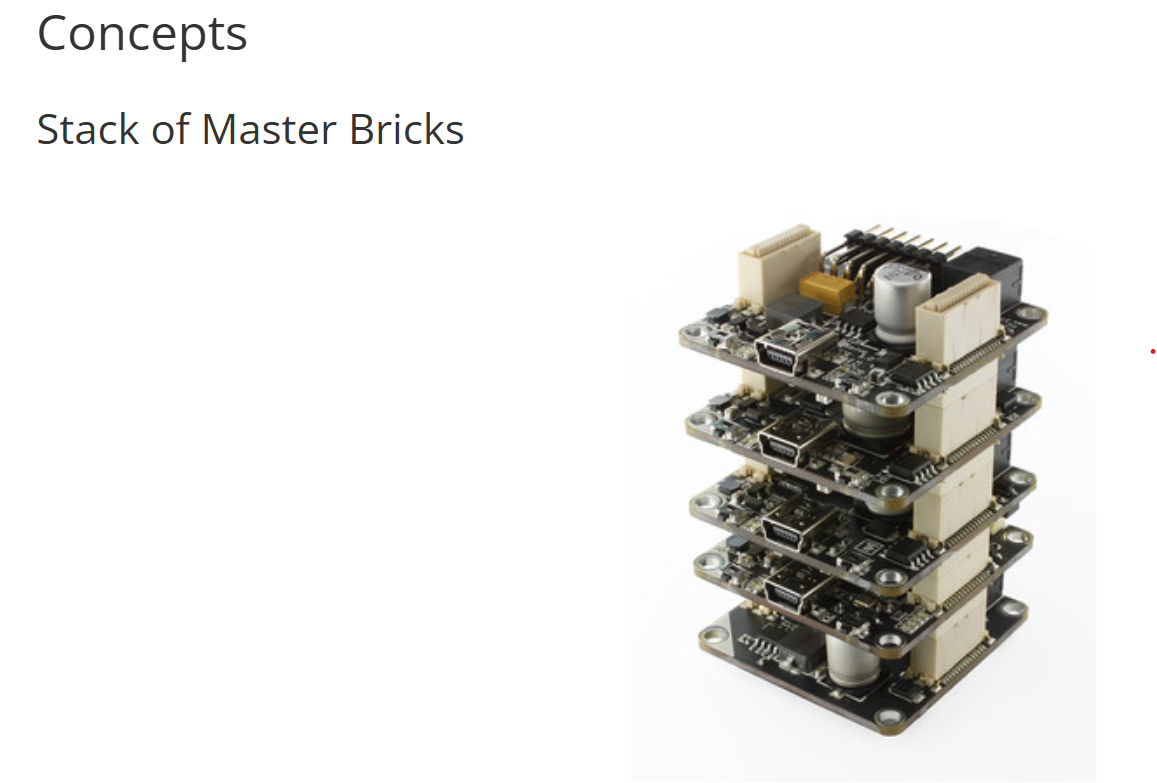
Power Supply: Almost all bricklet are powered by Brick that are connected through cable. If other power source is needed there is a function to stack Master Bricks which the lowermost Master Brick communicates between all boards within stack and behaves as if all bricks are connected seperated with USB to device.

For more information on Tinkerforge: https://www.tinkerforge.com/en/doc/Primer.html#primer-bricks
Arduino IDE
Interface of Arduino IDE: 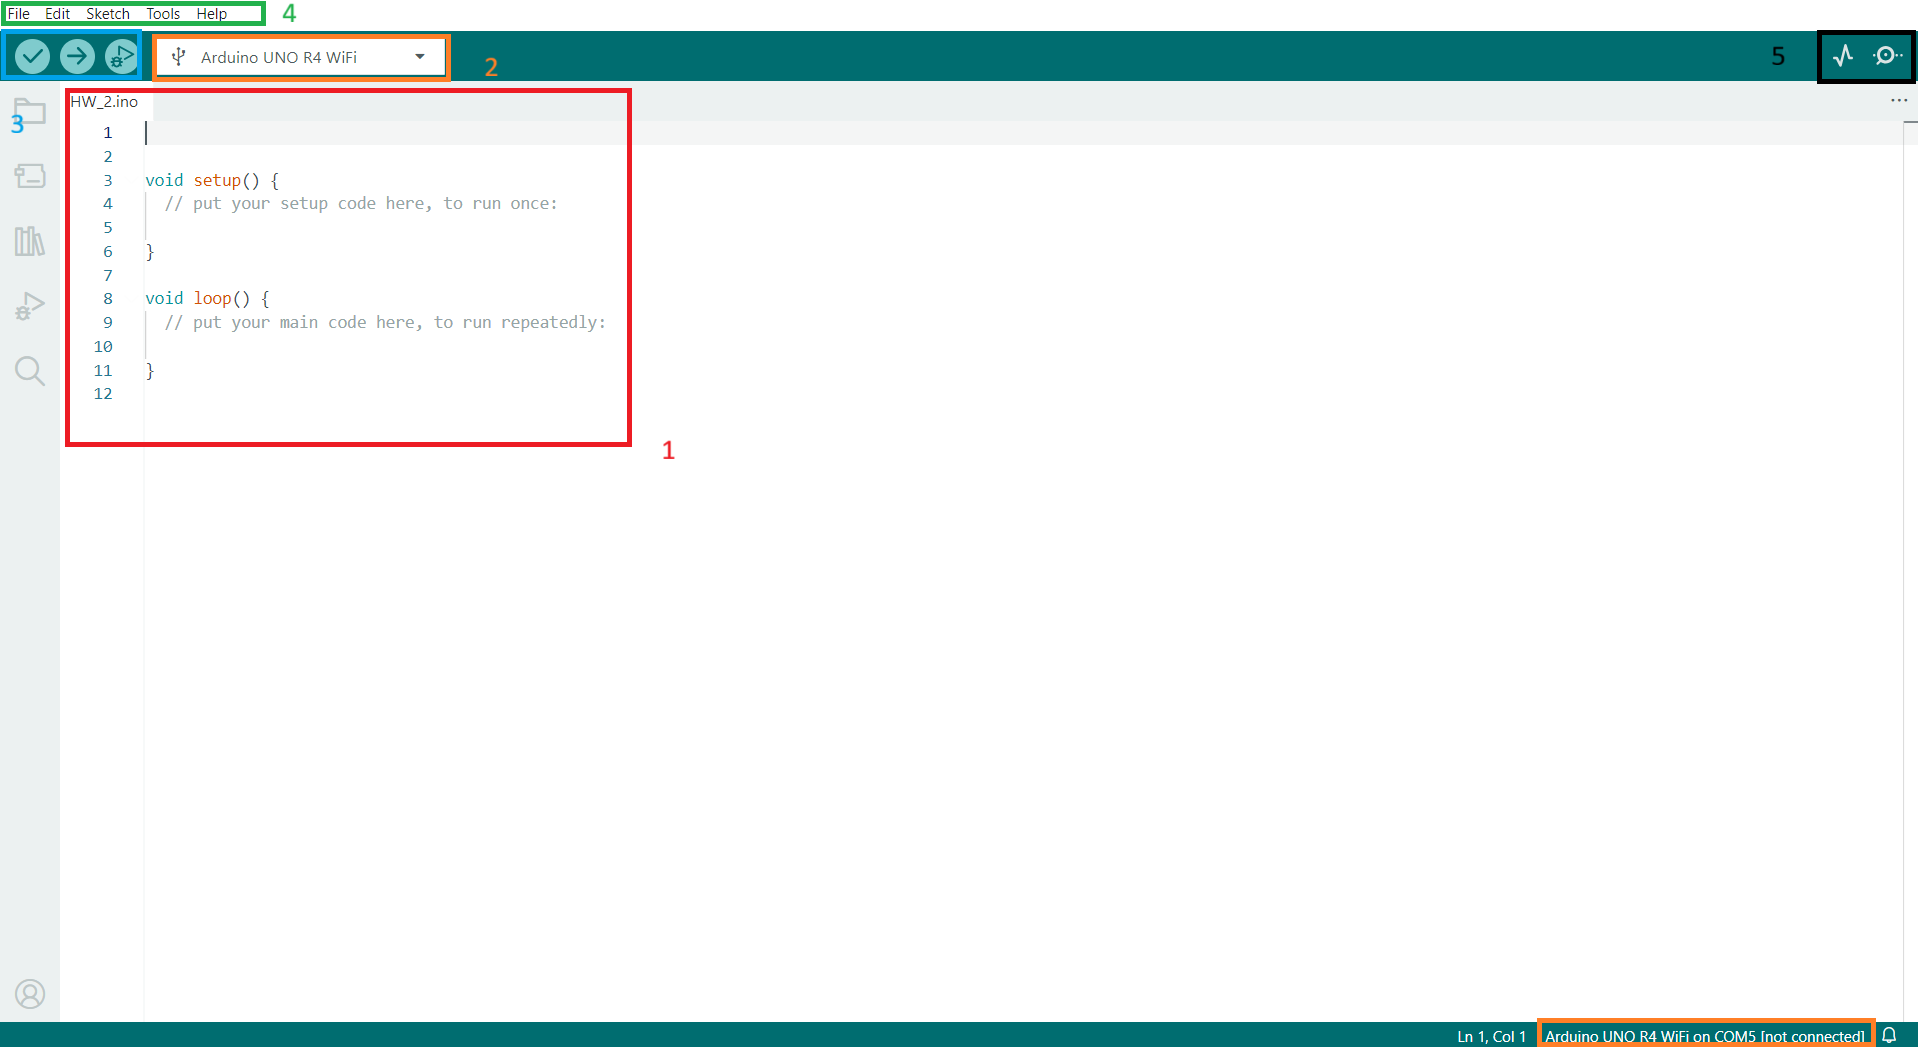
Where Arduino code is written, void setup() is where you input code that runs once and void loop() is where you input code that runs as long as the program is running.
This is where you select what type of Arduino board you are using, usually offered as choice when connected to your PC.
Leftmost icon is to verify, this check if the program has any syntax error and if it can be succesfully runned. Middle icon is to Upload or compile, this sends signal to your Arduino board and runs the code written. Rightmost icon is to start debugging if there are issues in the code.
Header tools that can be used in Arduino.
Serial Plotter and Serial Monitor, useful tools that provides current output of Arduino board such as sensor or motor.
Water Light Program
The theory of this program is to have LED light up one by one presenting a water flow.
To do so we would need to line up LED lights on a breadboard then connect each one of these lights onto a output number on the Arduino board.
Here is an example of this created on TinkerCad.
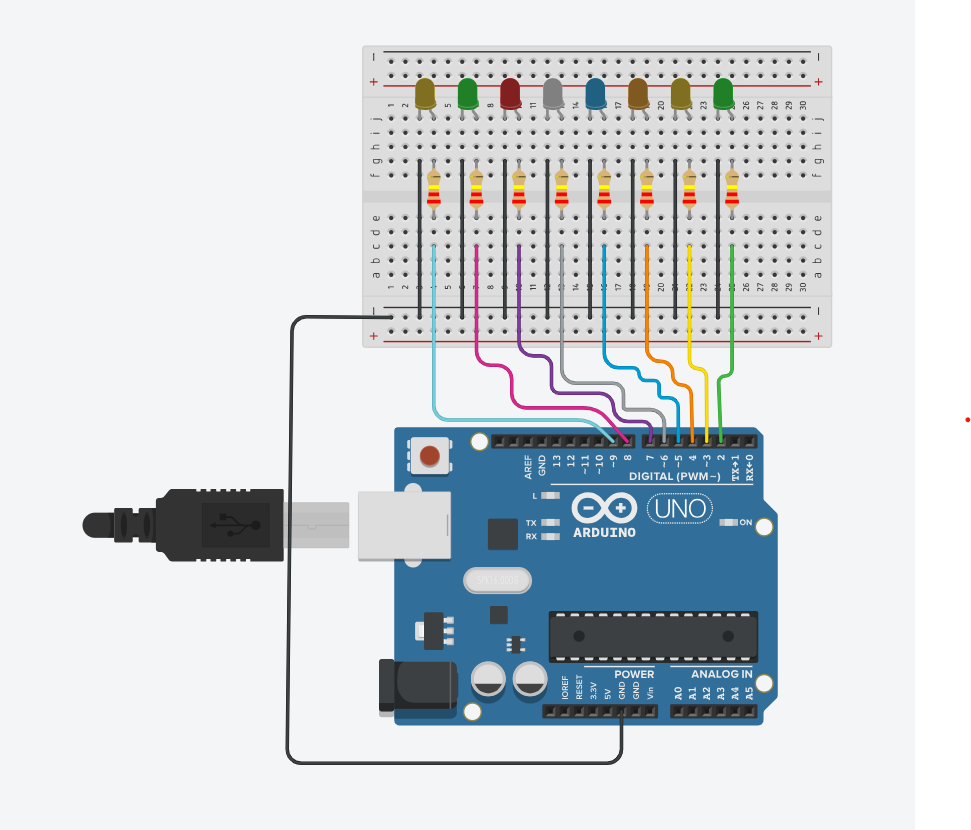
As shown in the picture each light is connected to a resistor of 220 k ohm since LED lights are generally around 3 volt. Code shown below uses a for loop to run through iteration of the LED pins and light them up one by one.
void setup()
{
  //set pins 2 through 9 as output
  for (int i = 2; i <= 9; i++)
  {
    pinMode(i, OUTPUT); //initialize a as an output
  }
}
/****************************************/
void loop()
{
  //iterate over the pins
  //turn the led on from lowest to the highest
  for (int a = 2; a <= 9; a++)
  {
    digitalWrite(a, HIGH); //turn this led on
    delay(100);//wait for 100 ms
  }
  //turn the led off from pin9 to pin2
  for (int a = 9; a >= 2; a--)
  {
    digitalWrite(a, LOW); //turn this led off
    delay(100);//wait for 100 ms
  }
  //turn the led off from pin2 to pin9
  for (int a = 9; a >= 2; a--)
  {
    digitalWrite(a, HIGH); //turn this led on
    delay(100);//wait for 100 ms
  }
  for (int a = 2; a <= 9; a++)
  {
    digitalWrite(a, LOW); //turn this led off
    delay(100);//wait for 100 ms
  }
}
Project in action can be simulated below:
https://www.tinkercad.com/things/aB6tZ3TYdfO/editel?returnTo=%2Fdashboard%2Fdesigns%2Fcircuits
Sandplay Therapy Projects
What is Sandplay Therapy: Sandplay therapy is an approach often with childrens where the usage of sand, miniature figures and tray to help express individual thoughts and feelings. Often used in psychotherapy, counseling and mental health settings.
Benefits: Study has shown that sandplay therapy reduce trauma related symptoms especially for childrens who experienced abuse, neglect or distaters. In 2018 a study published in Journal of Trauma & Dissociation found children participating in sandplay therapy show a decrease in PTSD symptoms.
Advantage: Generally the purpose of doing so is to provide a safe psychological space for them. This way it is often possible to indirectly explore traumatic past and help them express underlying emotions. Since it is very possible to experience re-traumatize when relying on talking about past experience. In an article under Blue Lavender clinical service quote
"For many traumatised clients reason and executive function may not be readily available, and in general, trauma memories are stored implicitly as sensory-based experiences. Therefore, therapists cannot depend on clients’ use of words. Therefore, the use of non-verbal therapeutic activities is recommended to allow contact with, and expression of, implicit memories (Steele & Malchiodi, 2012)."
More information on article above here: https://www.bluelavenderclinical.com/sandplay-therapy-a-safe-creative-space-for-trauma-recovery
Arduino Input Output Project
For Arduino input output following variables are required:
Output (LED, Motor, Screen)
Input (Switch, Sensor)
For screen, the 4 digit 7 segement required too many wires to fit together with other variables I wrote code that is implemented for LCD screen but due to the fact that the physical hardware is currently not available currently codes for that is marked as comments.
Here is the situation when the switch is turned OFF. Nothing works as the switch acts as a power source for all objects connected to the Arduino. 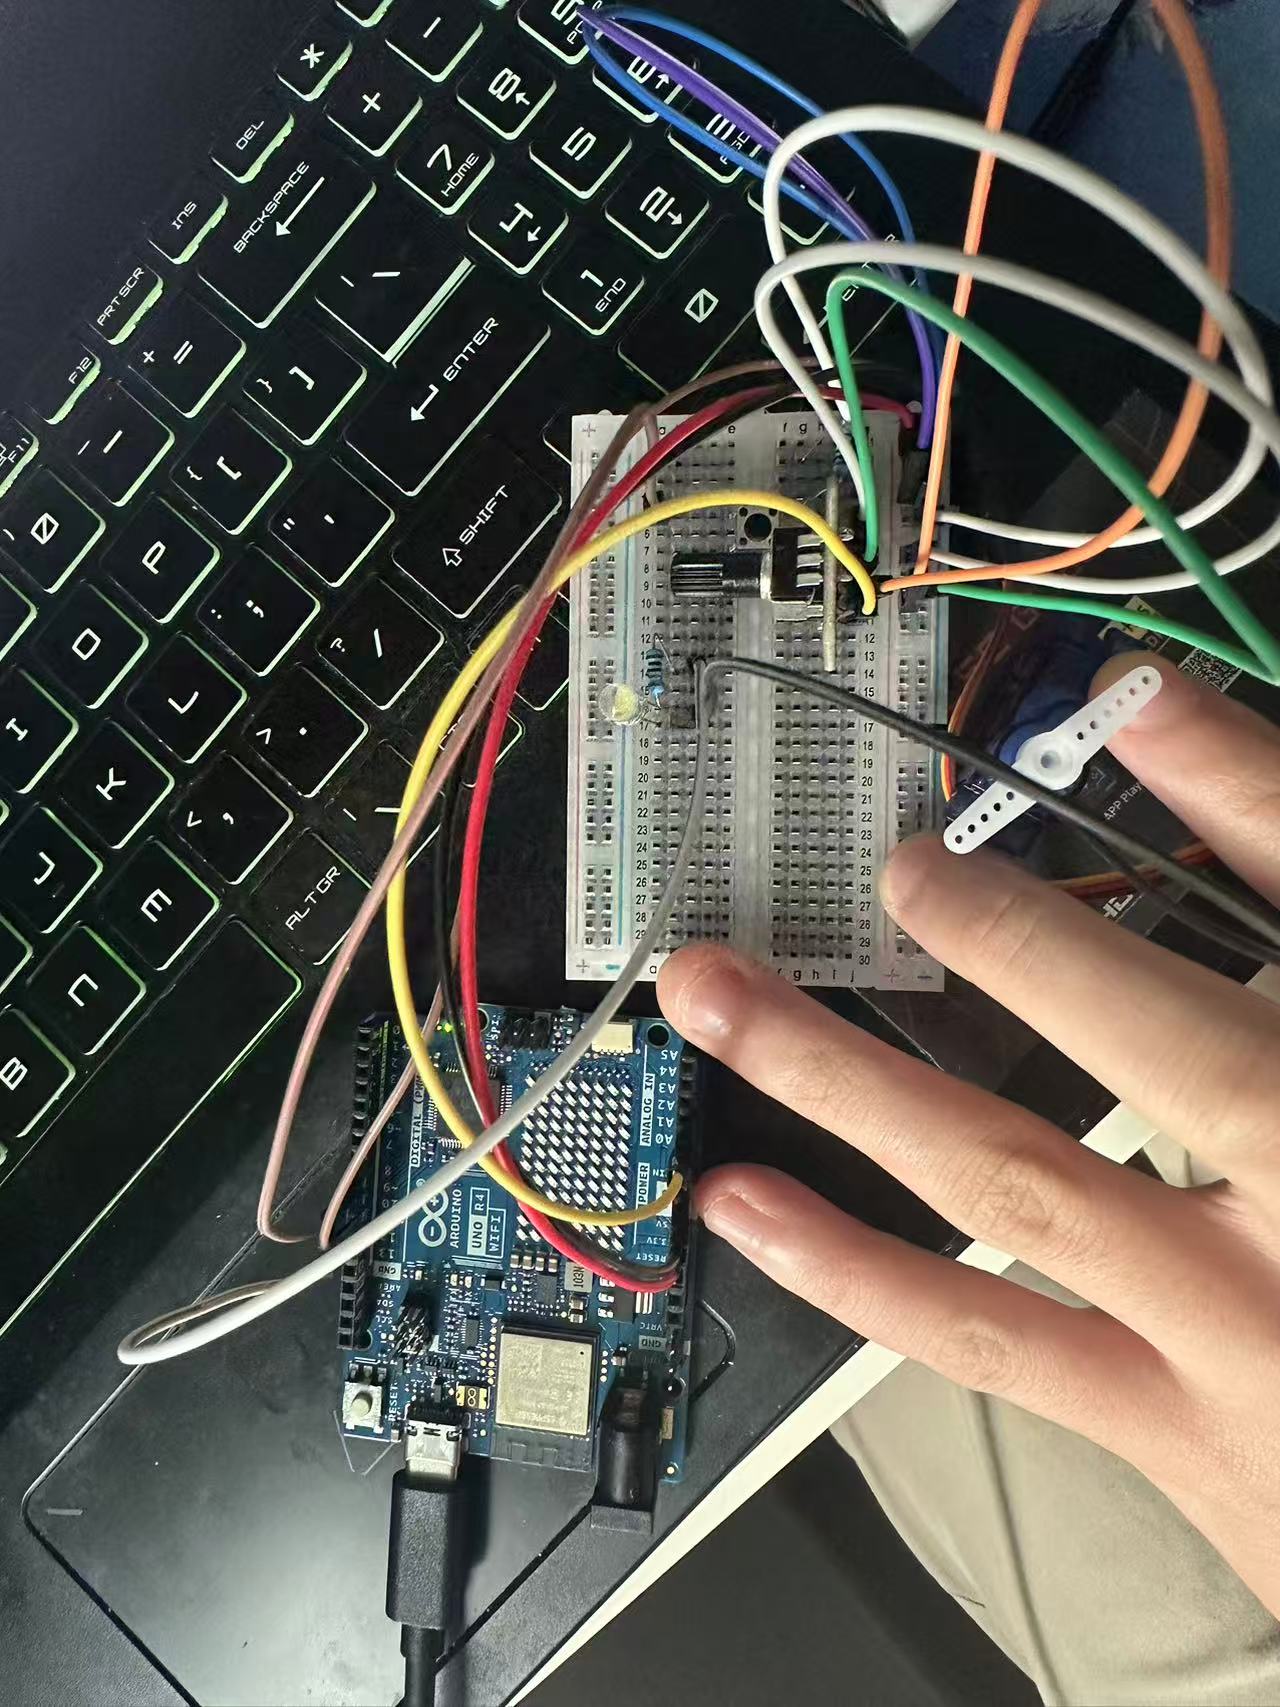
Next is the situation when the switch is turned ON. In this case, the LED light will be bright, the sensor can be turned that also moves the motor and the imaginary screen if there should print Hello World. 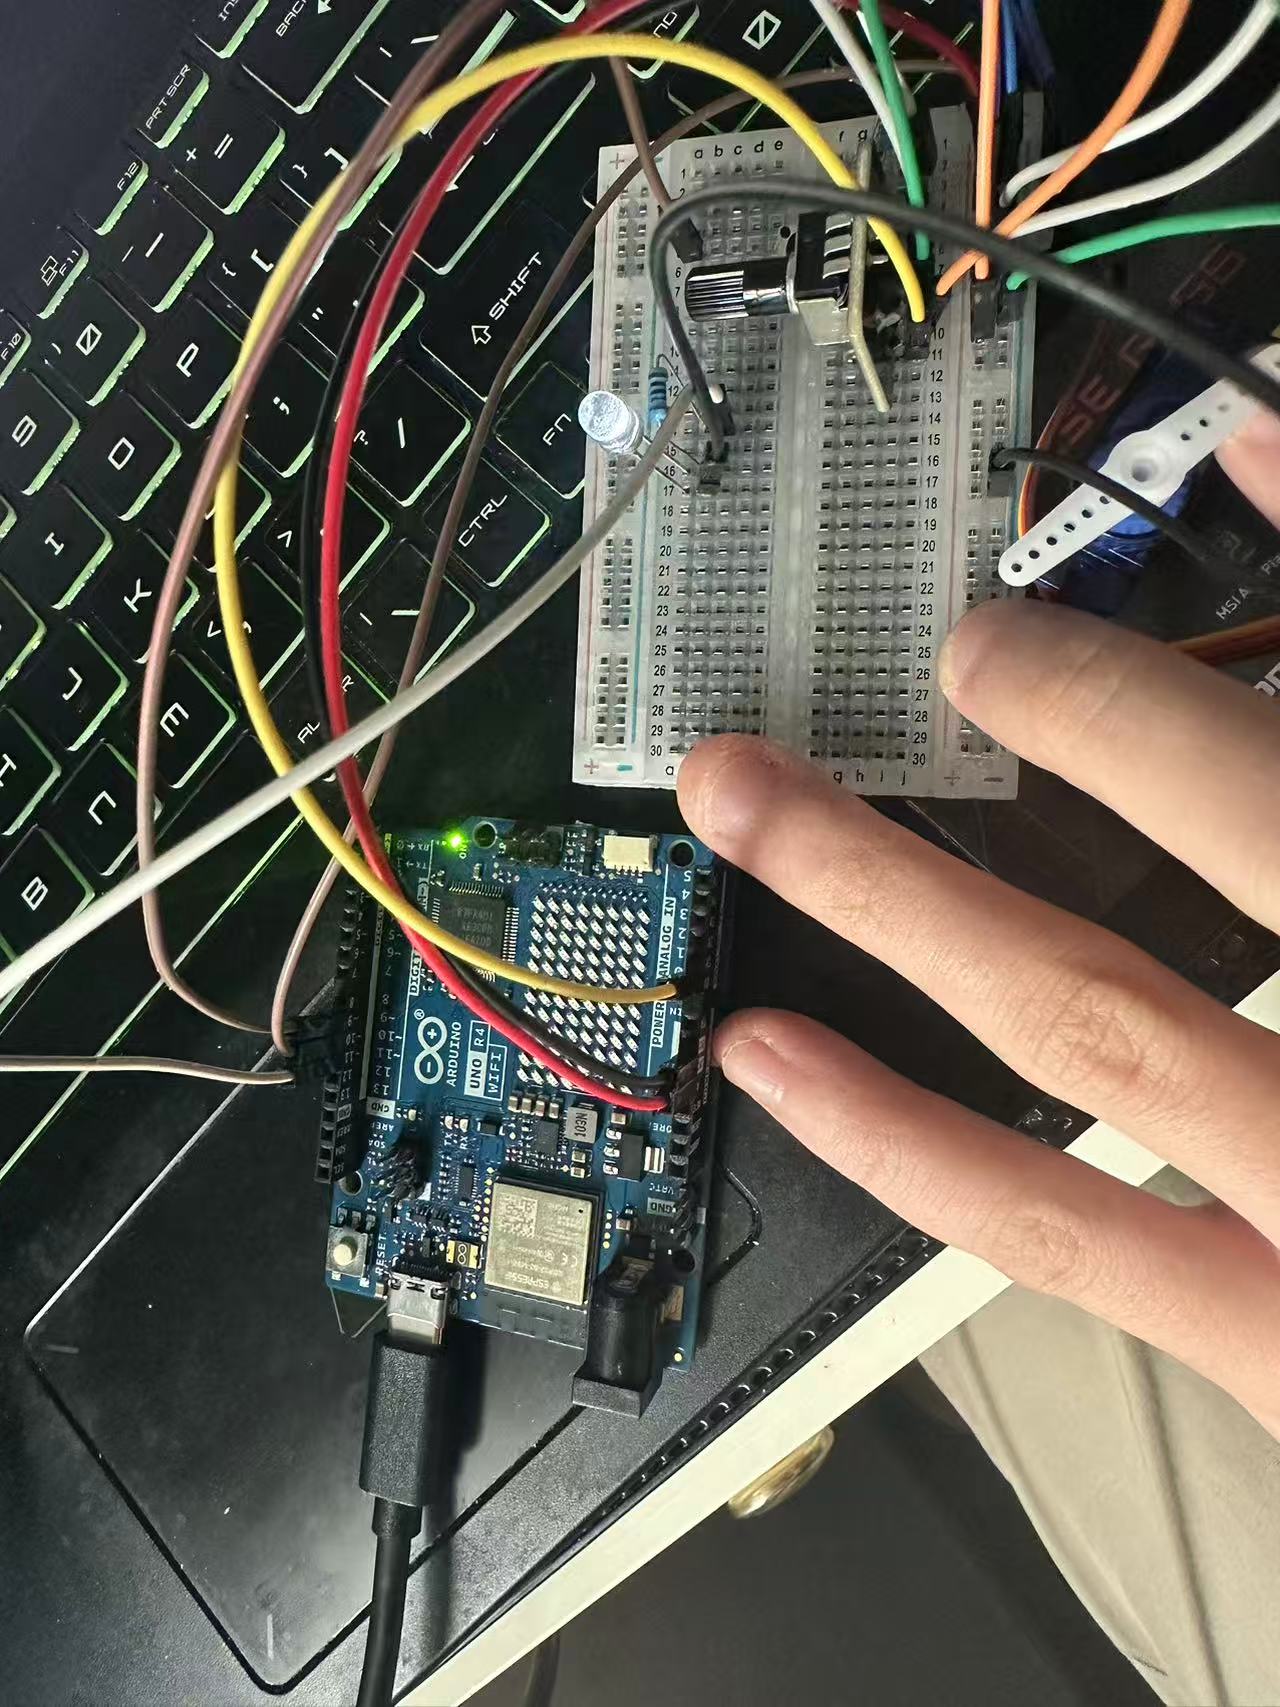
My code for the Arduino project will be shown below with commentation:
//#include <LiquidCrystal.h>

#include <Servo.h>
#define LED 11
#define PIN_SERVO 10
#define SWITCH 9

//LiquidCrystal lcd(7, 6, 5, 4, 3, 2);

int buttonState = 0;

Servo myservo;

void setup() {
  // put your setup code here, to run once:
  pinMode(LED, OUTPUT); //LED setup
  pinMode(SWITCH, INPUT); //Button switch setup
  Serial.begin(115200); //serial monitor channel 115200
  myservo.attach(PIN_SERVO); //Servor motor setup
  //lcd.begin(7, 2);  //LCD screen setup
}

void loop() {
  buttonState = digitalRead(SWITCH); //Read the state of the button when loop start

  // put your main code here, to run repeatedly:
  if(buttonState == HIGH){ //If check to scan if button is on or not
    int sensorValue = analogRead(A0);
    int angle = map(sensorValue,0 ,1023 , 0, 180); //Map the sensor value and convert from 0-1023 to 0-180
    digitalWrite(LED, HIGH); //Turns LED on if switch is on.
    myservo.write(angle); //Motor will rotate according to sensor if switch is on.
    //lcd.print("Hello");
    //lcd.setCursor(0,1);
    //lcd.print("World"); //Prints Hello in first row and World in second.
  }
  else{
    digitalWrite(LED, LOW); //Turns LED off when switch is turned off.
  }
}