week6
introduction
Today we're going to learn the basics of 3D scanning and printing
what is 3D printing
3D printing, or additive manufacturing, is the construction of a three-dimensional object from a CAD model or a digital 3D model. It can be done in a variety of processes in which material is deposited, joined or solidified under computer control, with the material being added together (such as plastics, liquids or powder grains being fused), typically layer by layer. (credit to wikipedia)
what is 3D scanning
3D scanning is the process of analyzing a real-world object or environment to collect three dimensional data of its shape and possibly its appearance (e.g. color). The collected data can then be used to construct digital 3D models.
A 3D scanner can be based on many different technologies, each with its own limitations, advantages and costs. Many limitations in the kind of objects that can be digitised are still present. For example, optical technology may encounter many difficulties with dark, shiny, reflective or transparent objects. For example, industrial computed tomography scanning, structured-light 3D scanners, LiDAR and Time Of Flight 3D Scanners can be used to construct digital 3D models, without destructive testing.
Collected 3D data is useful for a wide variety of applications. These devices are used extensively by the entertainment industry in the production of movies and video games, including virtual reality. Other common applications of this technology include augmented reality, motion capture, gesture recognition, robotic mapping, industrial design, orthotics and prosthetics, reverse engineering and prototyping, quality control/inspection and the digitization of cultural artifacts. (credit to wikipedia)
tie them together
3D scanning can be used as a 3D model input of 3D printing, which would be briefly mentioned today
practice
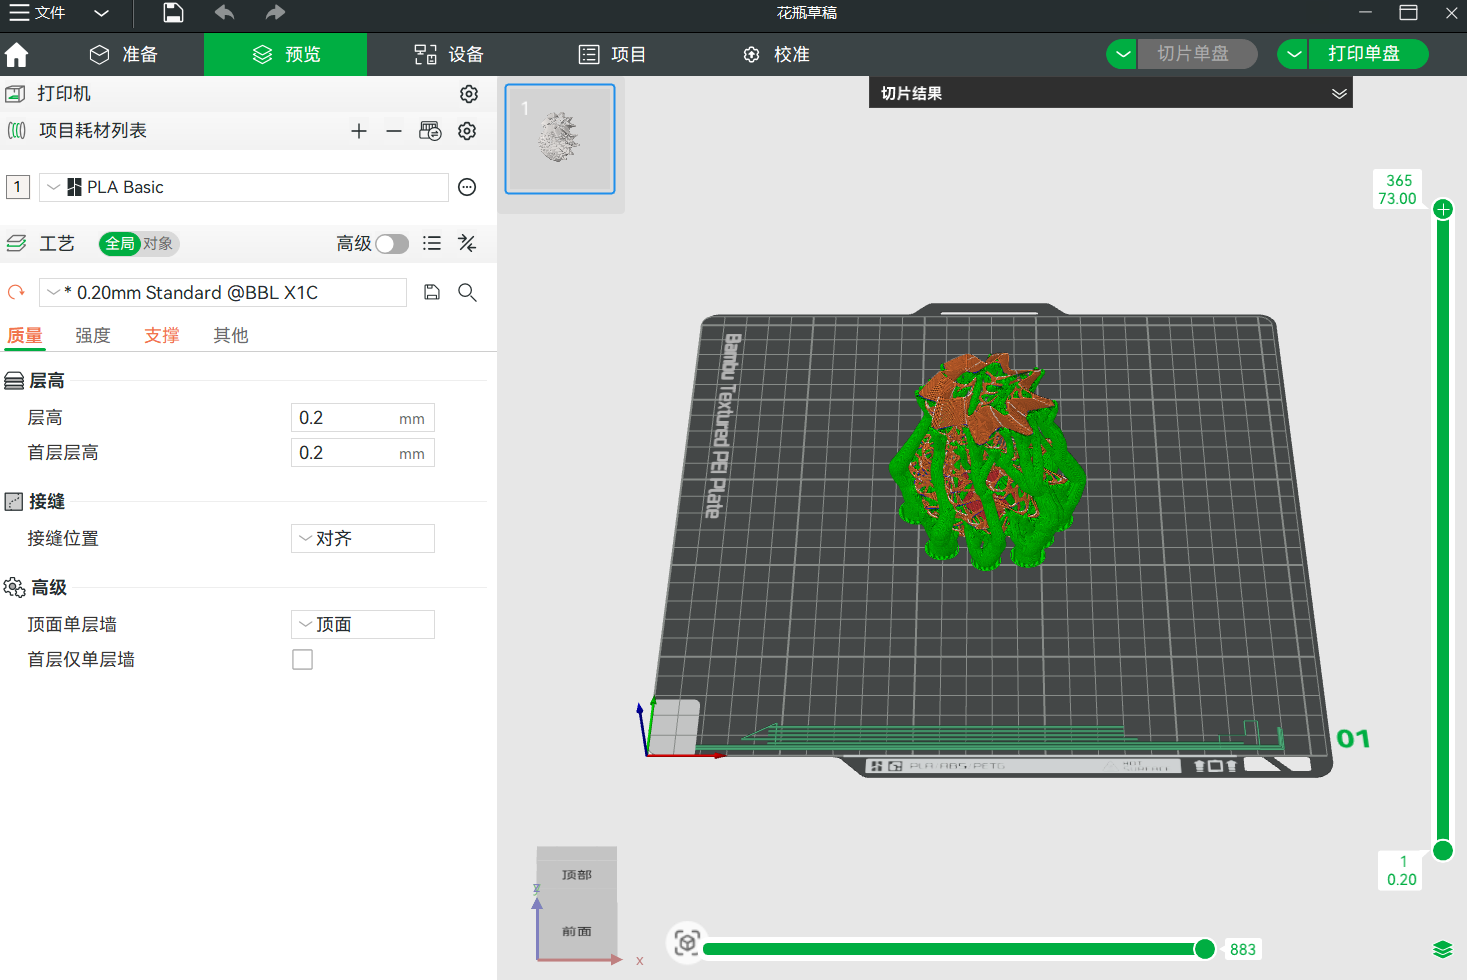
First we will introduce 3D printing and use a Vase as an example: Starting from modelling a vase on a website 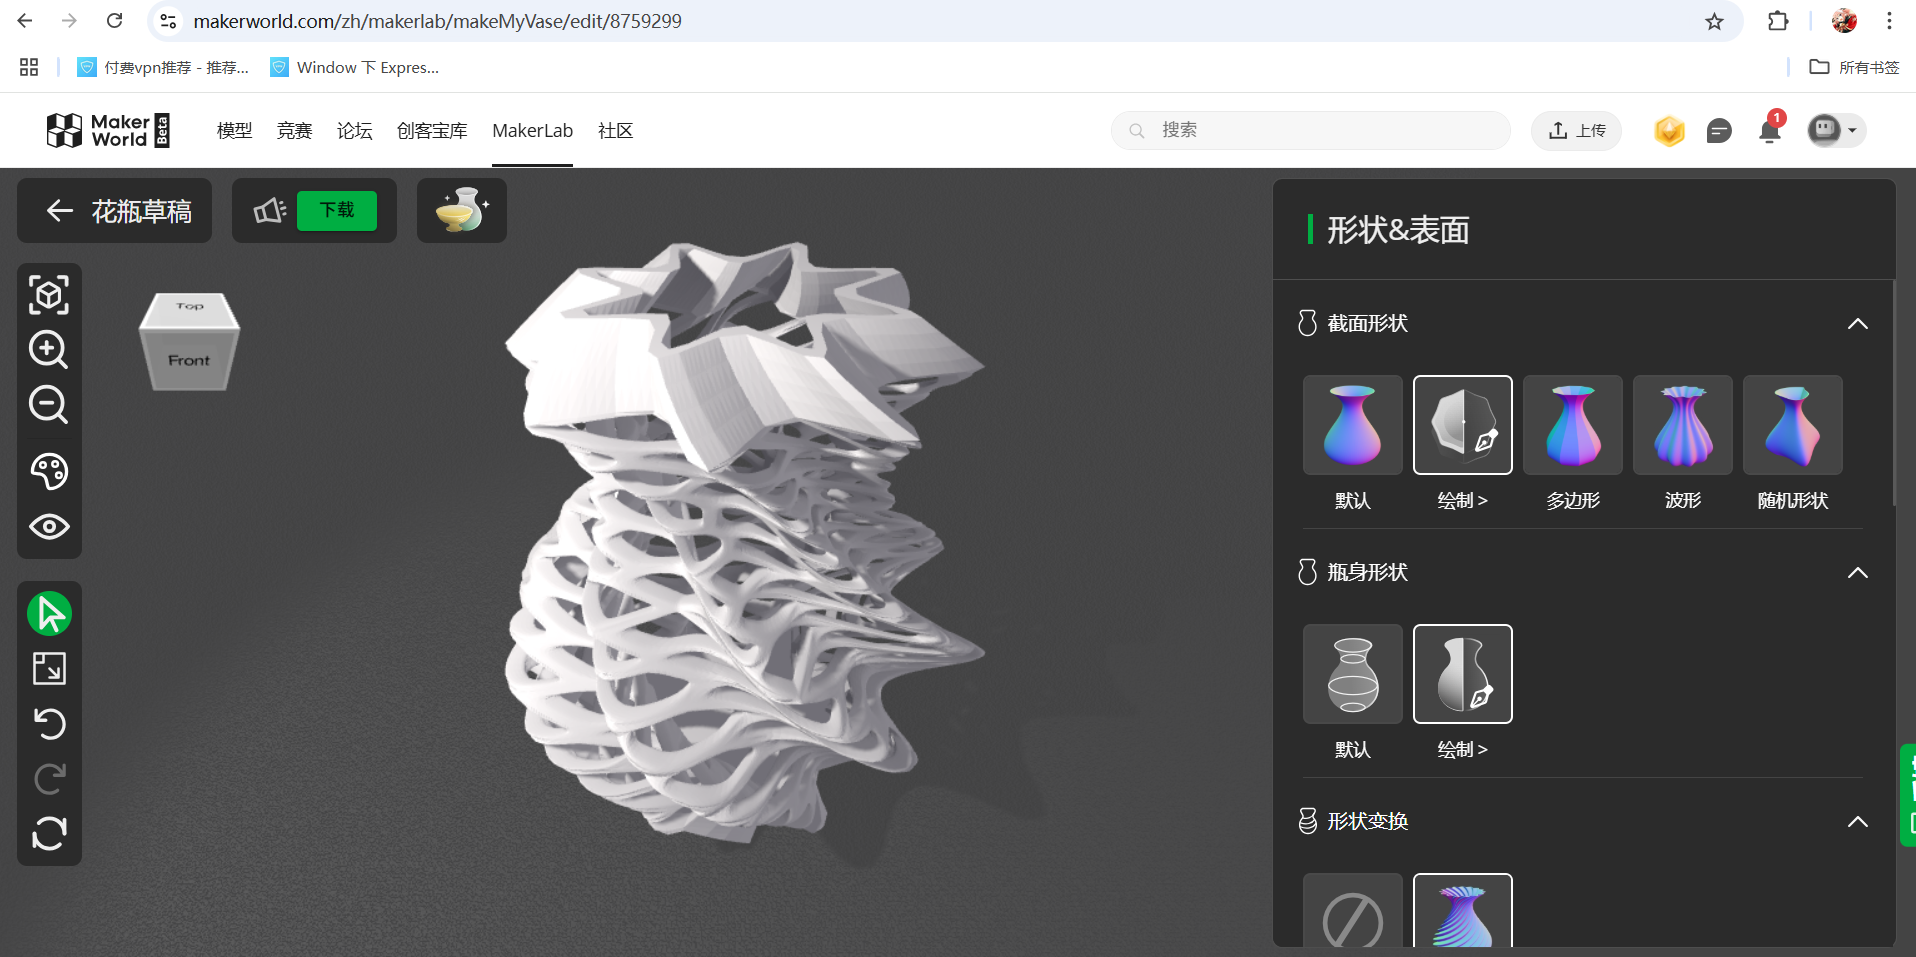 link after finishing, download and transfer into Bambustudio software
 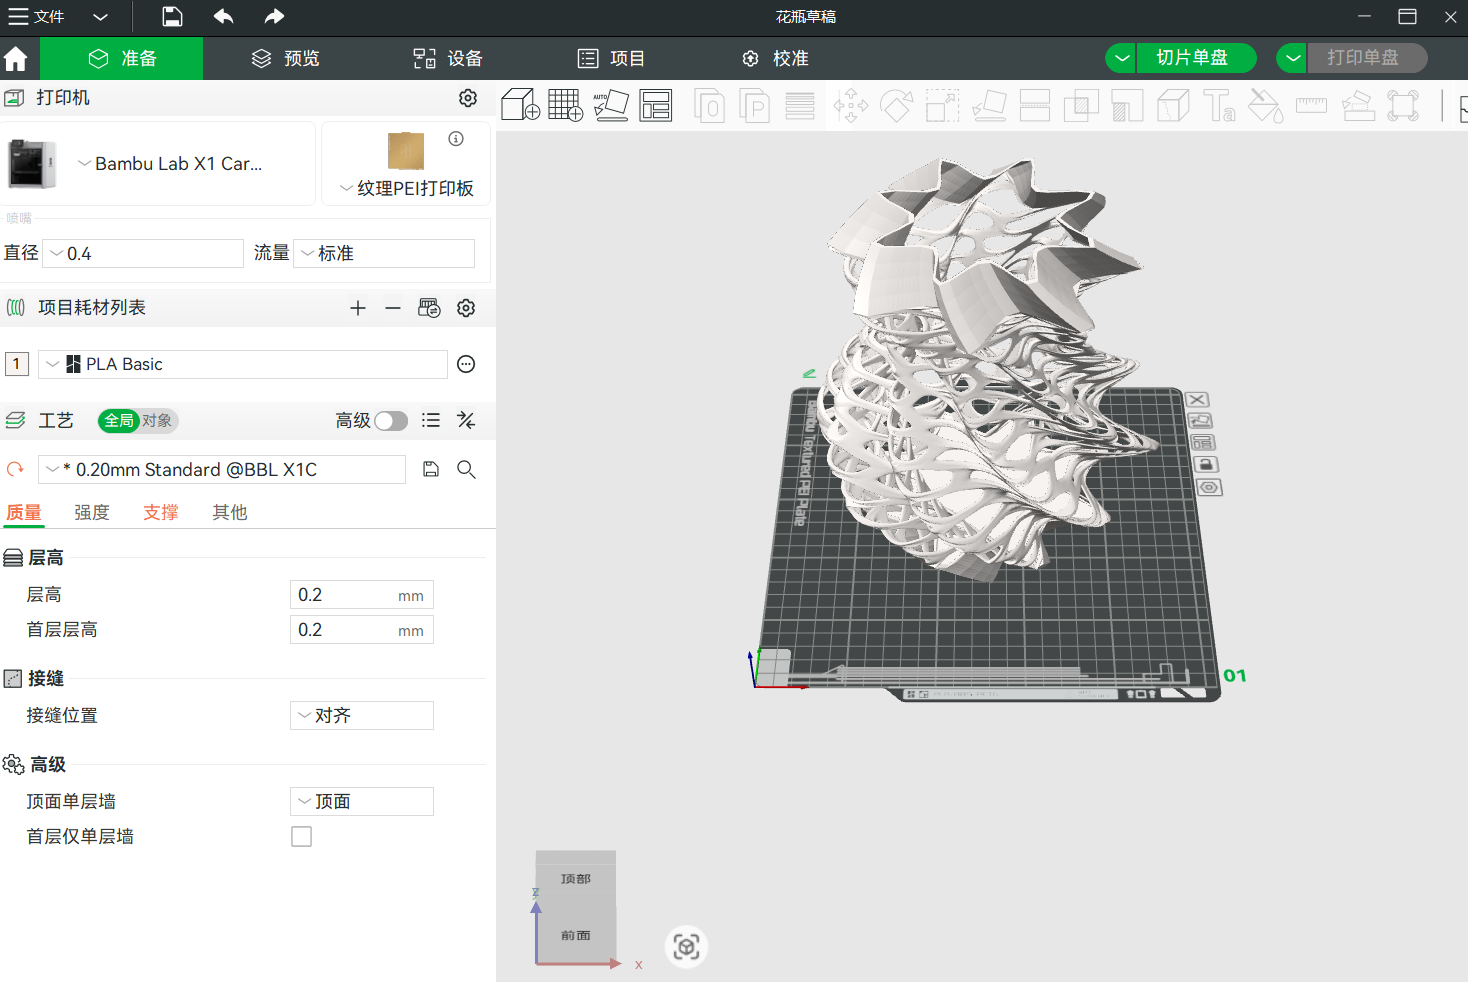 adjust the size, this test run needs to be quick, a model that is too large would take more time and cannot be concluded in today's practice
 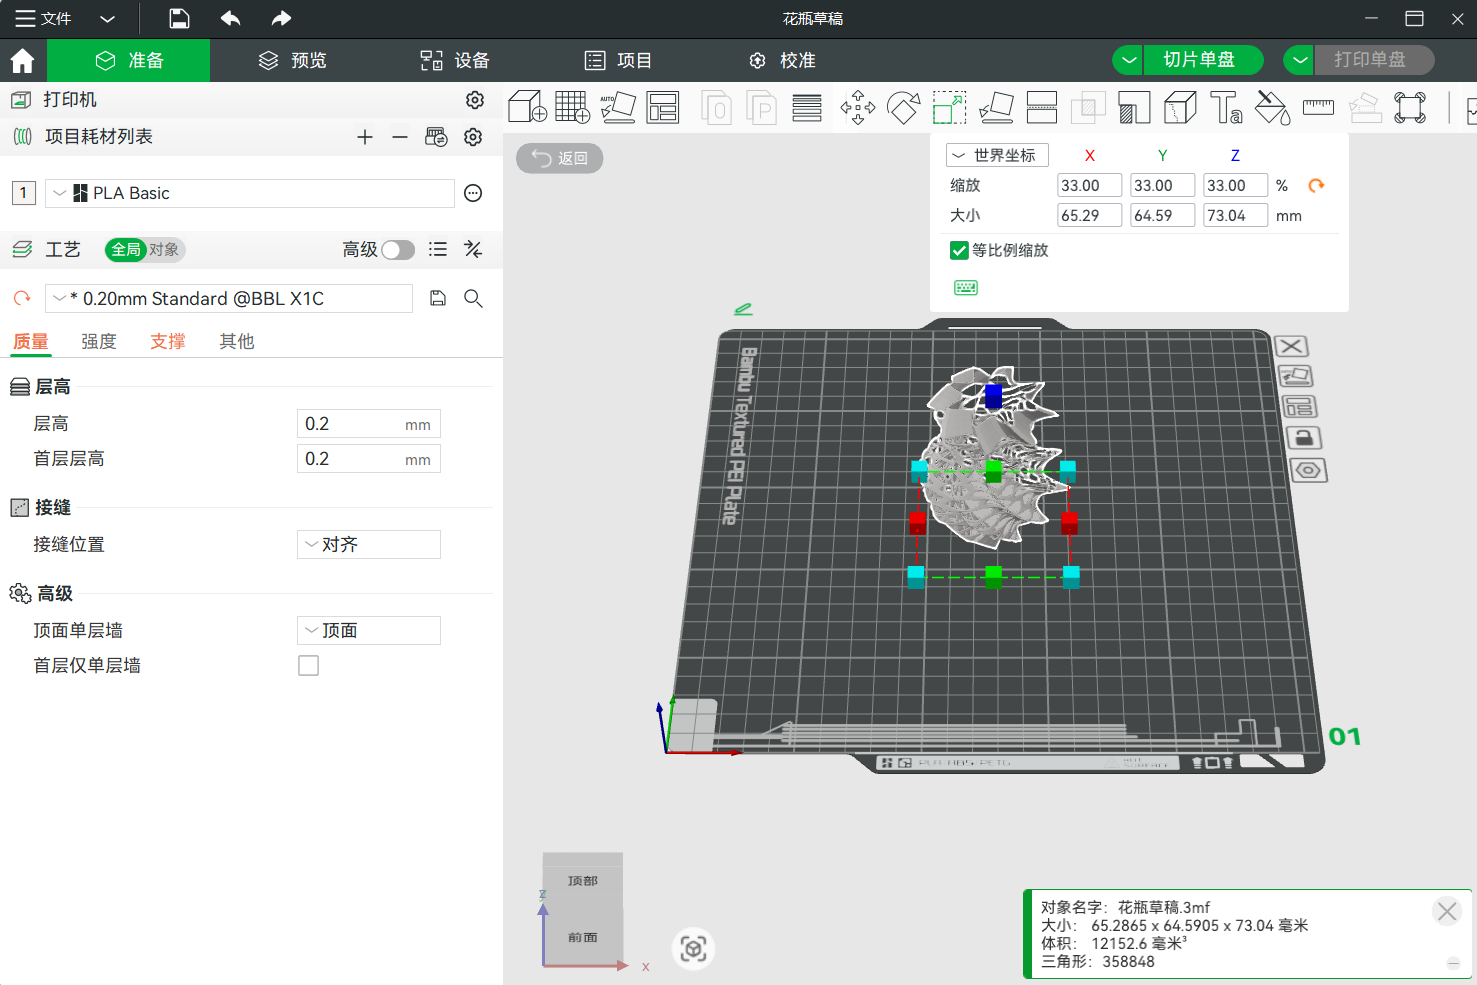 preview the printing process
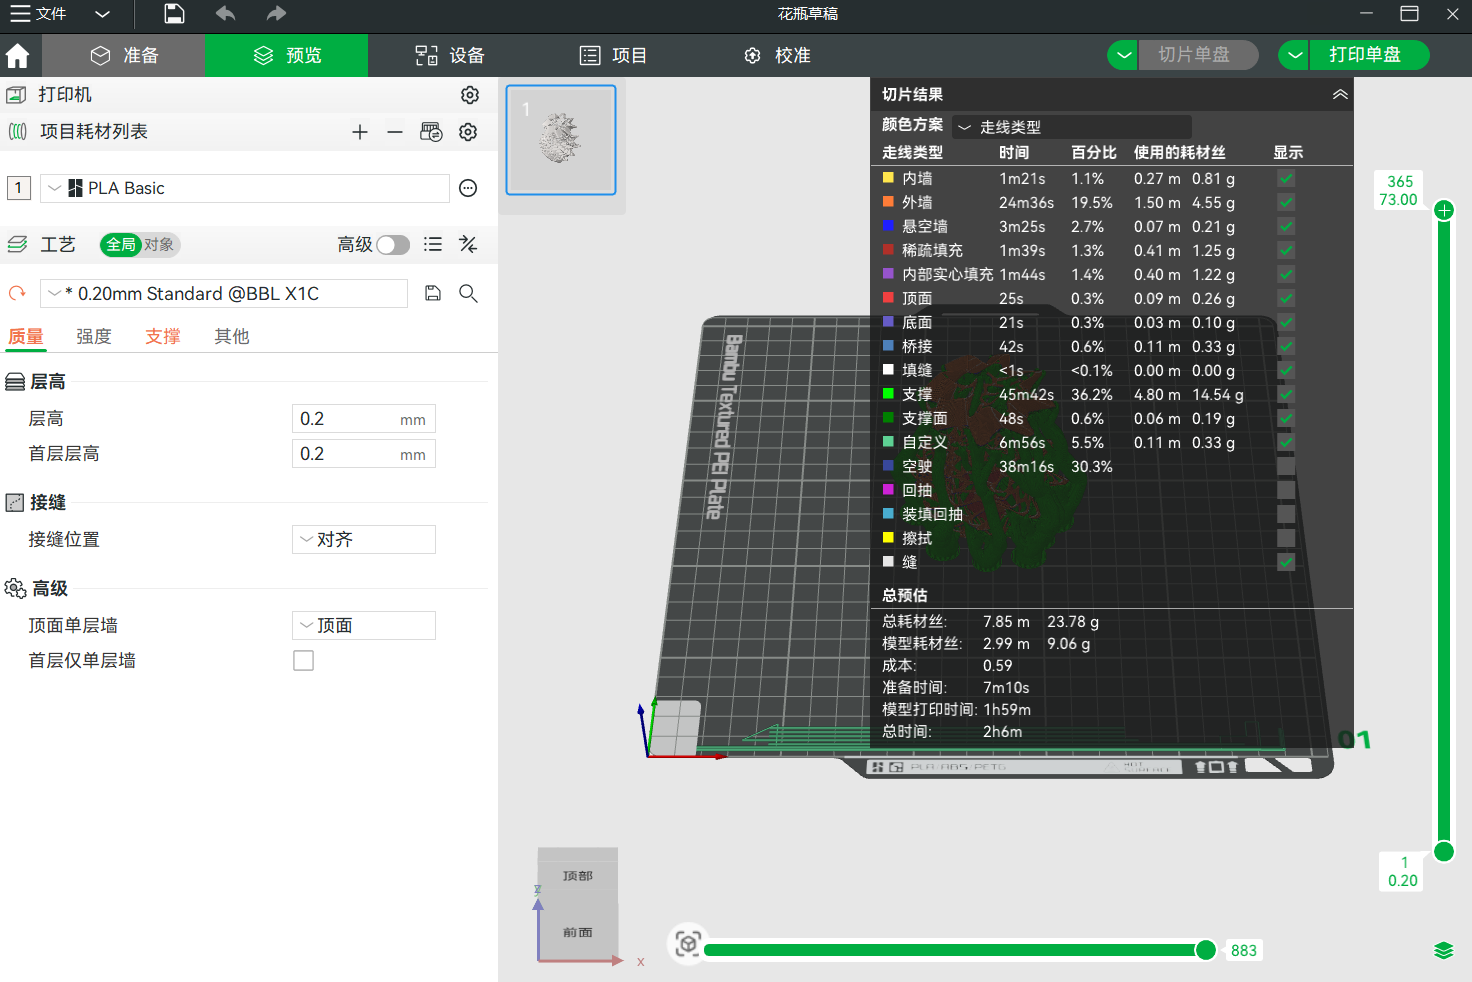
 It's done, now transfer it to the 3D printer, wait for a few hours, and it'll done
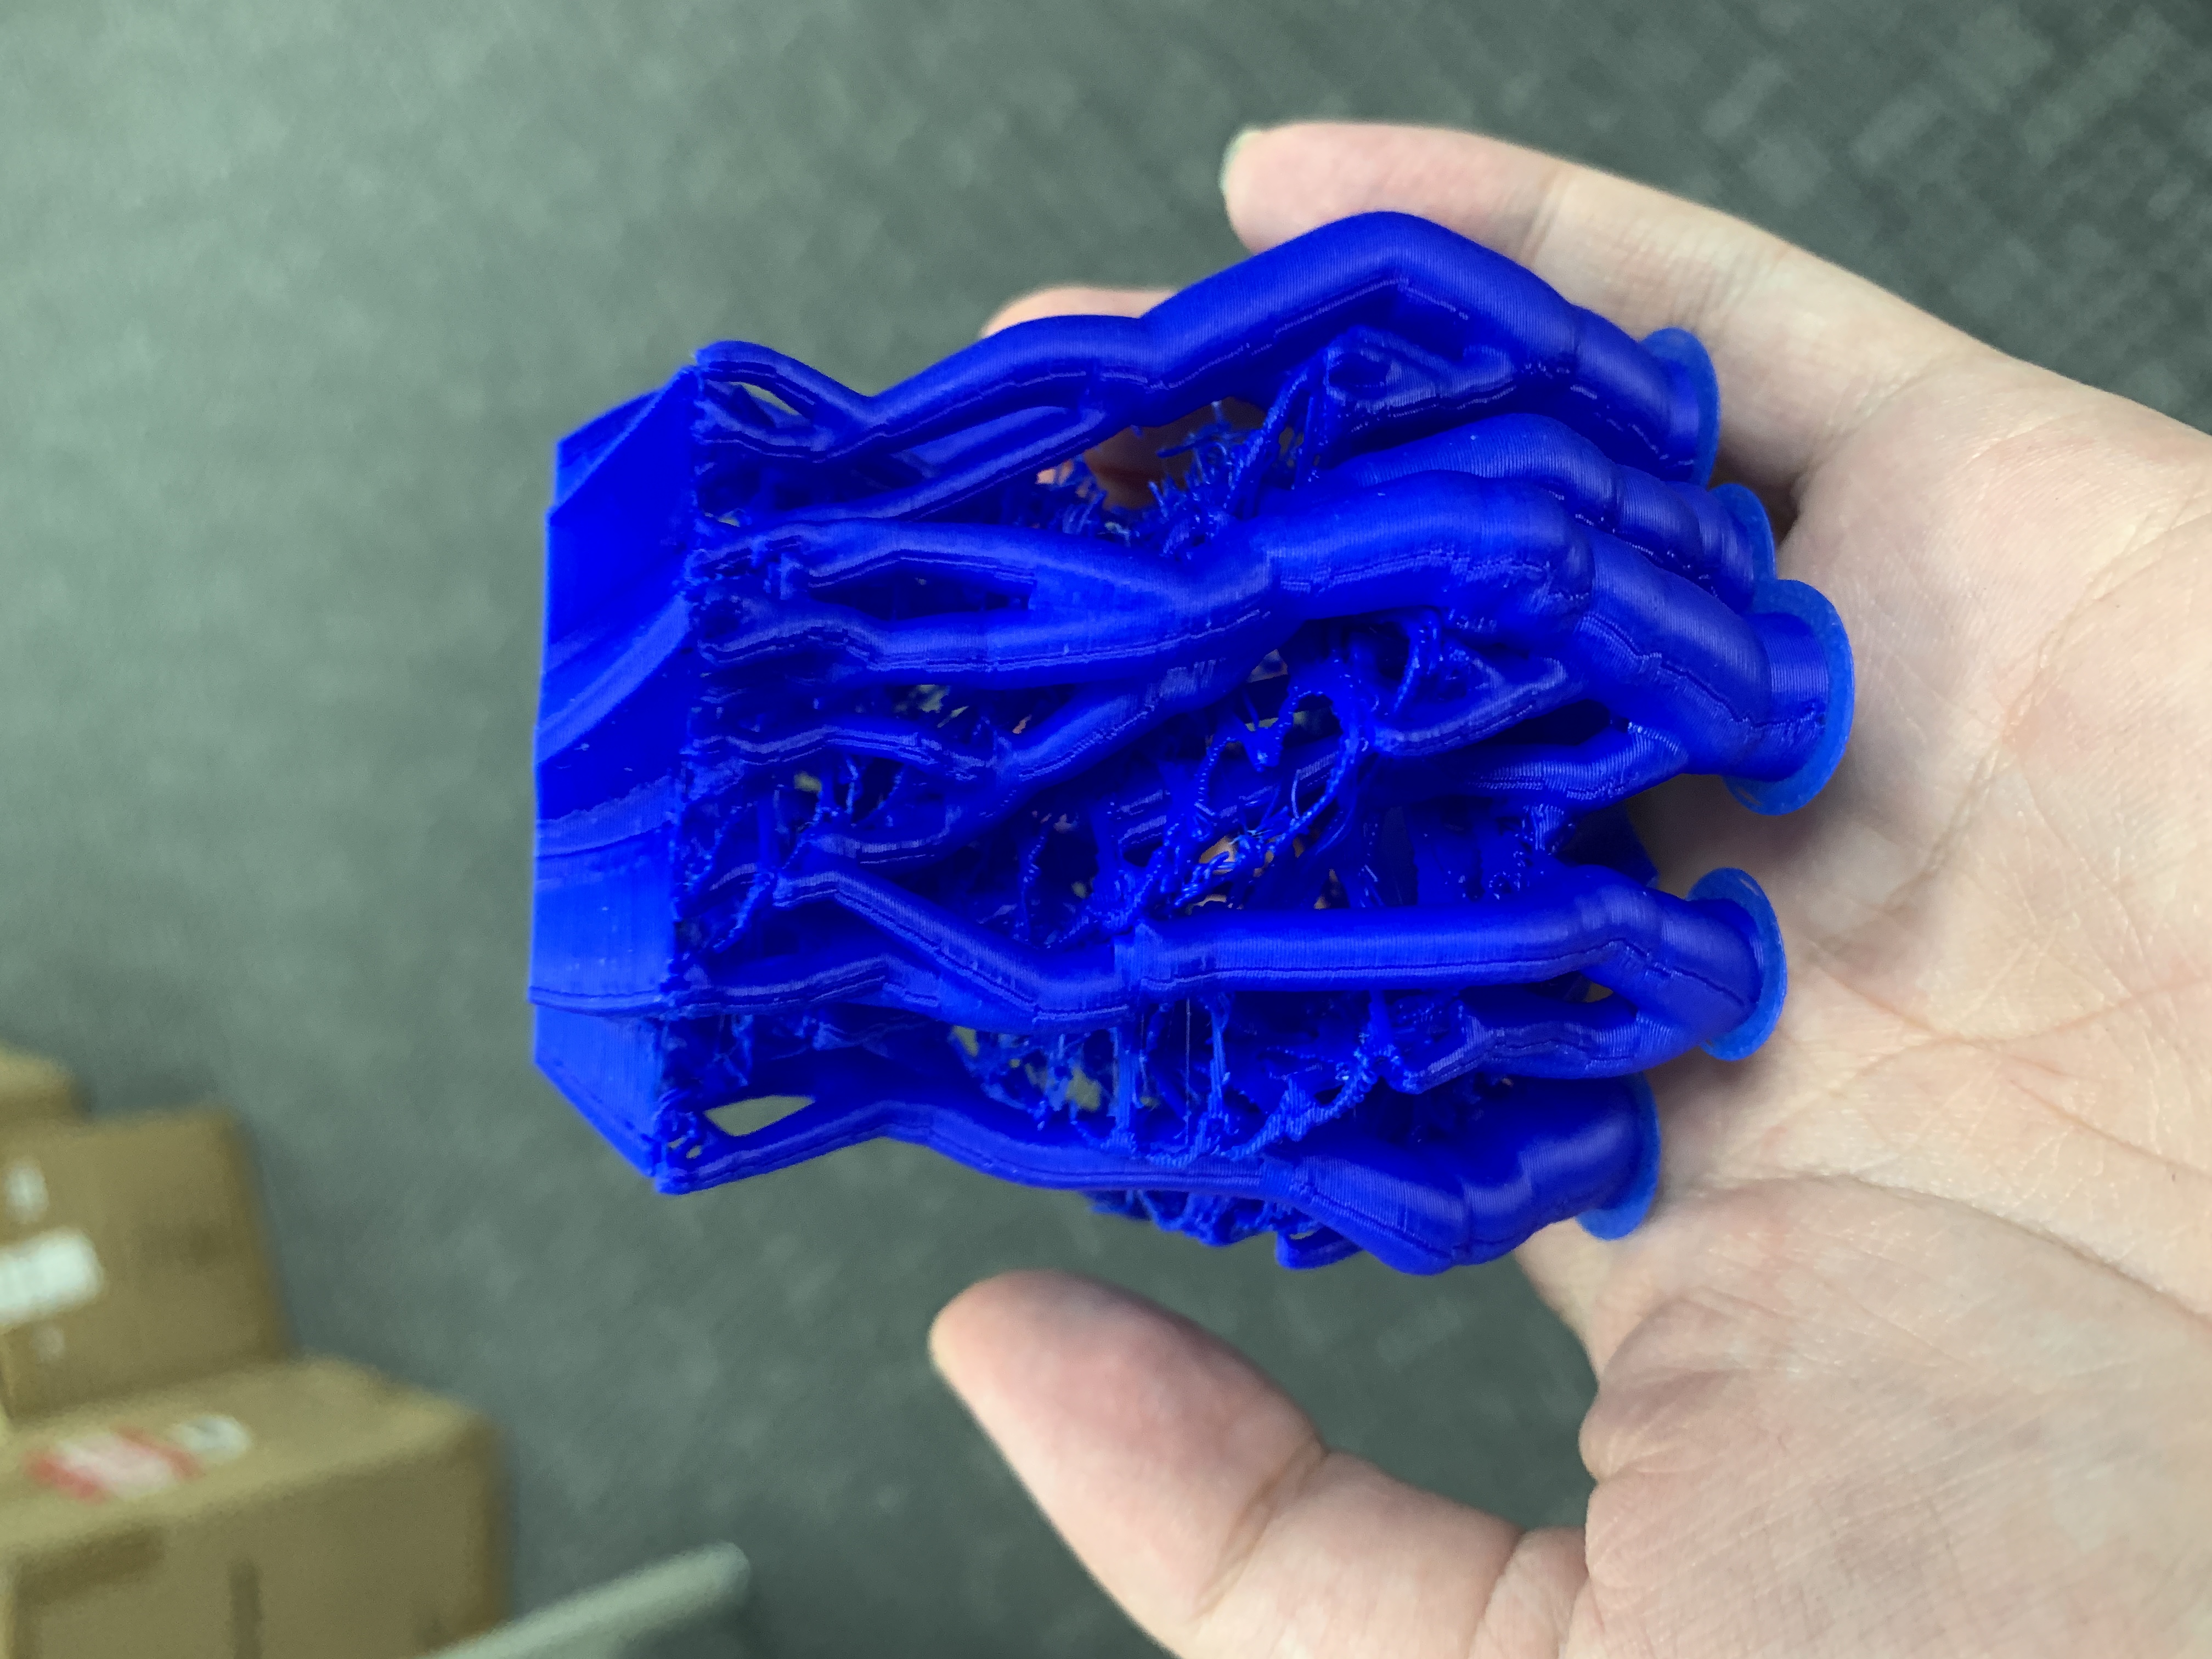
known issues:
It is suggested to adjust the thickness, especially when you're object is downsized before printing. or it might have flaws while printing.
scanning practice
We'll use scanning portraits as an example in this practice, the participant is placed in a sitting position, and start scanning. 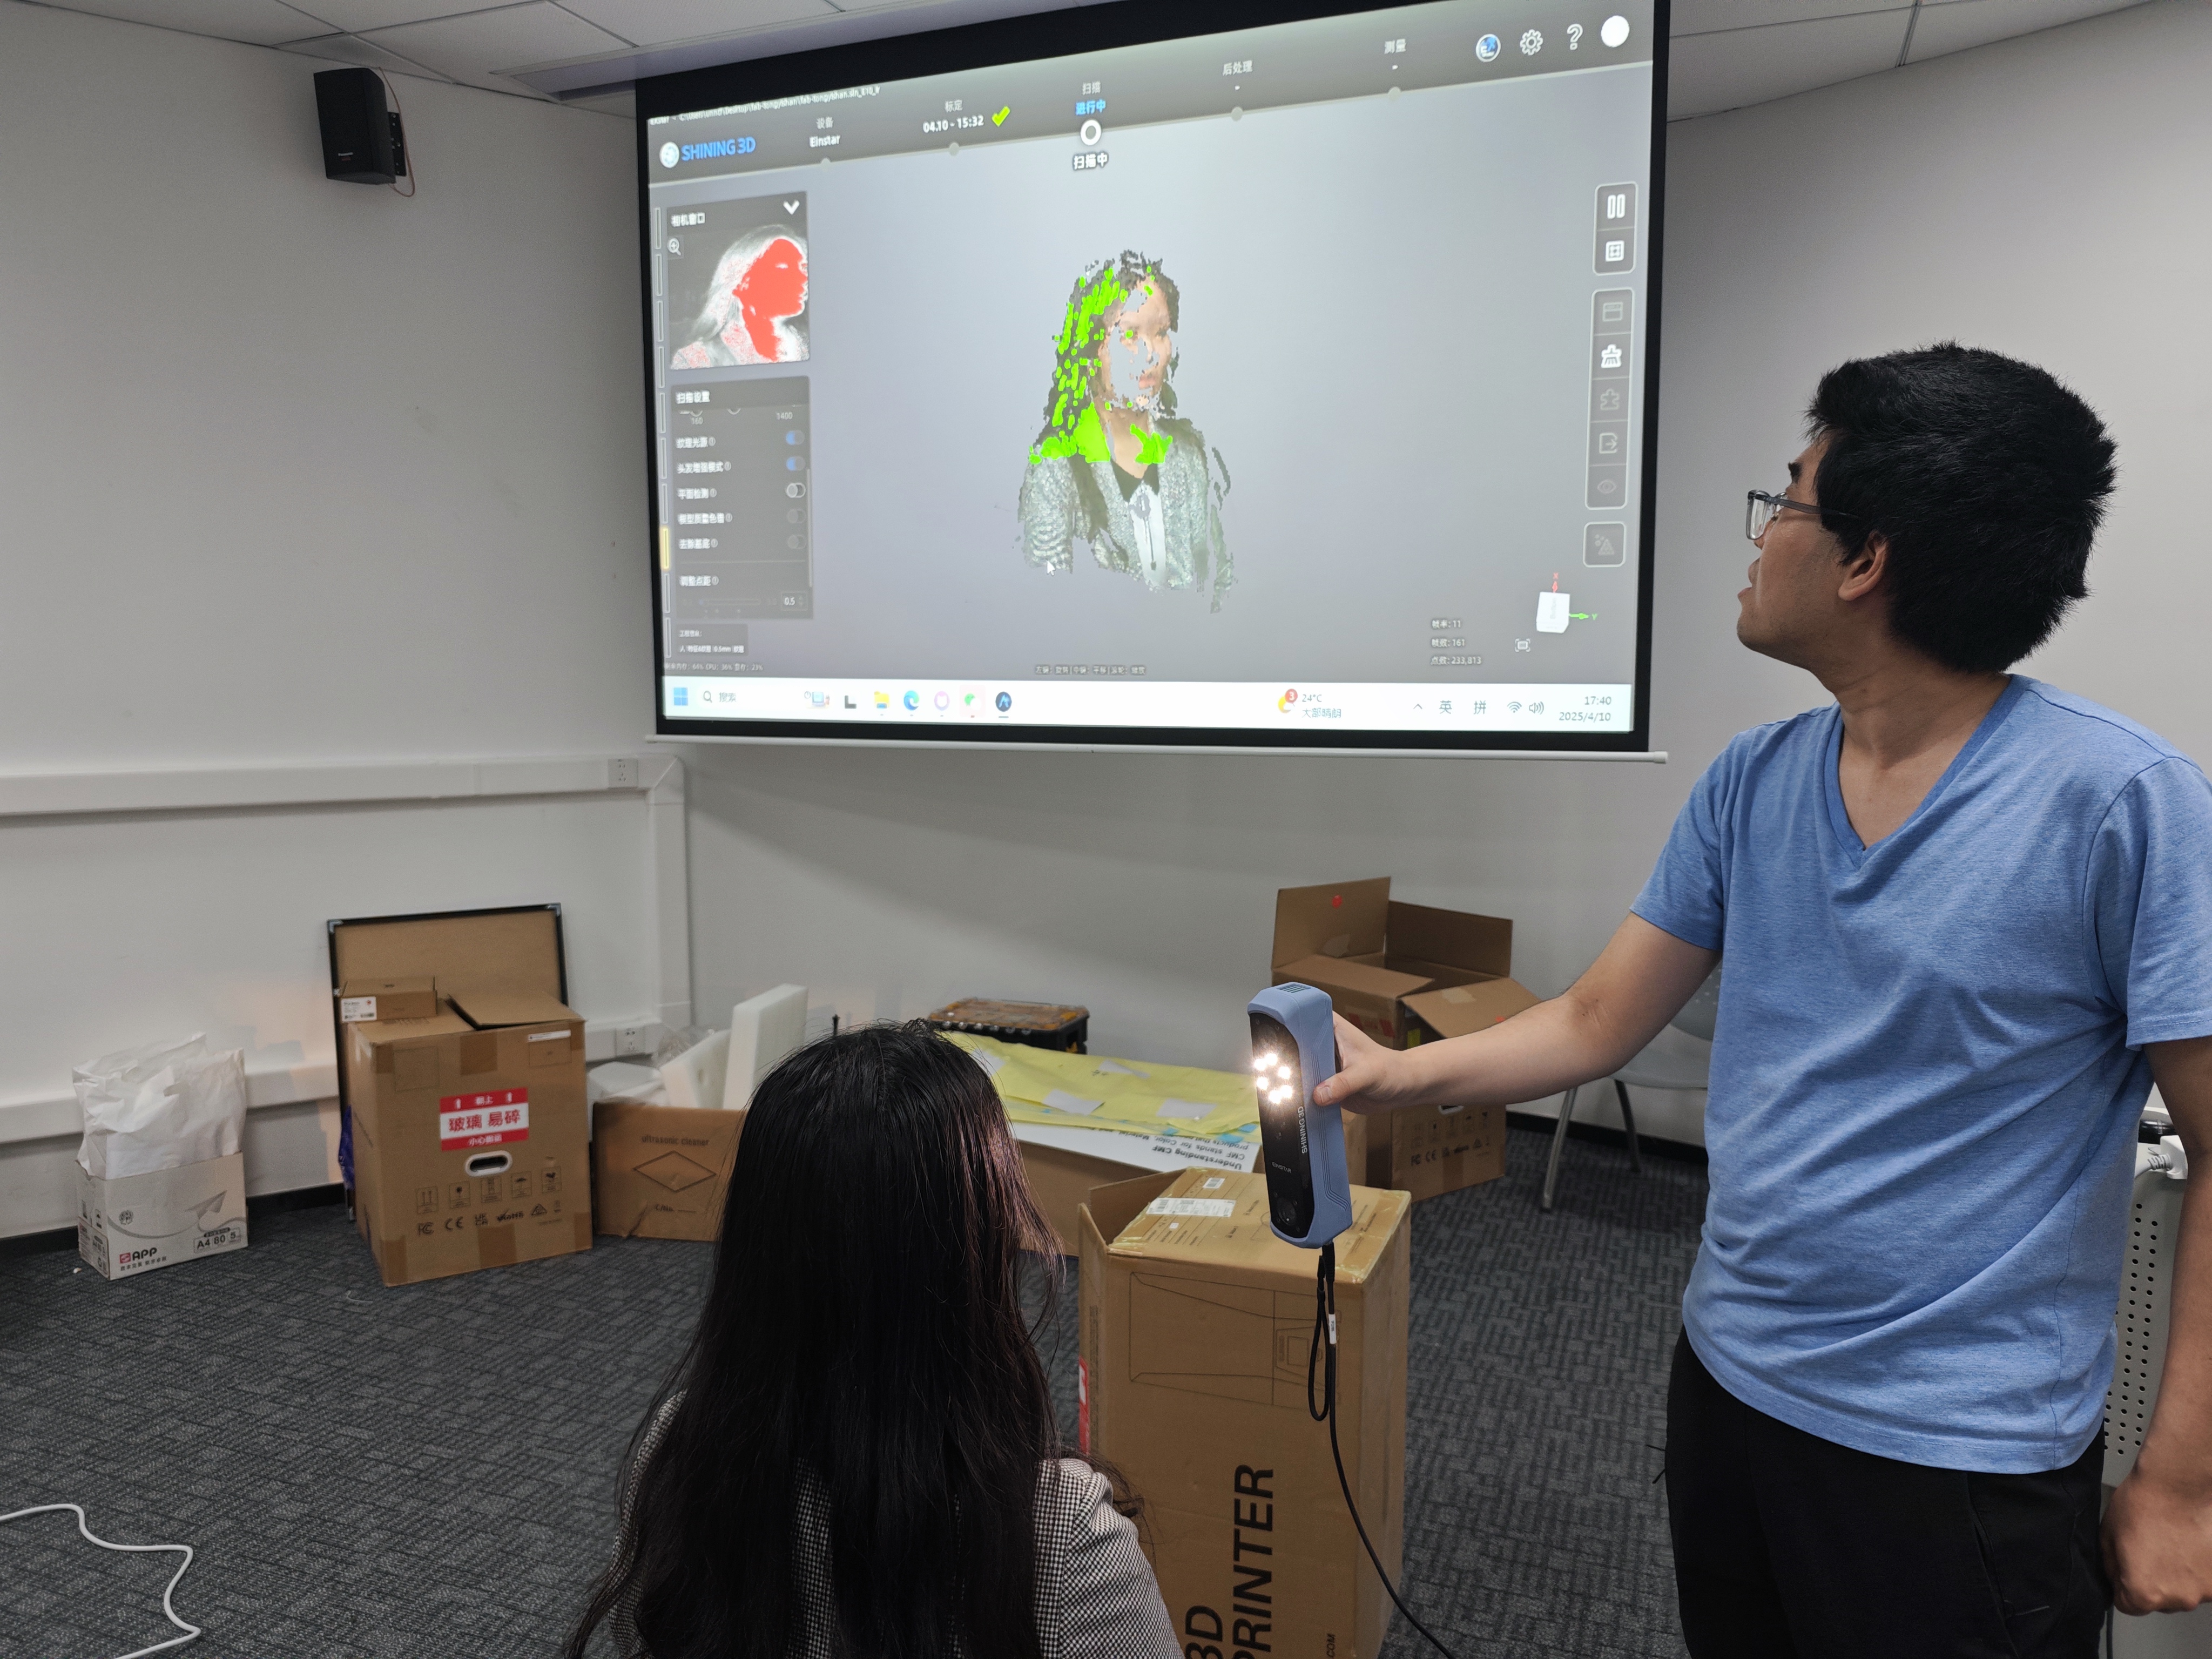
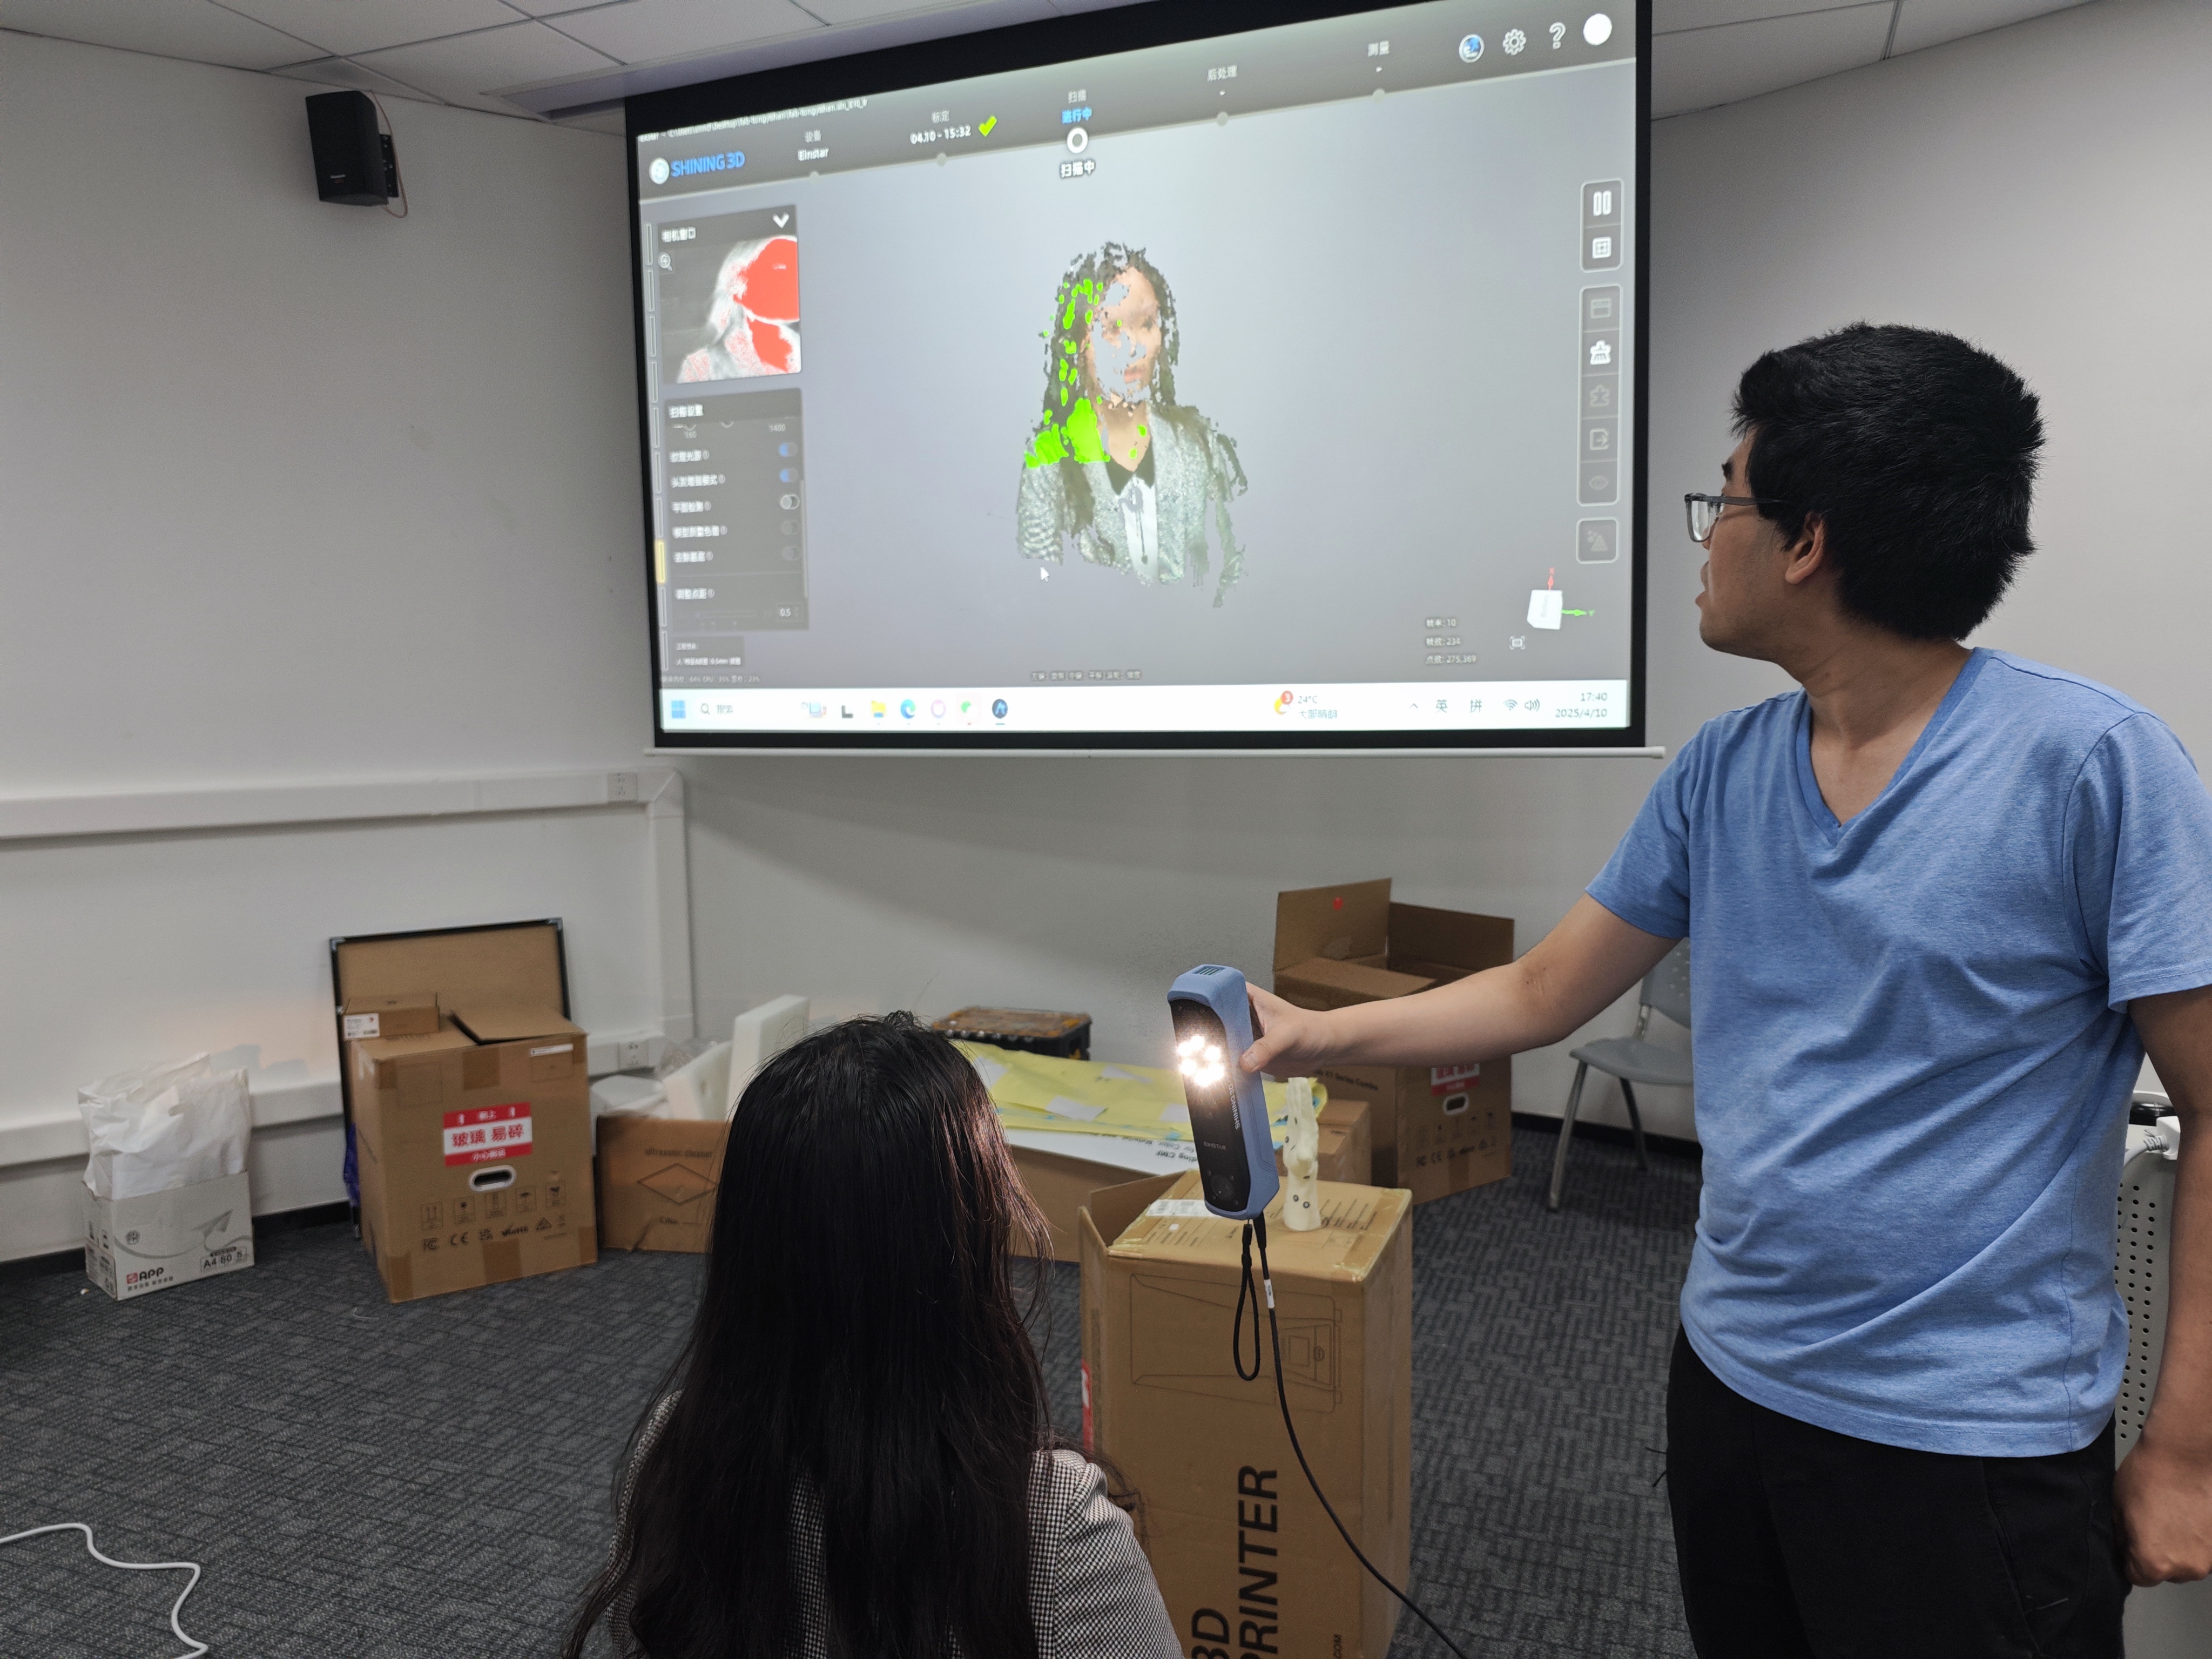
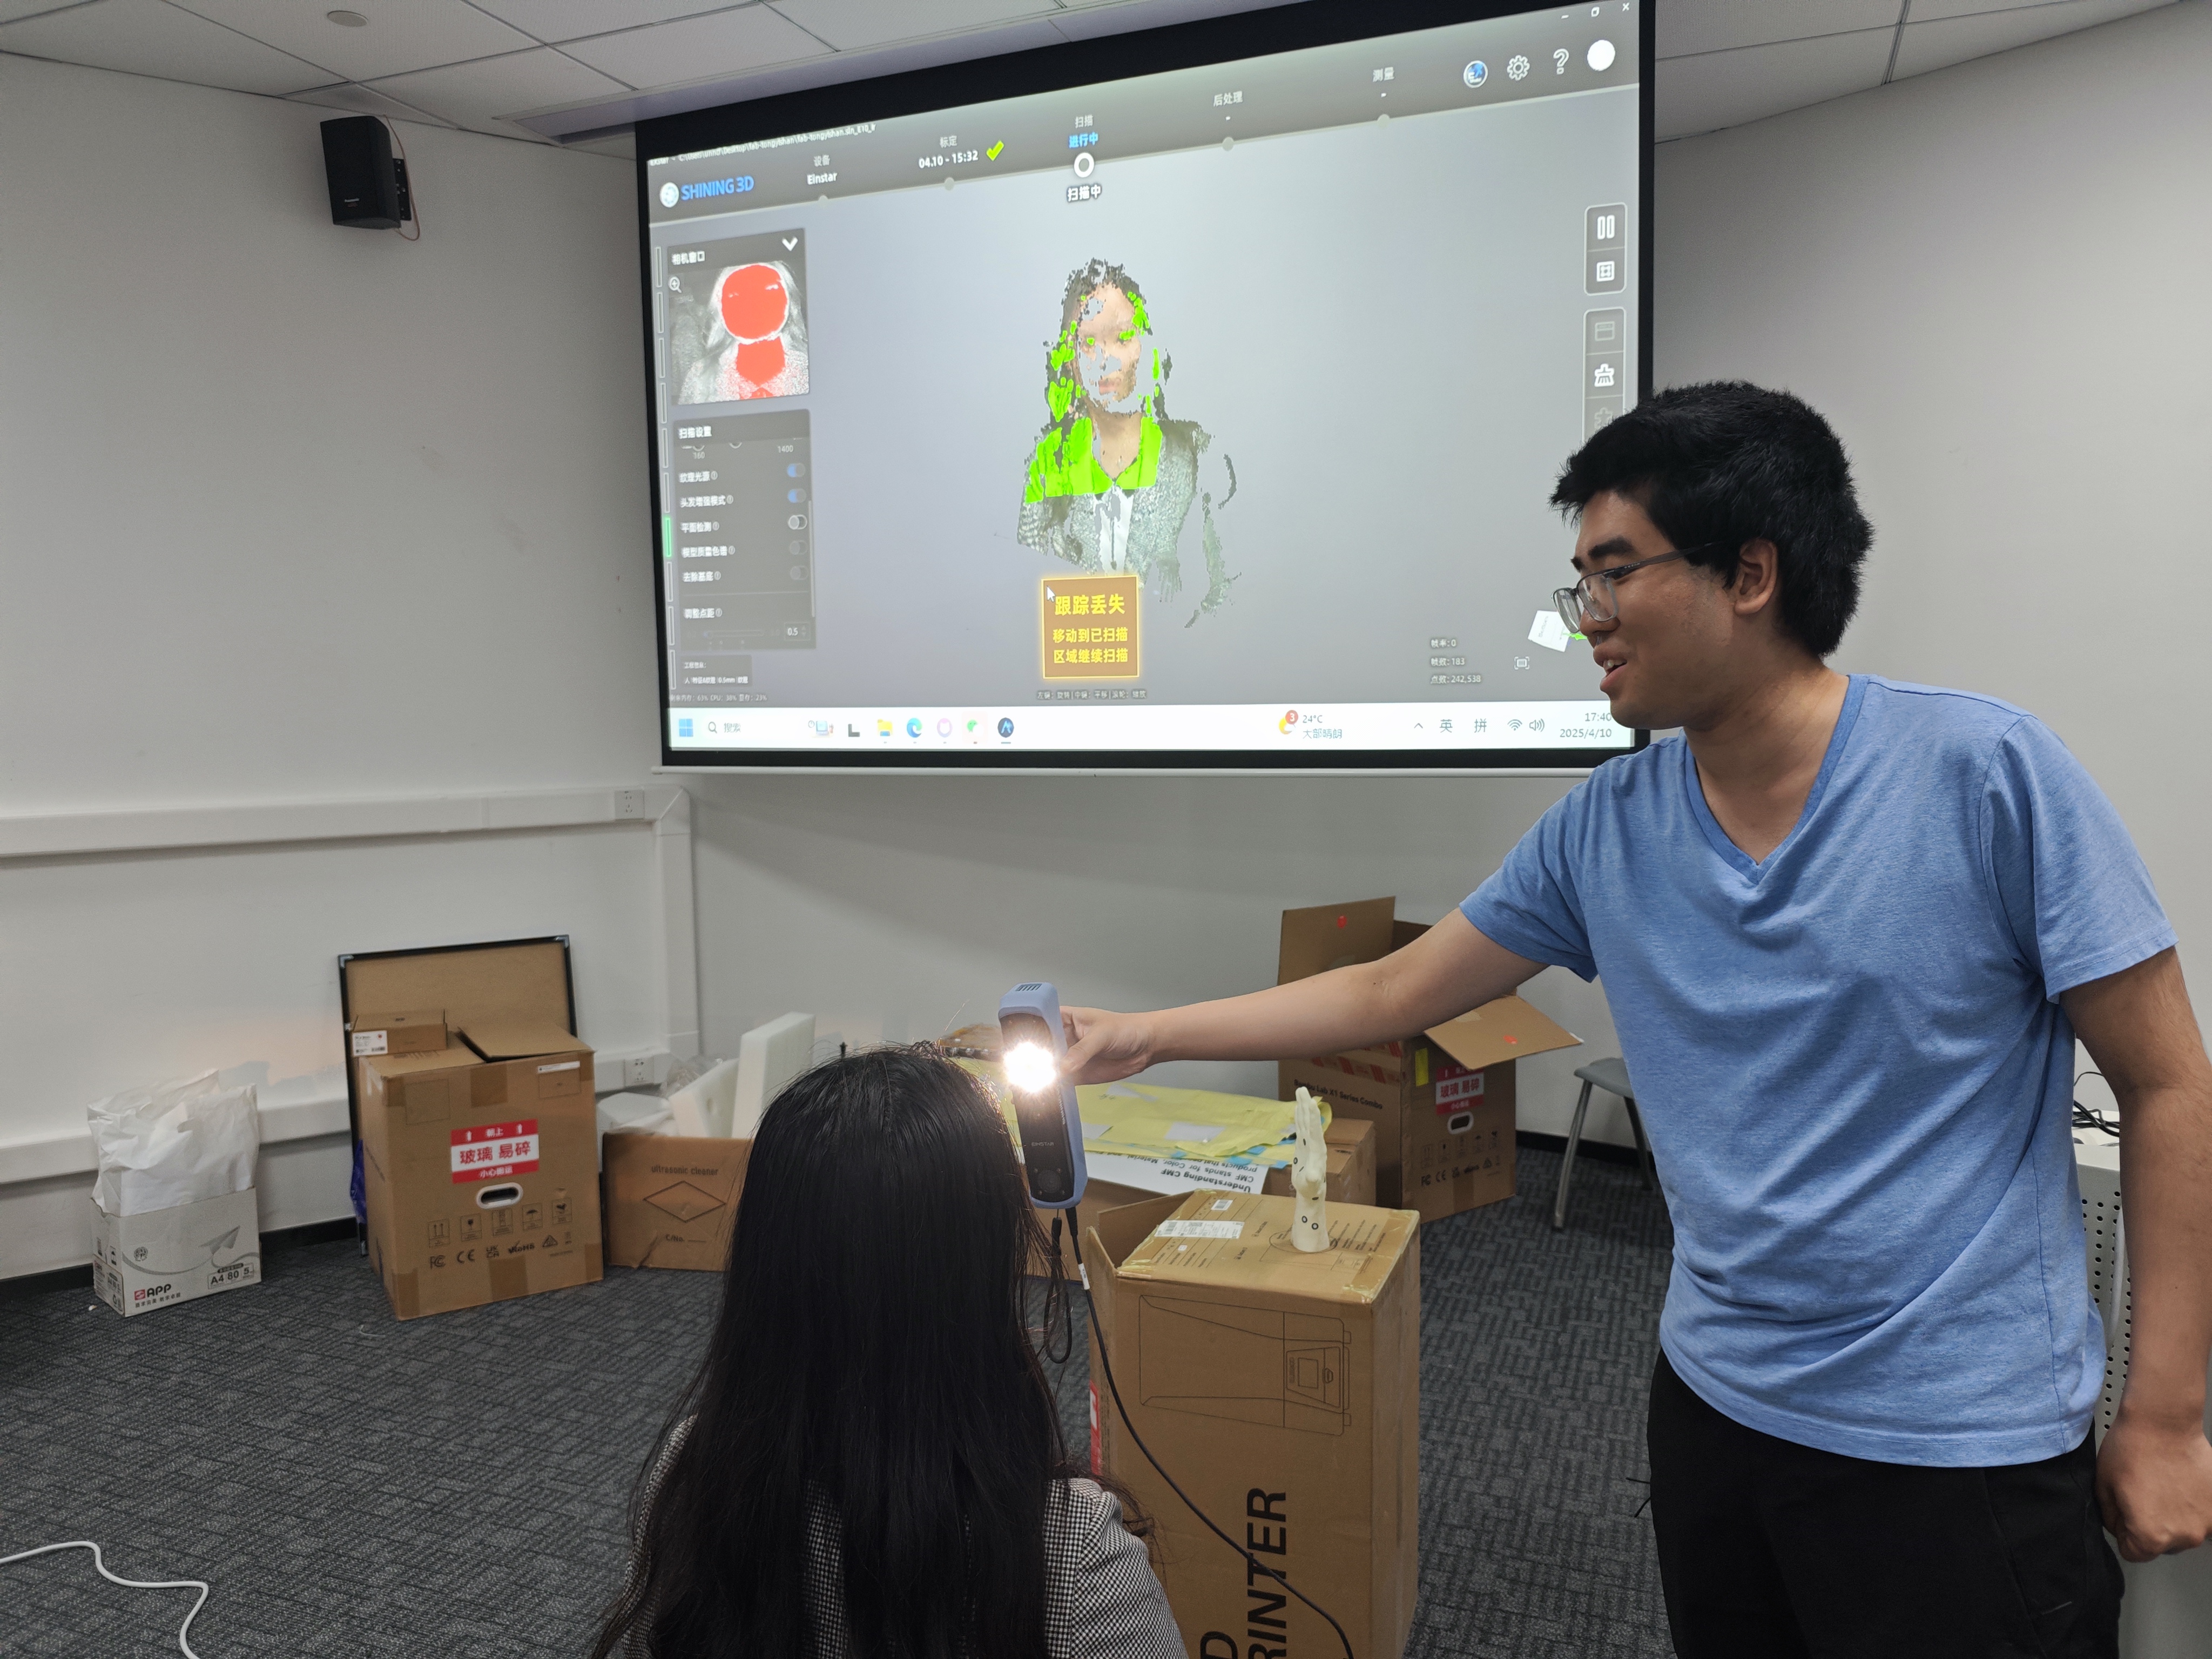
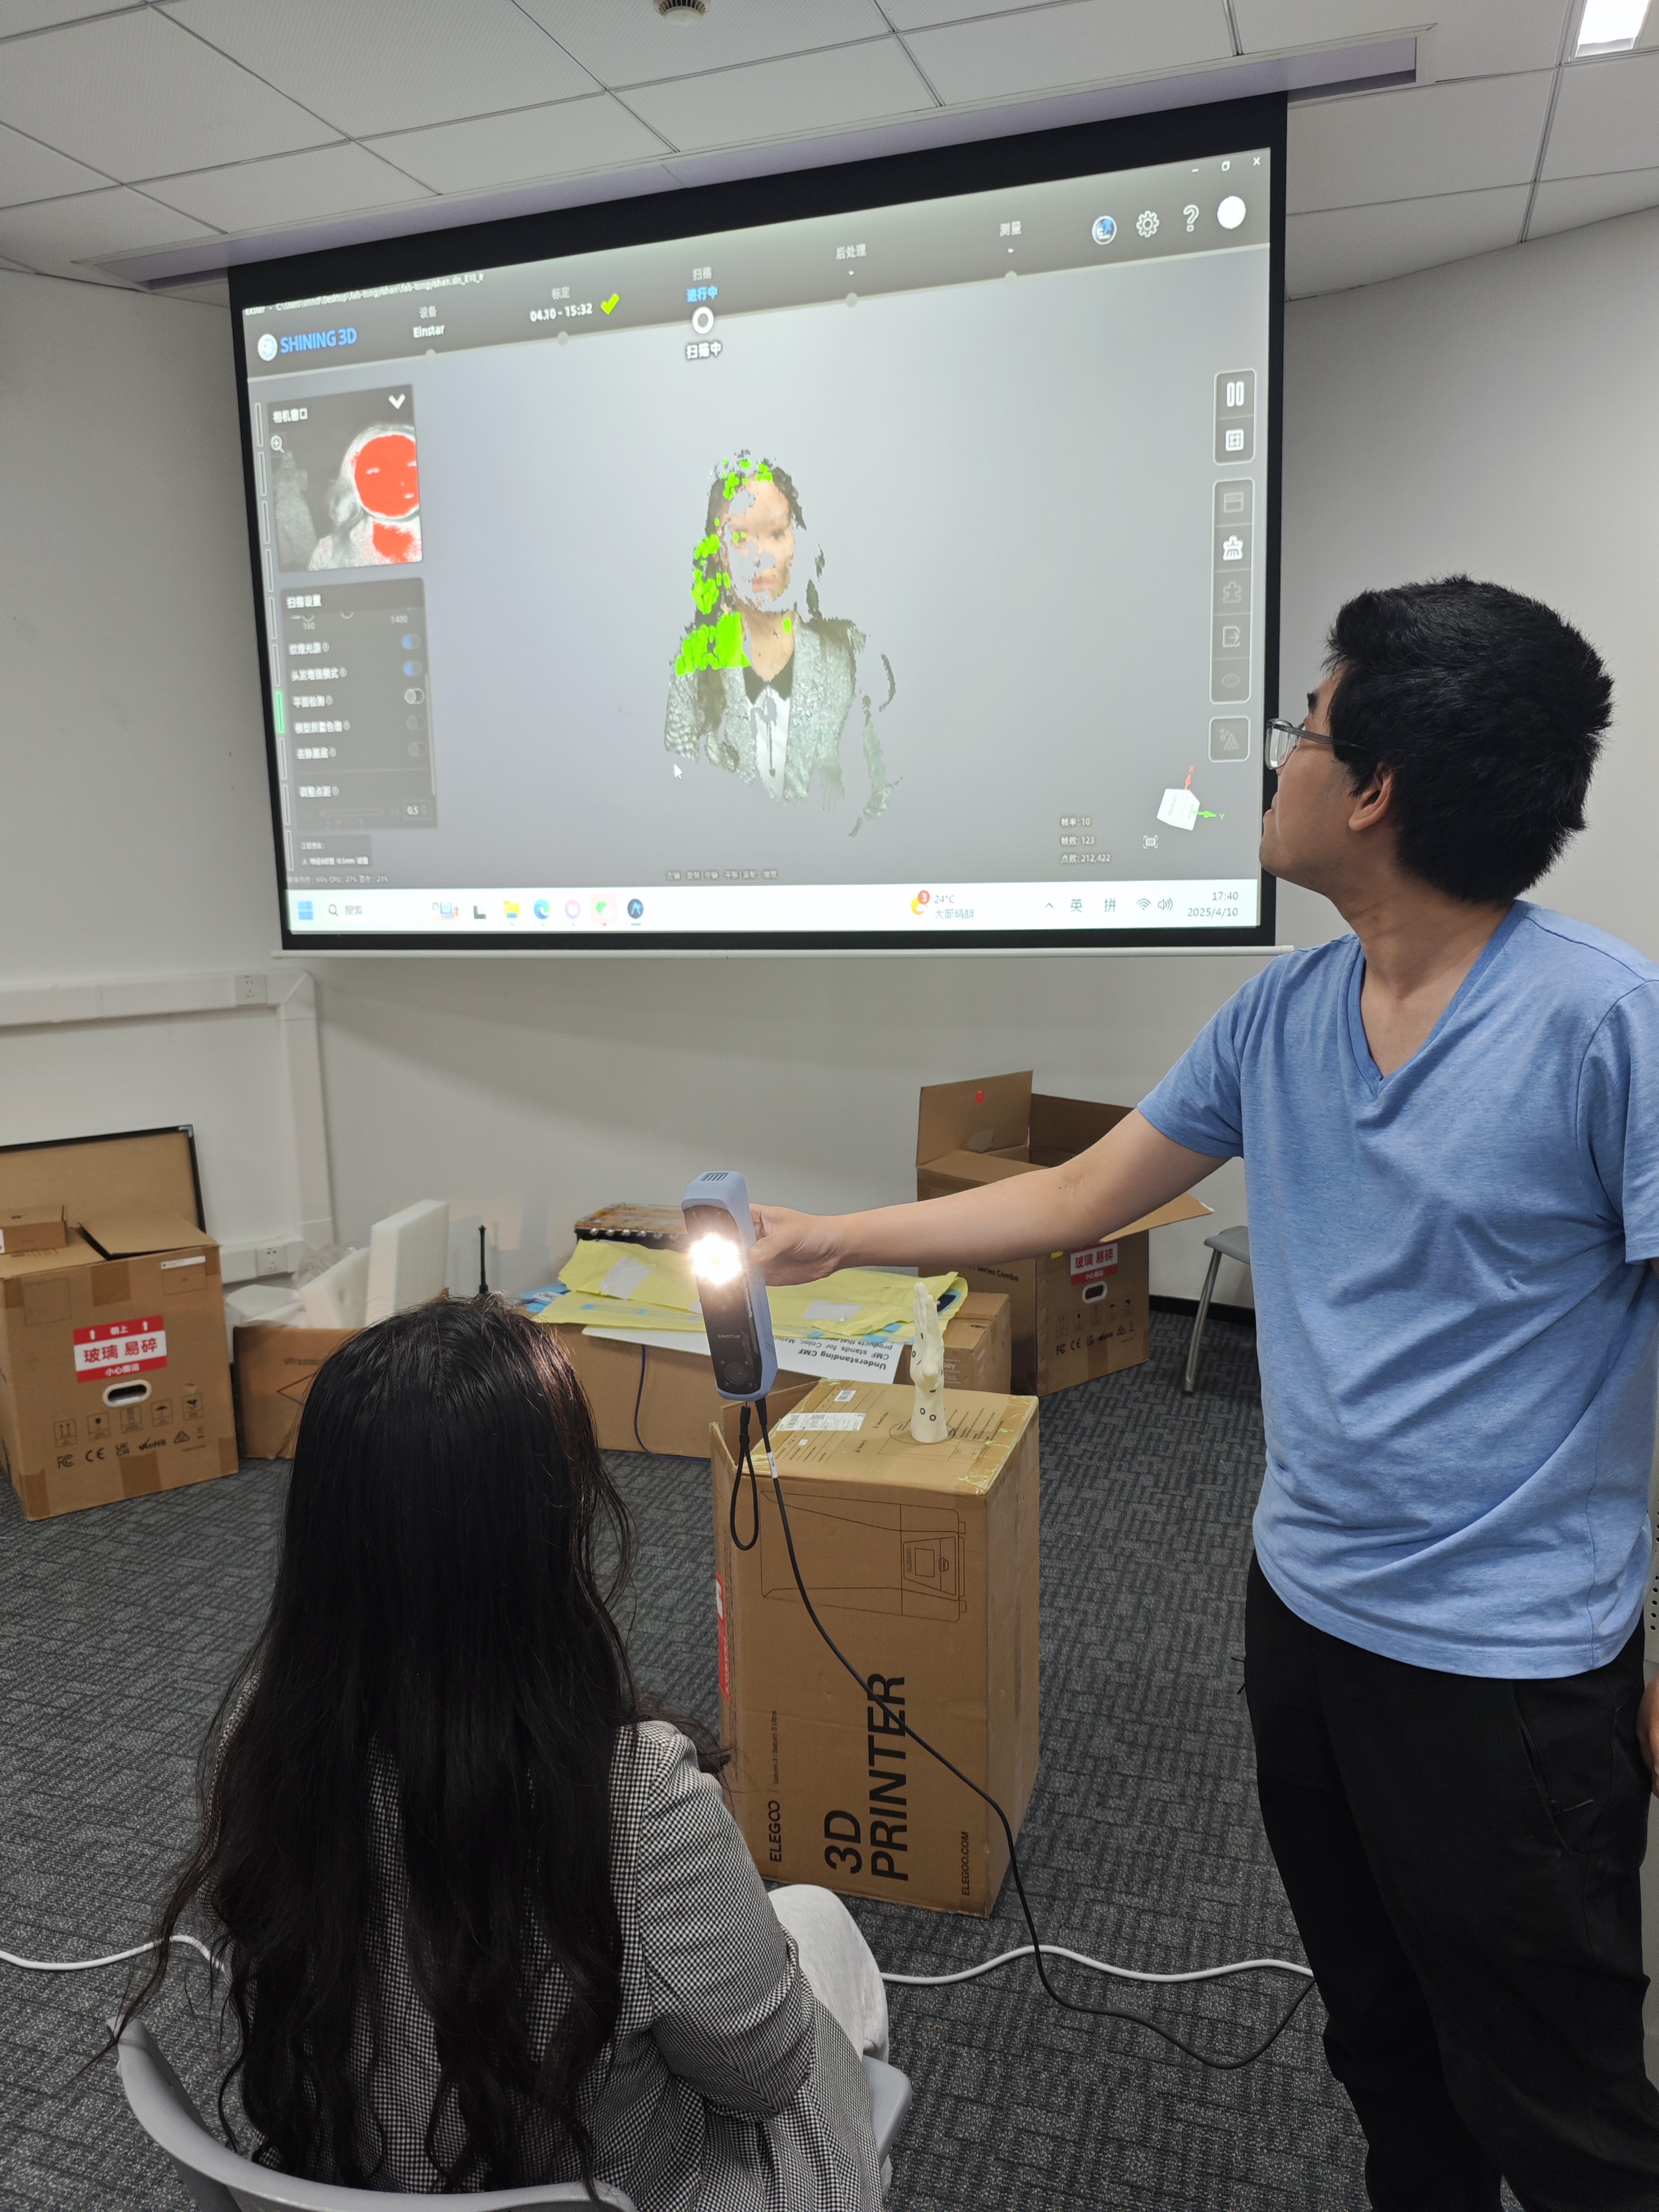
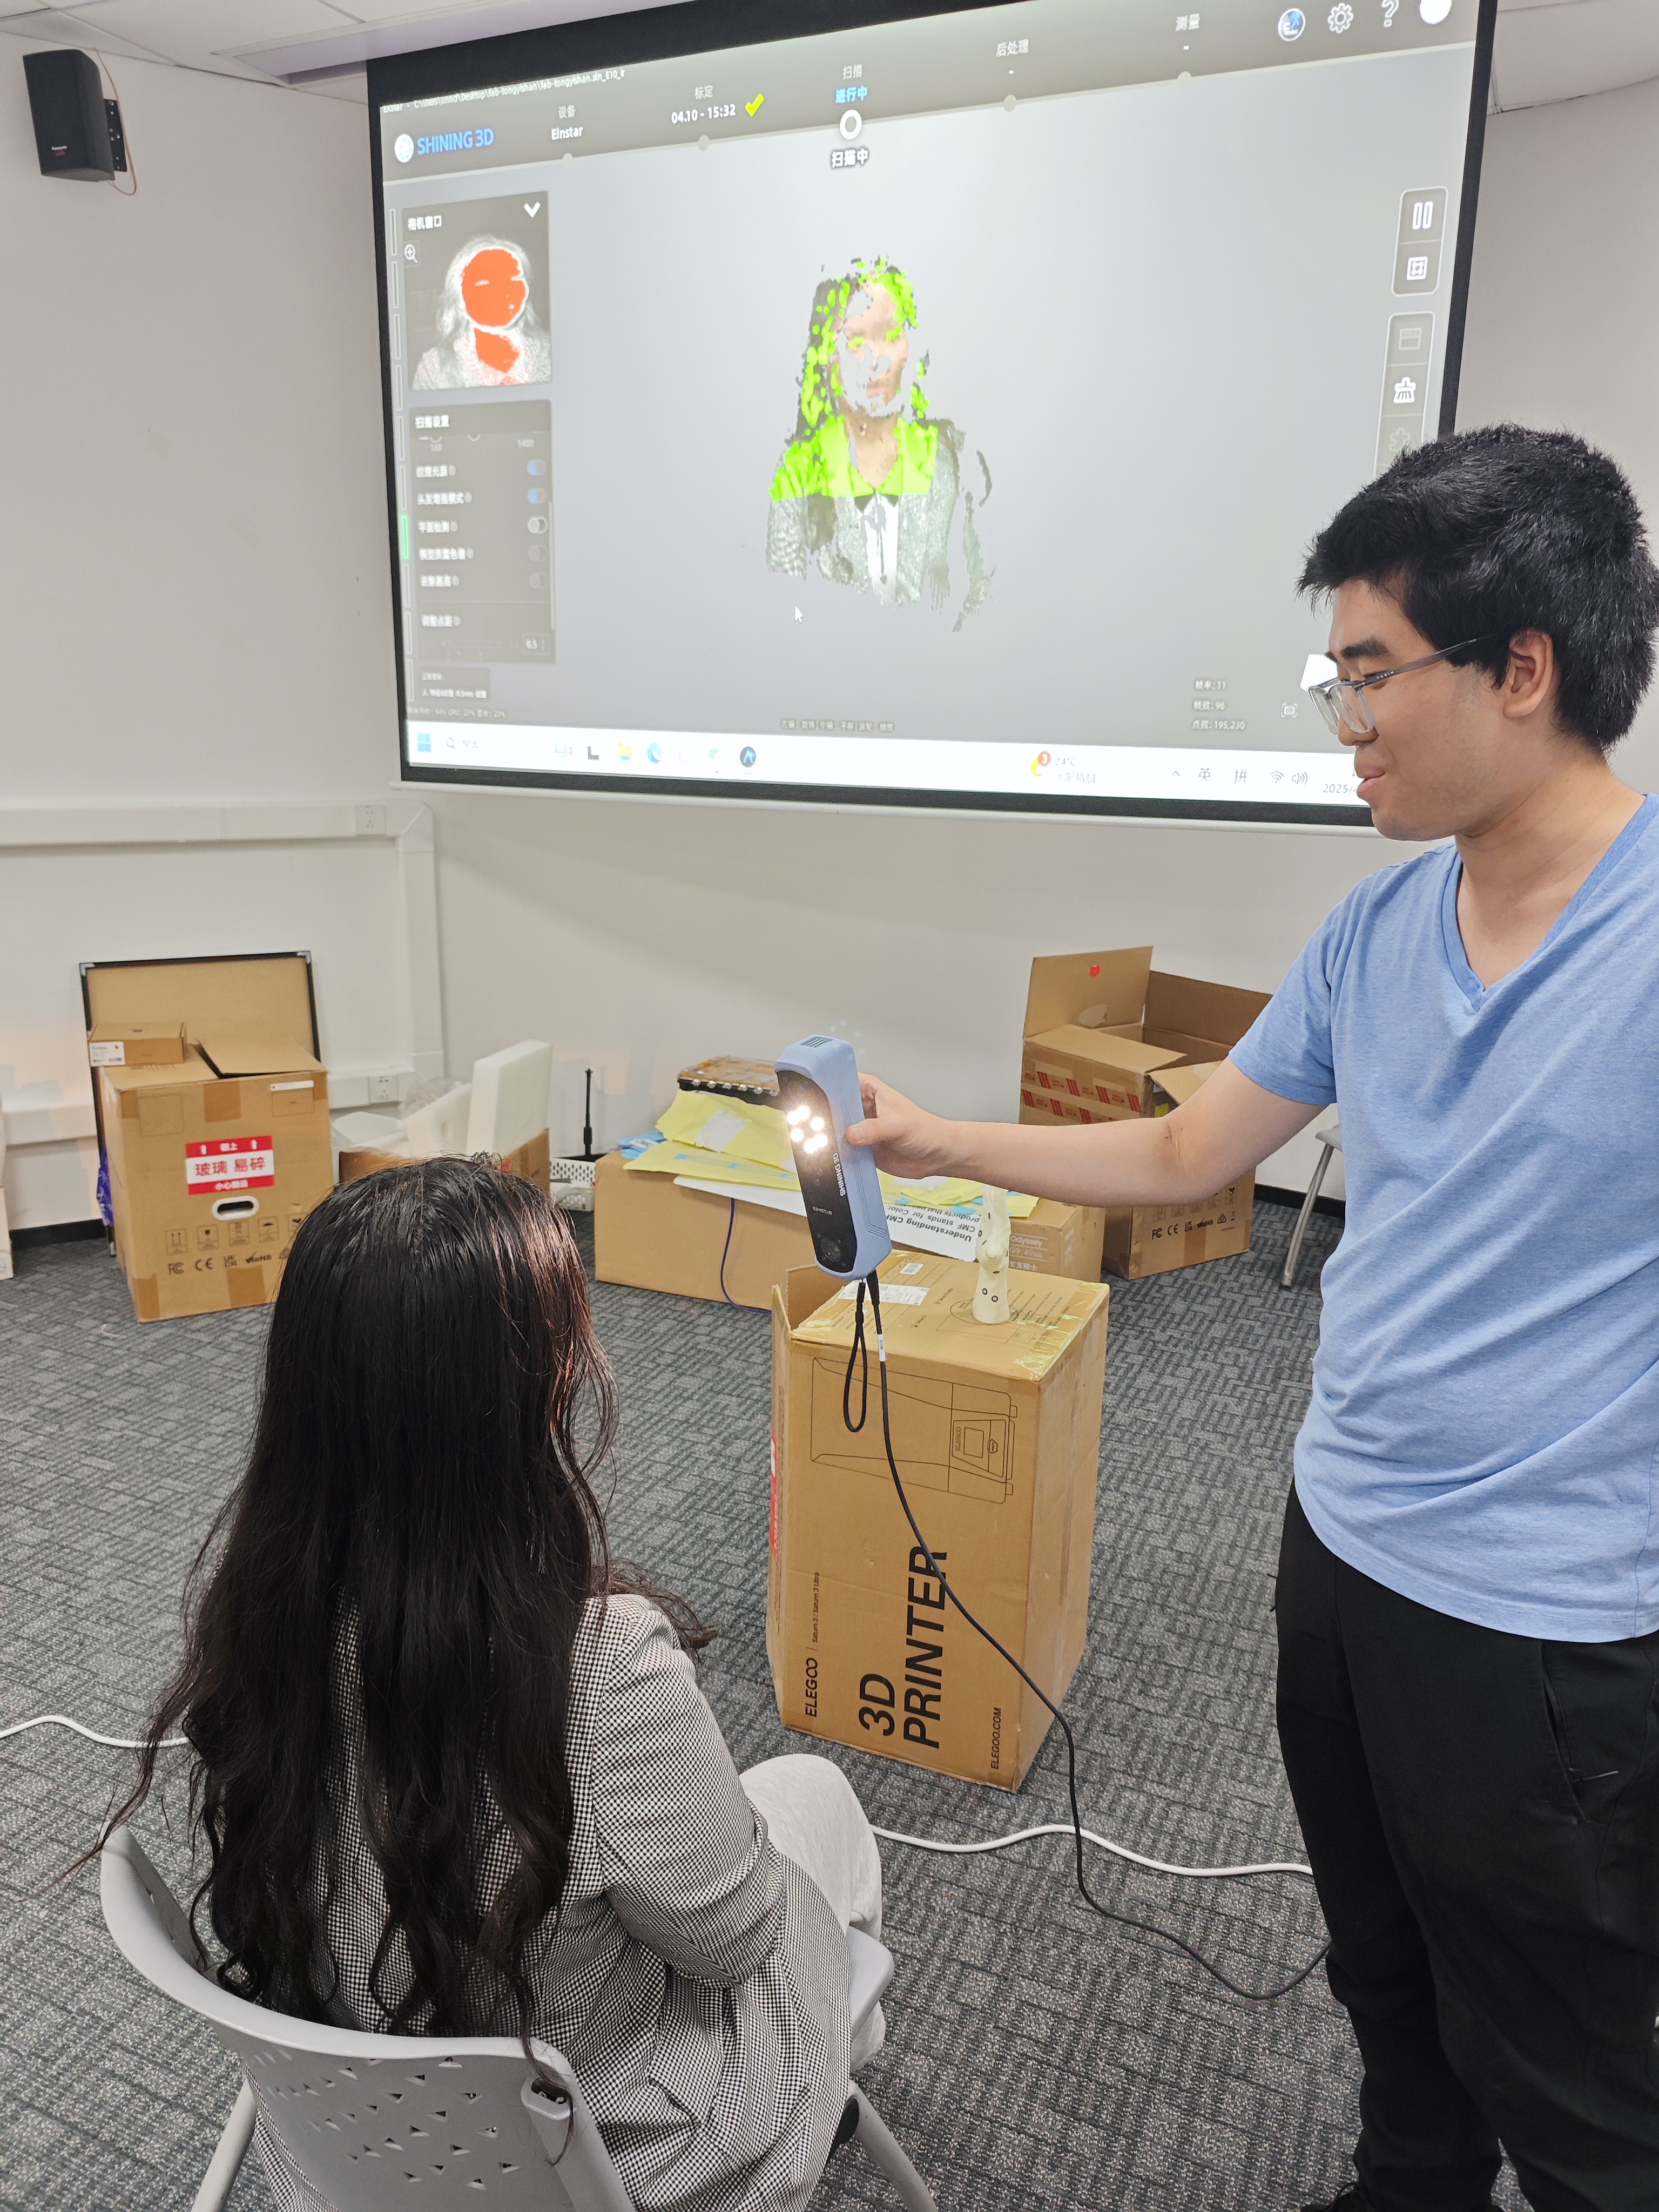 your distance towards the subject is vital, and adjust appropriately to get the best outcome, after saving the file, you can print a 3D portrait
Next week we'll learn IOT, stay tunned