Week 1 - Project Management
Assignments of the Week
- Read, sign the student/instructor/lab agreements, and commit to your repos
- Work through a git tutorial
- Build a personal site in the class archive describing you and your final project
Steps:
- Install Git
- Configure GitHub account
- Set up a personal website (using VitePress)
- Populate content
- Deploy to GitHub
1.Install Git
- You can download and install Git for Windows from the official Git website, or use GitHub Desktop to install Git. Here, I choose the first method.
- Click here for a detailed installation tutorial
2.Configure Git
- When configuring Git, you need to set the username and email address. Run the following commands to set them:
bash
git config --global user.name "Ao"
git config --global user.email "aol1926@outlook.com"
3.Set up the website (VitePress)
- Install Node.js First, you need to install Node.js. Visit the official Node.js website to download and install the latest stable version. Here, I installed version 22.13. After installation, add the
bindirectory to the environment variables.You can click here to get the installation guidance - clone repository Clone the project locally: Use the
git clonecommand to clone the remote project locally.
bash
git clone https://github.com/UNNC-Fab/2025-1-AL.git
- Install VitePress Run the following command outside the project folder to install VitePress:
bash
npm add -D vitepressRunning this command in the project root directory will generate a node_modules folder, which may cause issues with large cache uploads to GitHub. Therefore, I choose to use VitePress separately rather than within the project. After installation, place the .bin file in the environment variables.
Run the following command in the project to start building the project and follow the wizard to configure it:
bash
npx vitepress initNow, a basic website has been built, and the next step is to populate some content.
- Populate content VitePress configures the site's basic information through docs/.vitepress/config.ts, including title, description, theme, plugins, navigation bar, sidebar, etc.
- I first set the website title to "Fab Academy", which will be displayed on the browser tab.Then set the description to "Welcome to Ao Liu's Fab Academy 2025 site!" , modified the tagline to "This is my documentation for the Fab Academy." and modified the features below the page
- Next is the top navigation bar, in addition to Home, I added three others: About (which contains my personal introduction), Assignments (which includes my weekly assignments), Project (my final project).
- Finally, I set the left sidebar to display "Assignments" and "Project". The content includes the title of my weekly assignments and my final project. Clicking on them will lead to the corresponding interfaces.
After the completion of the above operations, the website home page preview is shown in the following figure. 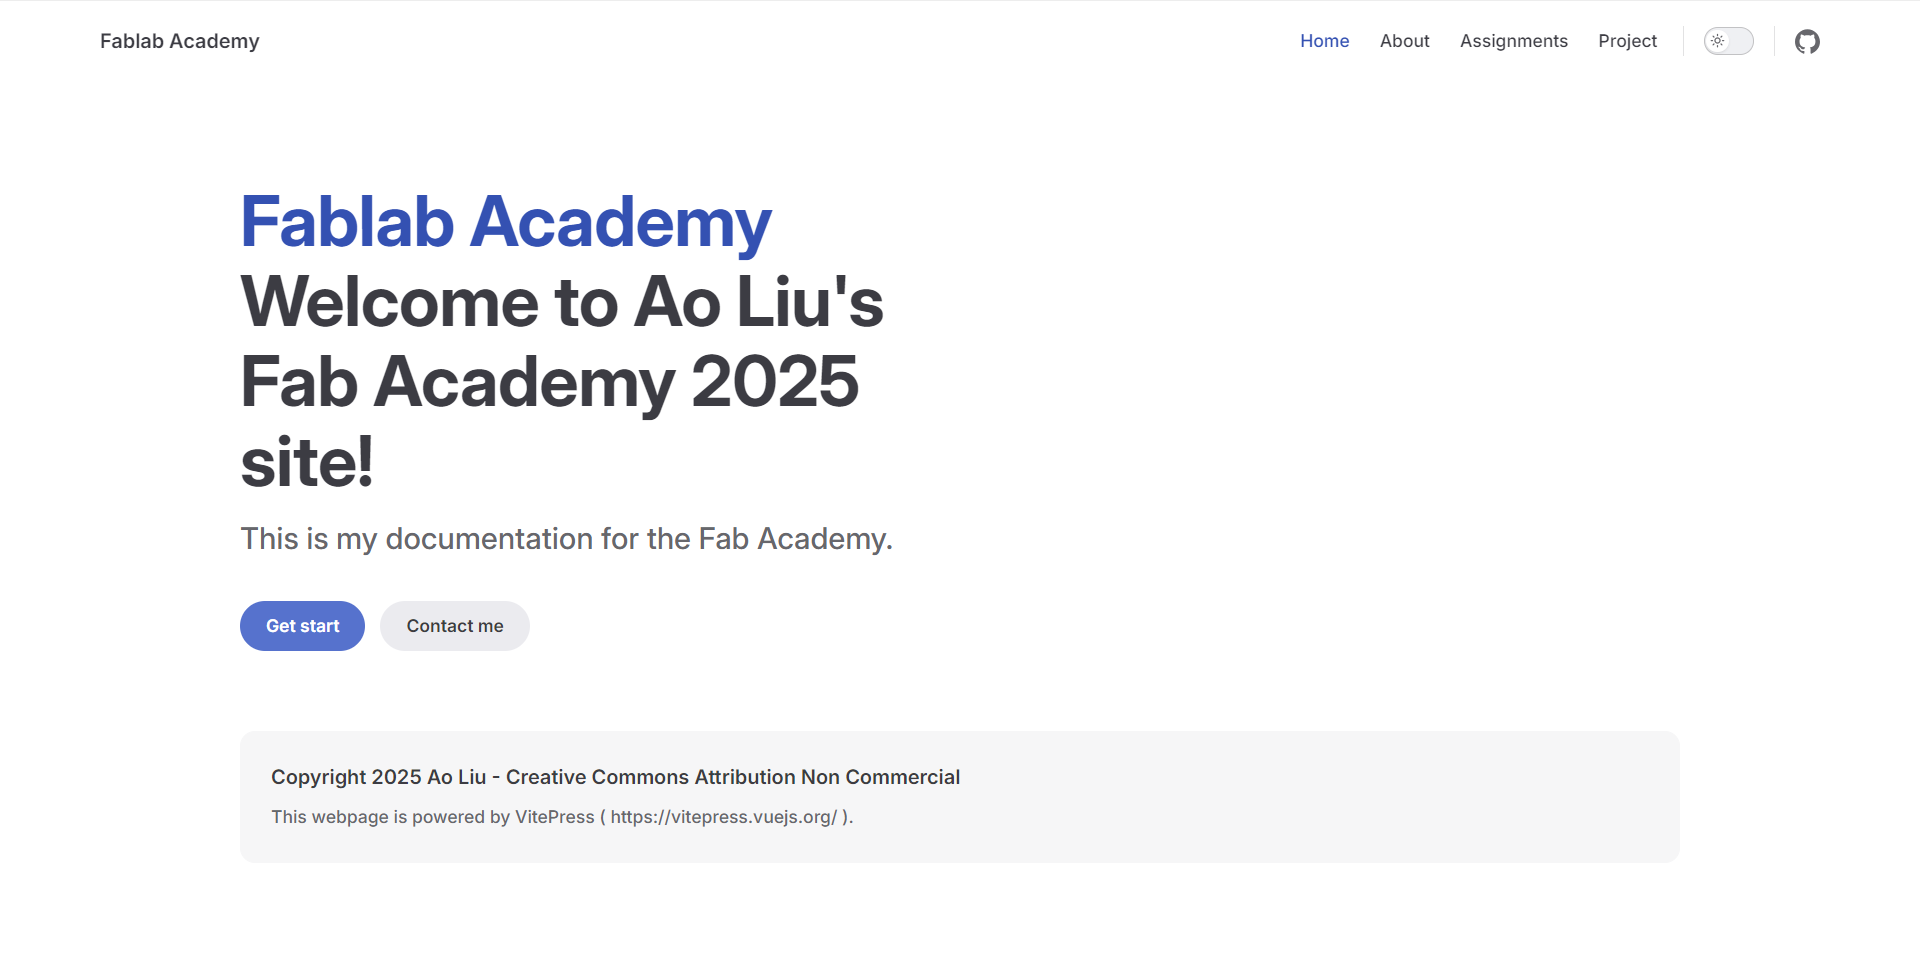 The details of the config.mts file are as follows:
bash
import { defineConfig } from 'vitepress'

// https://vitepress.dev/reference/site-config
export default defineConfig({
  base: '/2025-1-AL/',
  title: "Fablab Academy",
  description: "Welcome to Ao Liu's Fab Academy 2025 site!",
  themeConfig: {
    // https://vitepress.dev/reference/default-theme-config
    nav: [
      { text: 'Home', link: '/' },
      { text: 'About', link: '/about/about' },
      { text: 'Assignments', link: '/weeklyassignments/week1' },
      { text: 'Project', link: '/project/project' }
    ],

    sidebar: {
      '/week': [
        {
          text: 'Assignments',
          items: [
            { text: 'Week1.Project Management', link: '/weeklyassignments/week1' },
            { text: 'Week2.Embedded Programming', link: '/weeklyassignments/week2' }
          ]
        }
      ]
    },

    socialLinks: [
      { icon: 'github', link: 'https://github.com/vuejs/vitepress' }
    ]
  }
})
The details of the index.md file are as follows:
bash
---
# https://vitepress.dev/reference/default-theme-home-page
layout: home

hero:
  name: "Fablab Academy"
  text: "Welcome to Ao Liu's Fab Academy 2025 site!"
  tagline: This is my documentation for the Fab Academy.
  actions:
    - theme: brand
      text: Get start
      link: /weeklyassignments/week1
    - theme: alt
      text: Contact me
      link: /about/about#Contact me

features:
  - title: Copyright 2025 Ao Liu - Creative Commons Attribution Non Commercial
    details: This webpage is powered by VitePress.
---
4.Deploy to GitHub
- Use Git to commit and push changes Use Git to commit and push changes to the remote repository on GitHub:
bash
git add --all    # Add all changes
git commit -m "v1"    # Commit changes
git push origin main   # Push changes to GitLab
- Configure the
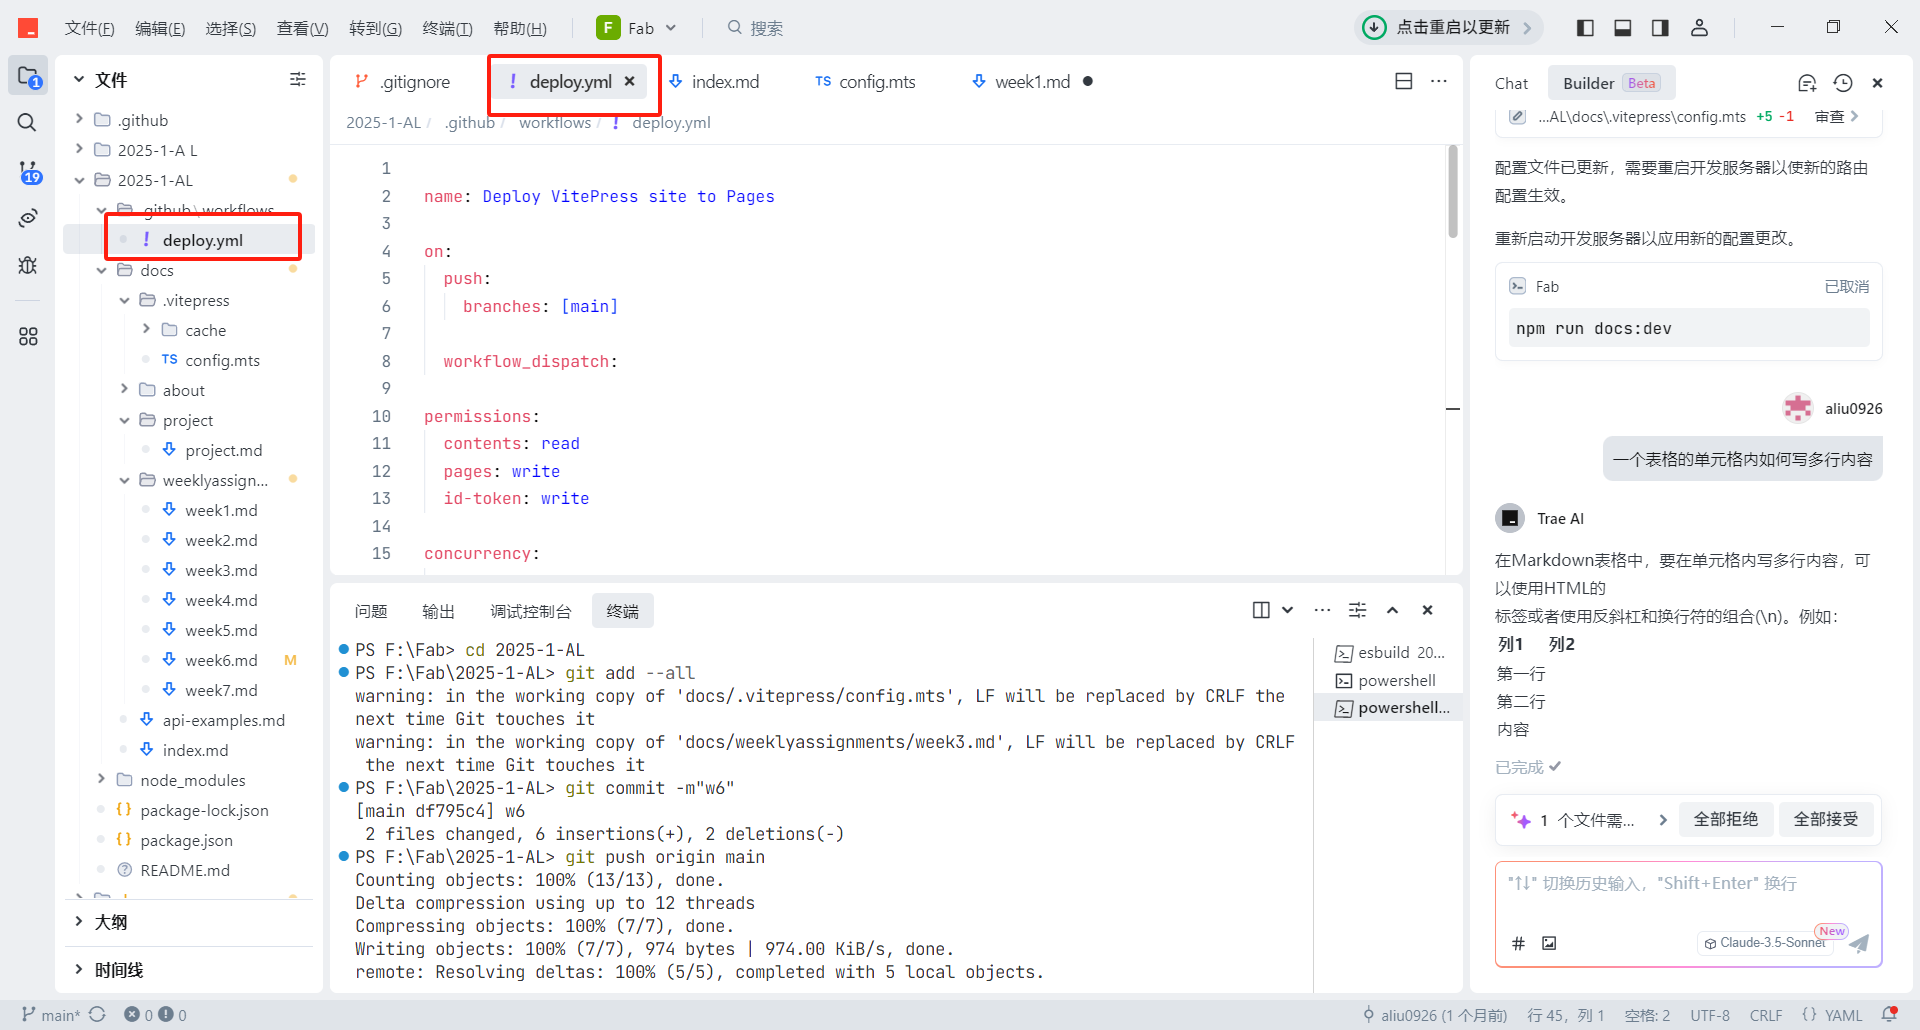
.gdeploy.ymlfile
bash
# Example workflow for building and deploying a VitePress site to GitHub Pages
#
name: Deploy VitePress site to Pages

on:
  # Runs on pushes targeting the `main` branch. If you
  # use `master` branch as default, change this to `master`
  push:
    branches: [main]

  # Allows you to run this workflow manually from the Actions tab
  workflow_dispatch:

# Sets permissions of the GITHUB_TOKEN to allow deployment to GitHub Pages
permissions:
  contents: read
  pages: write
  id-token: write

# Allow only one concurrent deployment, skipping runs queued between the run in-progress and latest queued.
# However, do NOT cancel in-progress runs as we want to allow these production deployments to complete.
concurrency:
  group: pages
  cancel-in-progress: false

jobs:
  # Build job
  build:
    runs-on: ubuntu-latest
    steps:
      - name: Checkout
        uses: actions/checkout@v4
        with:
          fetch-depth: 0 # Not needed if lastUpdated is not enabled
      # - uses: pnpm/action-setup@v3 # Uncomment this section if using pnpm
      #   with:
      #     version: 9
      # - uses: oven-sh/setup-bun@v1 # Uncomment if using Bun
      - name: Setup Node
        uses: actions/setup-node@v4
        with:
          node-version: 22.14.0
          cache: npm # or pnpm / yarn
      - name: Setup Pages
        uses: actions/configure-pages@v4
      - name: Install dependencies
        run: npm ci # or pnpm install / yarn install / bun install
      - name: Build with VitePress
        run: npm run docs:build # or pnpm docs:build / yarn docs:build / bun run docs:build
      - name: Upload artifact
        uses: actions/upload-pages-artifact@v3
        with:
          path: docs/.vitepress/dist

  # Deployment job
  deploy:
    environment:
      name: github-pages
      url: ${{ steps.deployment.outputs.page_url }}
    needs: build
    runs-on: ubuntu-latest
    name: Deploy
    steps:
      - name: Deploy to GitHub Pages
        id: deployment
        uses: actions/deploy-pages@v4