Project Management
1. Create web
To implement the dynamic web visualization frontend
1. Create Web (Build a Documentation Site with VitePress)
Goal: turn our project docs / progress logs / demos into a website that can be updated continuously.
Workflow: Write in Markdown → Preview locally → Build static files → Host on GitHub Pages.
1.1 Environment Check
Open a terminal and run:
bash
node -v
npm -v
1.2 Install VitePress
bash
npm add -D vitepress@next
npx vitepress init
1.3 Understand the Folder Structure
my-doc-site/ ├─ docs/ │ ├─ .vitepress/ │ │ └─ config.ts # site config: title, nav, base, sidebar, etc. │ ├─ index.md # homepage │ ├─ guide/ # your custom content folder (example) │ │ └─ intro.md │ └─ public/ # static assets (logo/images), optional └─ package.json
2. Create a Repository
Create Your First GitHub Repository (Step-by-Step)
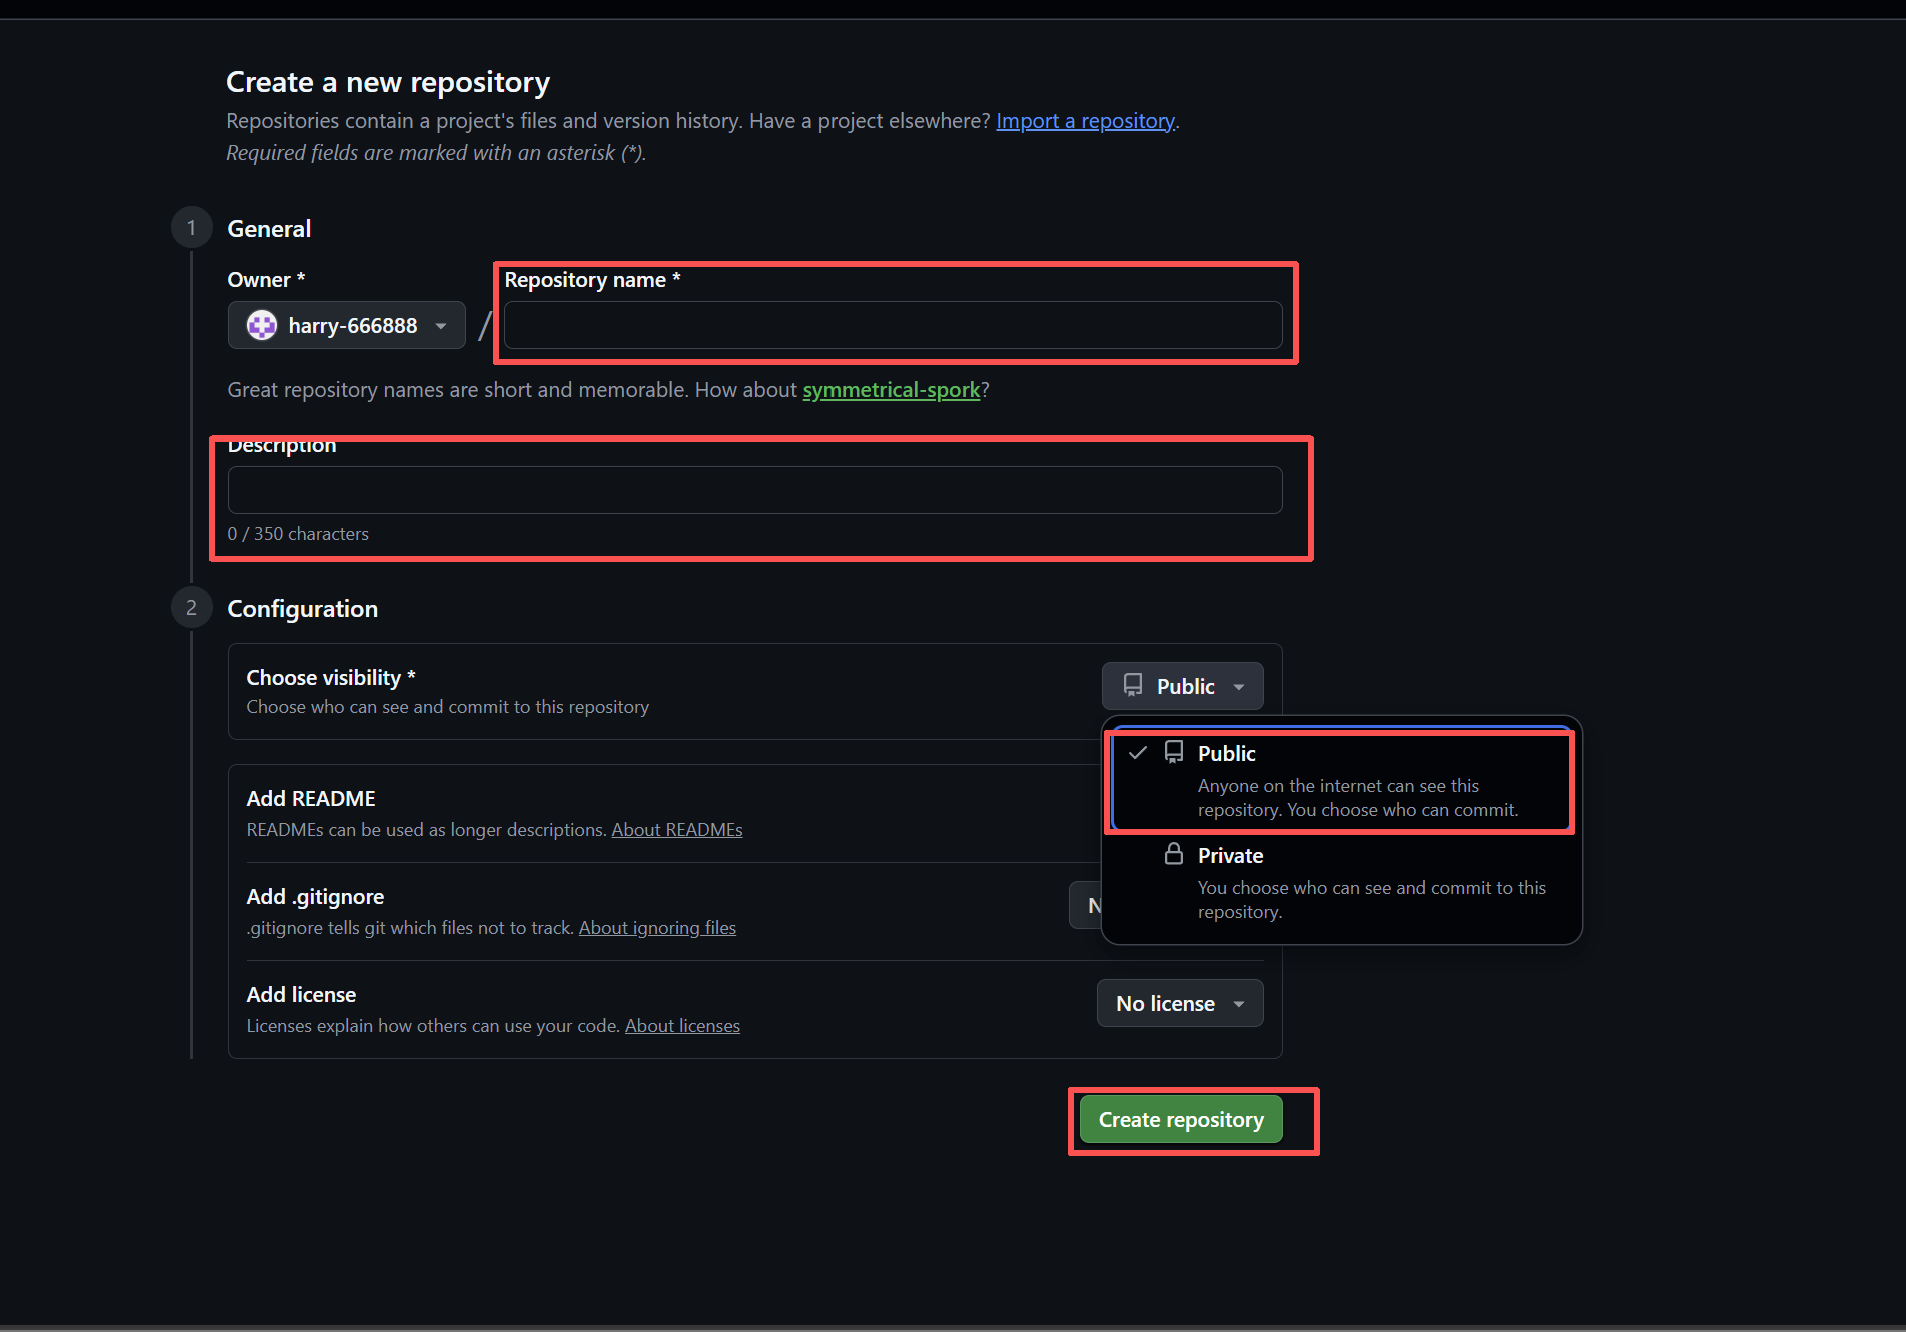
Step 1: Repository name ✨
- Click and type your project name
- Recommended format: lowercase + hyphens
Examples:my-first-website - No spaces, no Chinese characters, no uppercase start
Step 2: Description (optional but highly recommended)
Write one sentence to tell others what this project is
Step 3: Public or Private?
- Public → Anyone on the internet can see it
→ Easier for teachers/classmates to help
→ Perfect portfolio link for job applications - Private → Only you and invited people can see
Step 4: Initialize this repository
- [x] Add a README file
- [x] Add .gitignore
- [x] Add a license
Step 5: Click the green "Create repository" button
We’ll be taken to our brand new repository.
2. Image Hosting with PicGo + GitHub
Step 1: Generate GitHub Classic Token
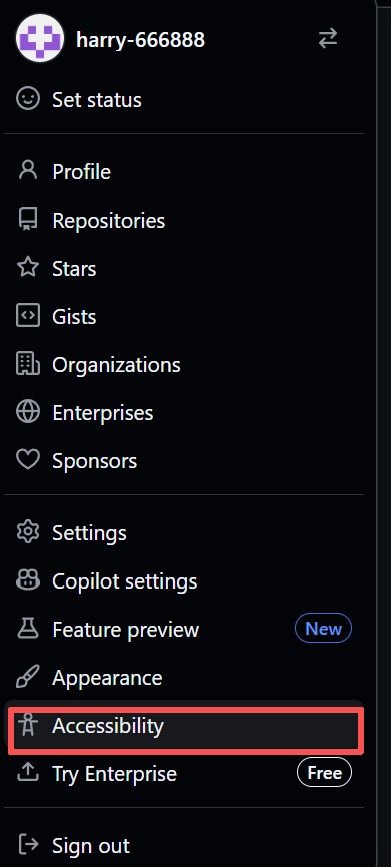
- GitHub → Profile picture → Settings
- Bottom left → <> Developer settings
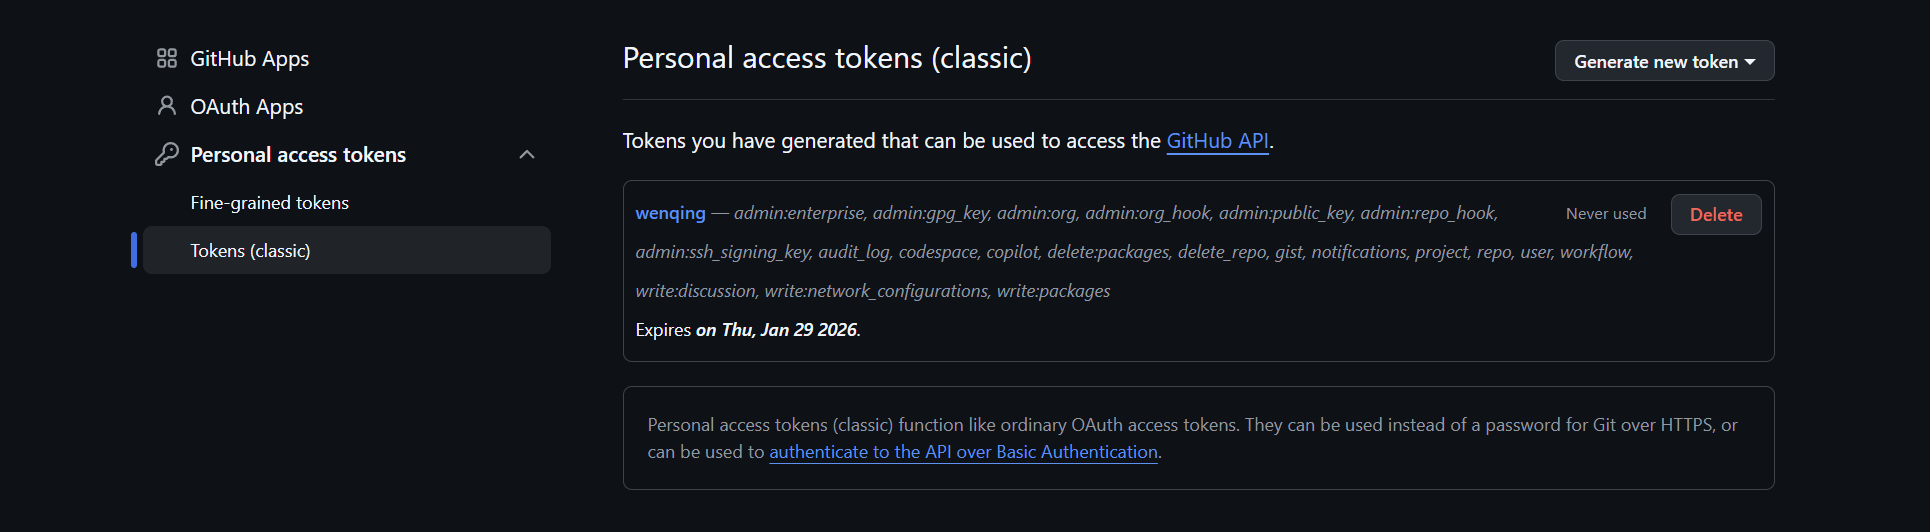
- → Personal access tokens → Tokens (classic)
- Top right → Generate new token (classic)
- Check these permissions:
- [√] repo ← Required
- [x] workflow
- Scroll down → Generate token
- Copy the token immediately
Step 2: Configure GitHub in PicGo
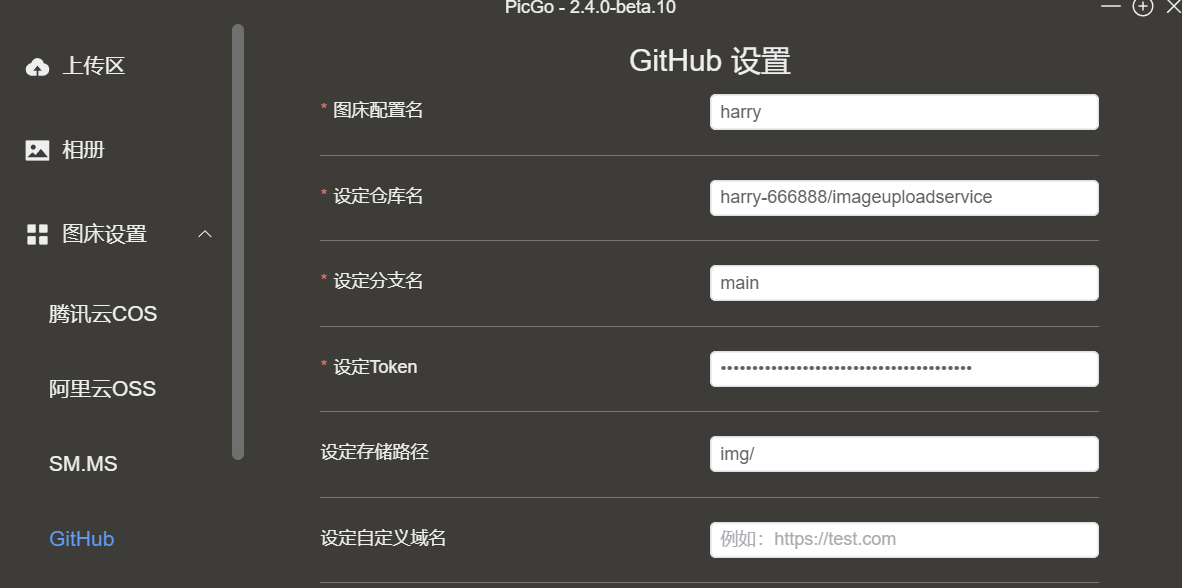 As shown in the figure, this indicates that the image hosting settings have been successfully completed.