Project Management - How to build your website
This week, I focused on completing three key tasks: configuring my PC environment, developing a website, and outlining my final project plan.
1.Prepare
To create our webpage, we will utilize the following tools(Click the tool name to download and install):
• Git: Manages version control in GitLab.
• GitHub: Serves as the hosting platform for our webpage.
• GitHub Desktop: Simplifies the process of transferring code from a local environment to GitHub.
• Node.js: Establishes the necessary development environment.
• Trea AI: Assists in drafting and organizing documentation.
• Image Upload Service: We employ Picgo to store images on cloud platforms (e.g., GitLab) and embed them into Markdown documents.
2. Web page setting
In GitHub, create a repository with public visibility. Navigate to the Settings tab, select Pages, and choose the main branch with the /(root) folder option. Click Save to generate your webpage link. 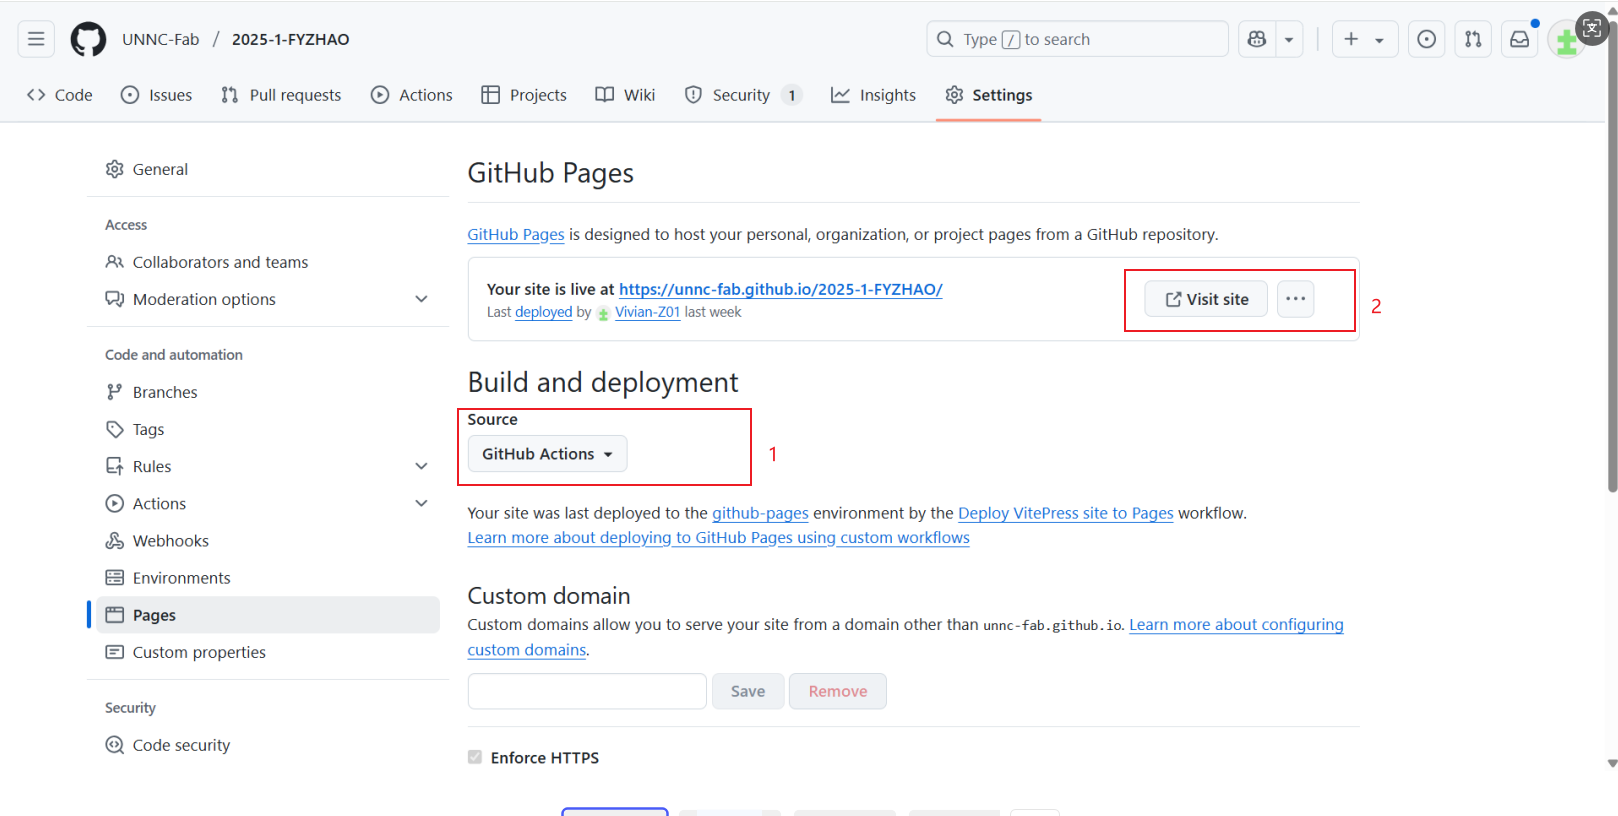
3. Git basic operations
Configure Git
When configuring Git, you need to set the username and email address. Run the following commands to set them:
git config --global user.name "Vivian-Z"
git config --global user.email "owariko@163.com"
The following table lists the commands for creating a repository in Git:
git init    # Initializes a repository
git clone   # Copies a remote repository, essentially downloading a project
Clone and push the github folder to the local after typing in the terminal.
git add --all
git commit -m "Add new feature"
git push origin main
4. Deploy the VitePress site
Follow the instraction on VitPress website. Initialize with your preferred package manager.
VitePress comes with a command-line setup wizard that helps you build a basic project. After installation, start the wizard by running the following command:
npx vitepress initA few simple questions will need to be answered:
┌  Welcome to VitePress!
│
◇  Where should VitePress initialize the config?
│  ./docs
│
◇  Where should VitePress look for your markdown files?
│  ./docs
│
◇  Site title:
│  My Awesome Project
│
◇  Site description:
│  A VitePress Site
│
◇  Theme:
│  Default Theme
│
◇  Use TypeScript for config and theme files?
│  Yes
│
◇  Add VitePress npm scripts to package.json?
│  Yes
│
◇  Add a prefix for VitePress npm scripts?
│  Yes
│
◇  Prefix for VitePress npm scripts:
│  docs
│
└  Done! Now run pnpm run docs:dev and start writing.
You can run the following command to build the document:
$ npm run docs:buildAfter you build the document, you can use this script to start a local development server with instant hot updates. Run it with the following command:
$ npm run docs:dev
You can configure the server's port by passing --port as a parameter.
{
  "scripts": {
    "docs:preview": "vitepress preview docs --port 8080"
  }
}
When finished, hold down ctrl+c to exit Vitepress.
5. Modify YML configuration
Create the folder.github/workflows in the root directory and create the deploy.yml file. 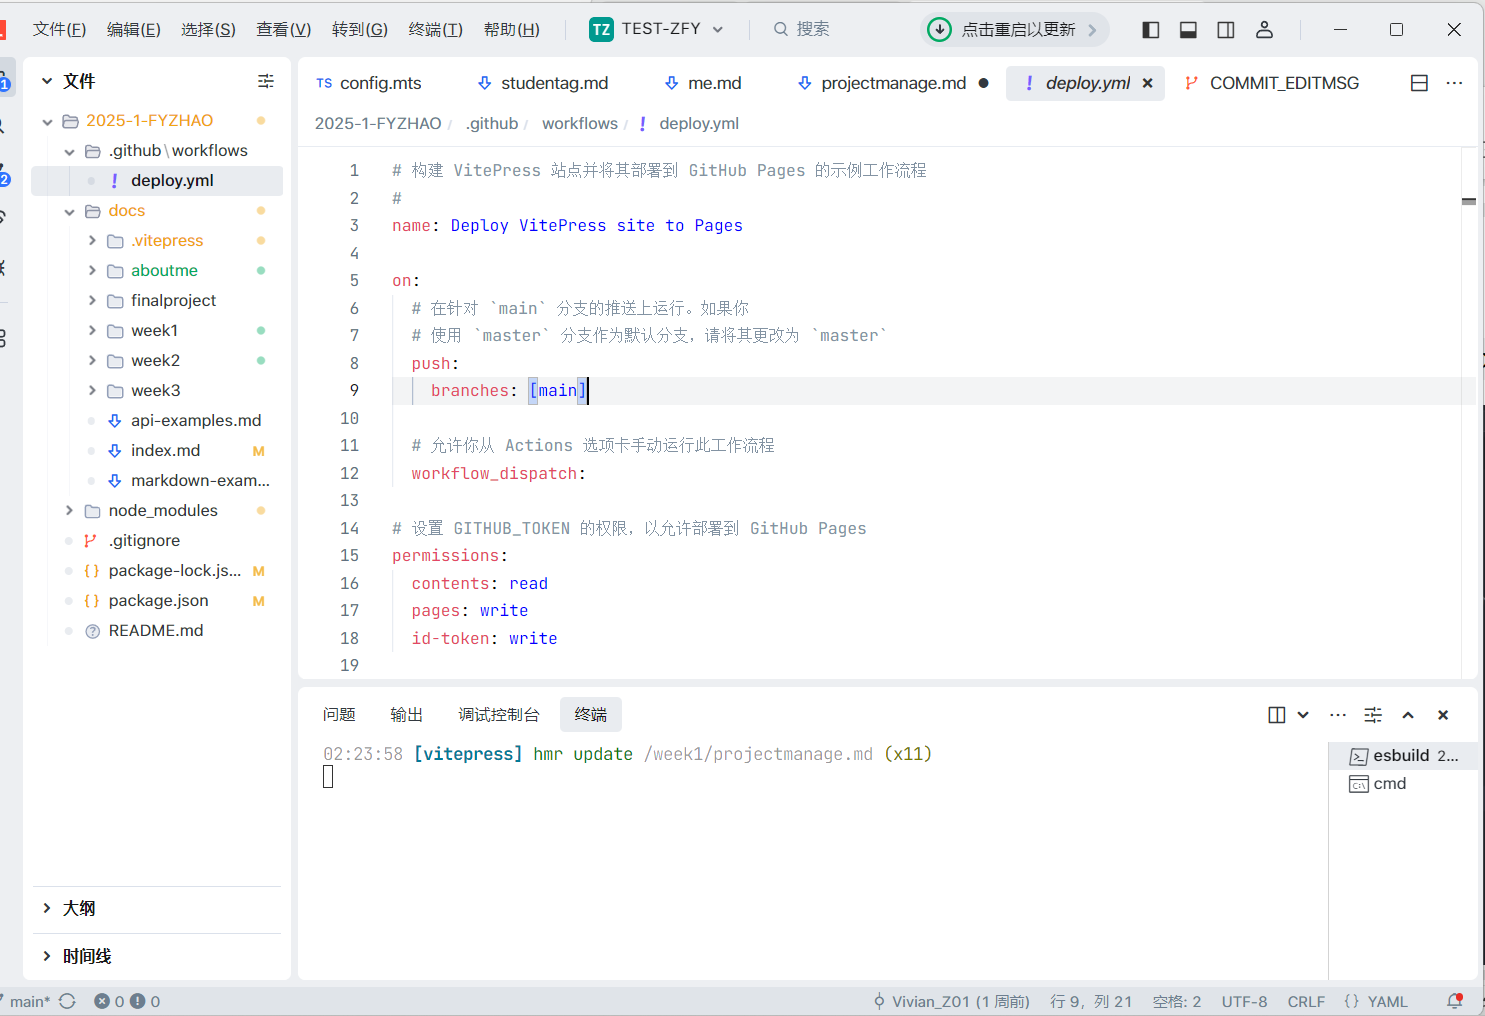
Deploy.yml details:
# Example workflow for building and deploying a VitePress site to GitHub Pages
name: Deploy VitePress site to Pages

on:
  # Runs on pushes to the `main` branch. If you
  # use `master` as the default branch, change it to `master`
  push:
    branches: [main]

  # Allows you to manually run this workflow from the Actions tab
  workflow_dispatch:

# Sets permissions for GITHUB_TOKEN to allow deployment to GitHub Pages
permissions:
  contents: read
  pages: write
  id-token: write

# Allows only one concurrent deployment, skipping runs between the running and latest queue
# However, do not cancel in-progress runs, as we want to allow these production deployments to complete
concurrency:
  group: pages
  cancel-in-progress: false

jobs:
  # Build job
  build:
    runs-on: ubuntu-latest
    steps:
      - name: Checkout
        uses: actions/checkout@v4
        with:
          fetch-depth: 0 # Not needed if lastUpdated is not enabled
      # - uses: pnpm/action-setup@v3 # Uncomment this section if using pnpm
      #   with:
      #     version: 9
      # - uses: oven-sh/setup-bun@v1 # Uncomment if using Bun
      - name: Setup Node
        uses: actions/setup-node@v4
        with:
          node-version: 20
          cache: npm # or pnpm / yarn
      - name: Setup Pages
        uses: actions/configure-pages@v4
      - name: Install dependencies
        run: npm ci # or pnpm install / yarn install / bun install
      - name: Build with VitePress
        run: npm run docs:build # or pnpm docs:build / yarn docs:build / bun run docs:build
      - name: Upload artifact
        uses: actions/upload-pages-artifact@v3
        with:
          path: docs/.vitepress/dist

  # Deployment job
  deploy:
    environment:
      name: github-pages
      url: ${{ steps.deployment.outputs.page_url }}
    needs: build
    runs-on: ubuntu-latest
    name: Deploy
    steps:
      - name: Deploy to GitHub Pages
        id: deployment
        uses: actions/deploy-pages@v4
Create a new.gitignore file and write it to node modules. 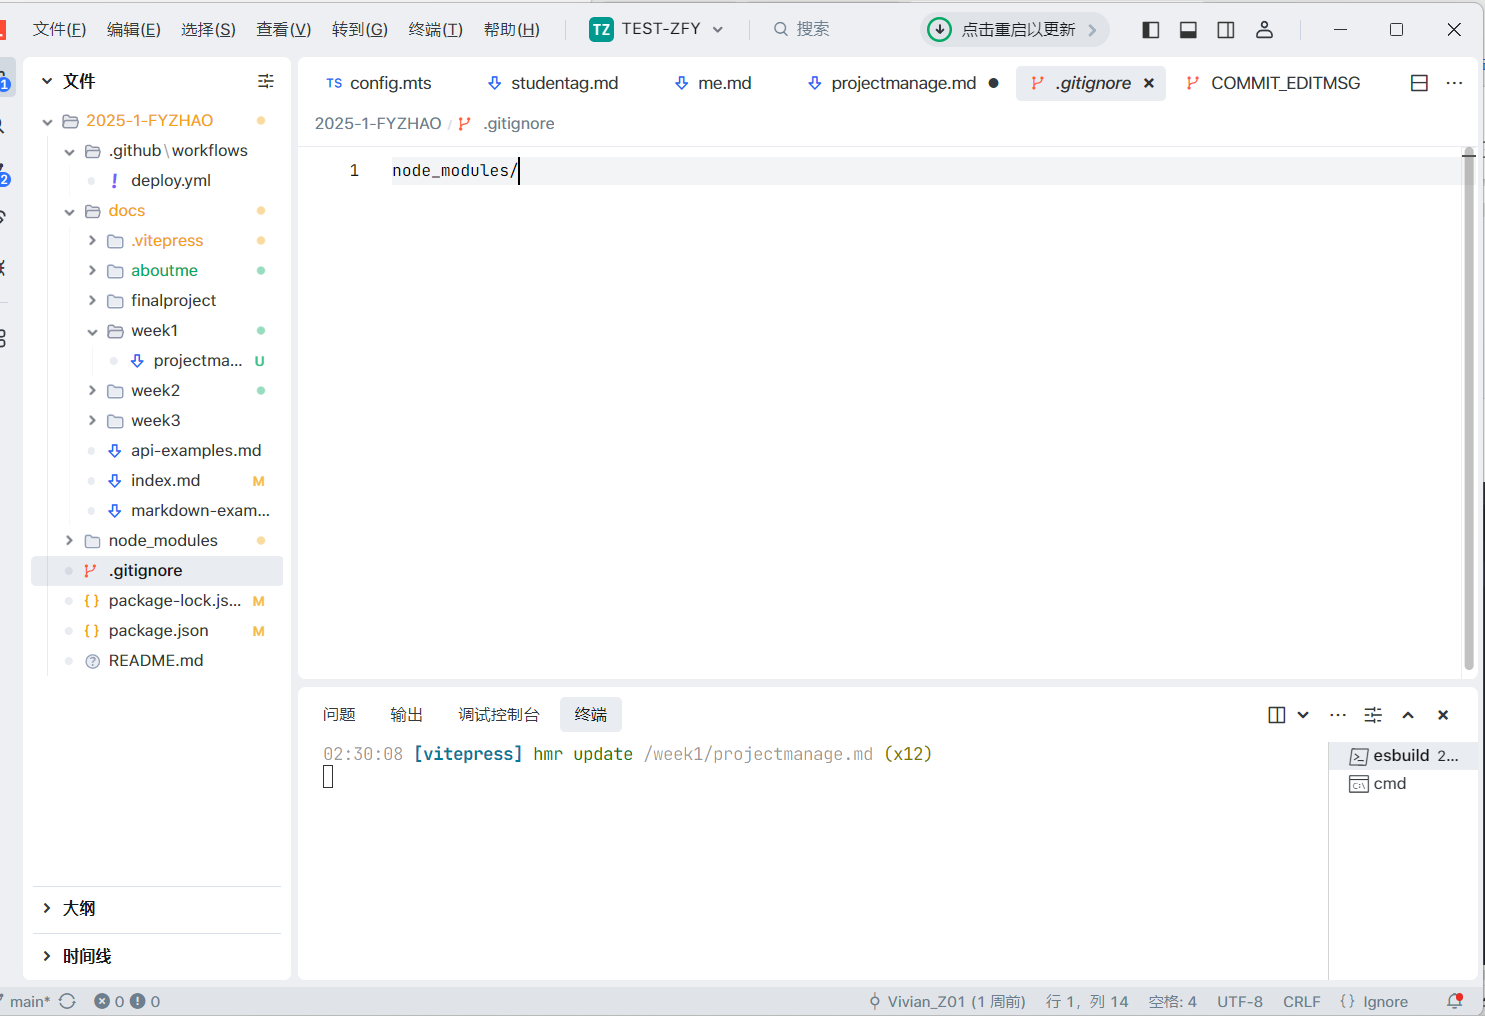
Run npm install on the terminal.
Add the following to the package.json file.
json
{
  "scripts": {
    "docs:dev": "vitepress dev docs",
    "docs:build": "vitepress build docs",
    "docs:preview": "vitepress preview docs"
  },
  "devDependencies": {
    "vitepress": "^1.6.3"
  }
}
Add base in the docs>.vitepress> config.js file: The address is as follows.
import { defineConfig } from 'vitepress'

export default defineConfig({
  base: '/2025-1-FYZHAO/',
  title: "UNNC-FAB-2025",
  description: "UNNC-FAB-2025 Documentation",
  themeConfig: {
    nav: [
      { text: 'Home', link: '/' },
    ],
    sidebar: [
      {
        text: 'Week1',
        items: [
          { text: 'intro', link: '/introduction' }
        ]
      }
    ]
  }
})
Upload to GitHub.
Select github actions.
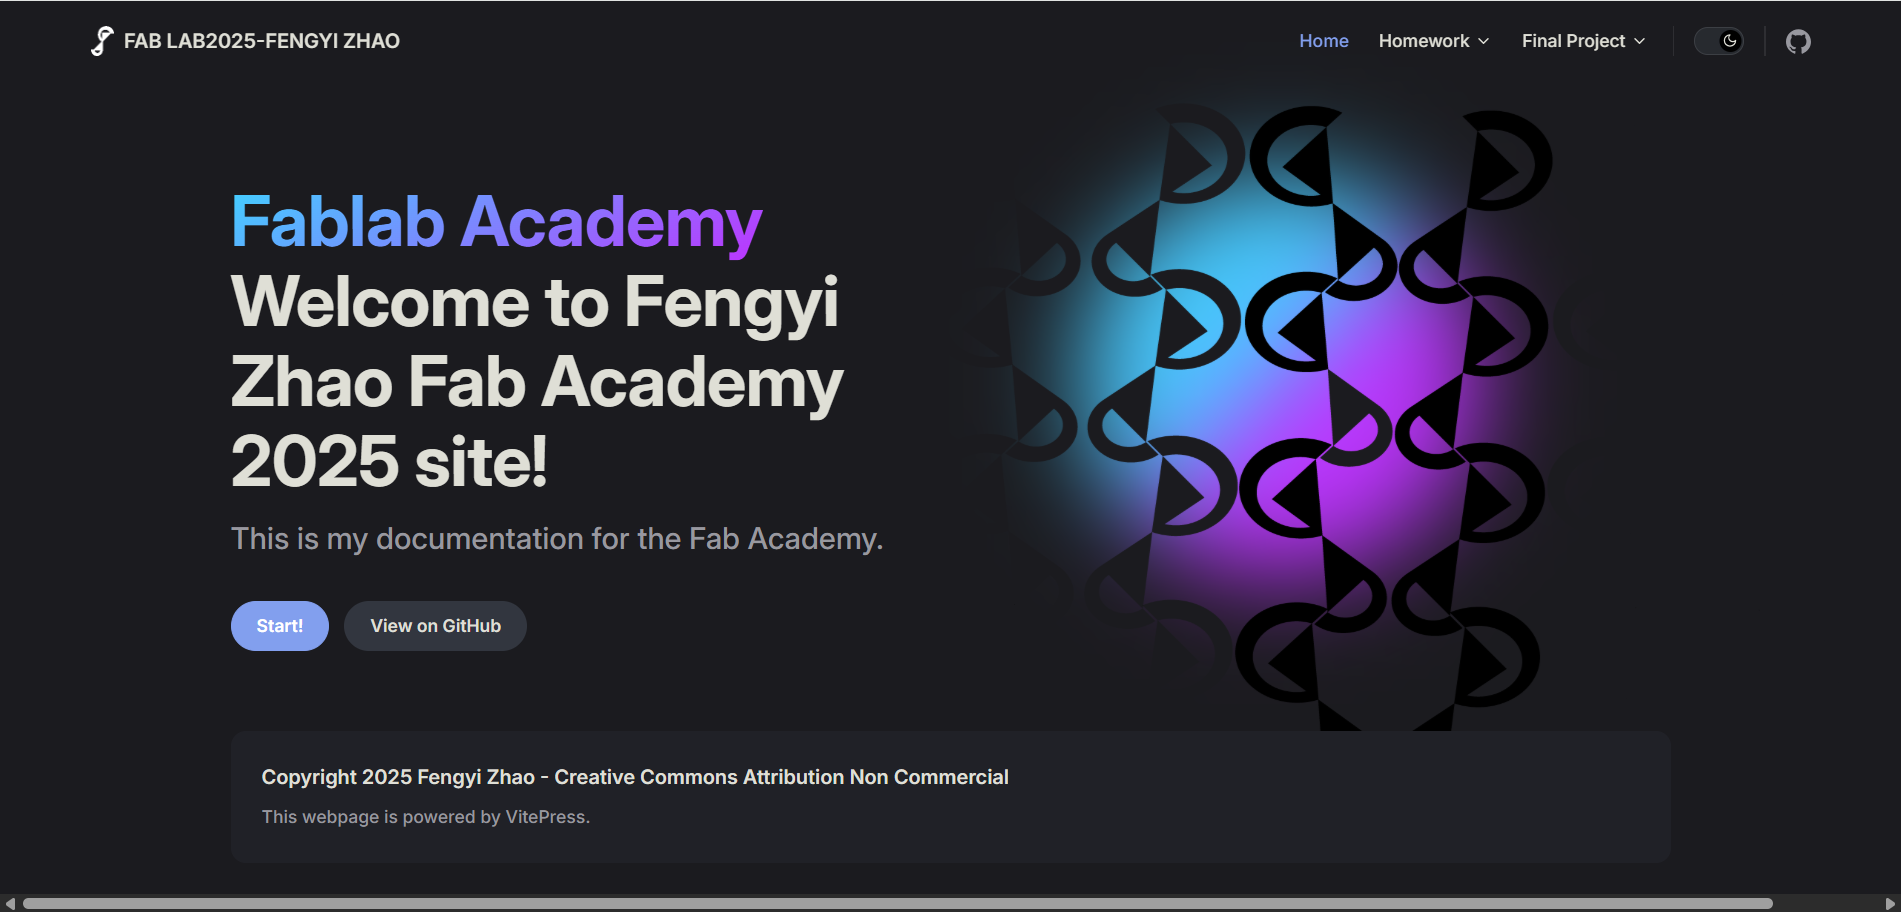
Then you can get a original page. 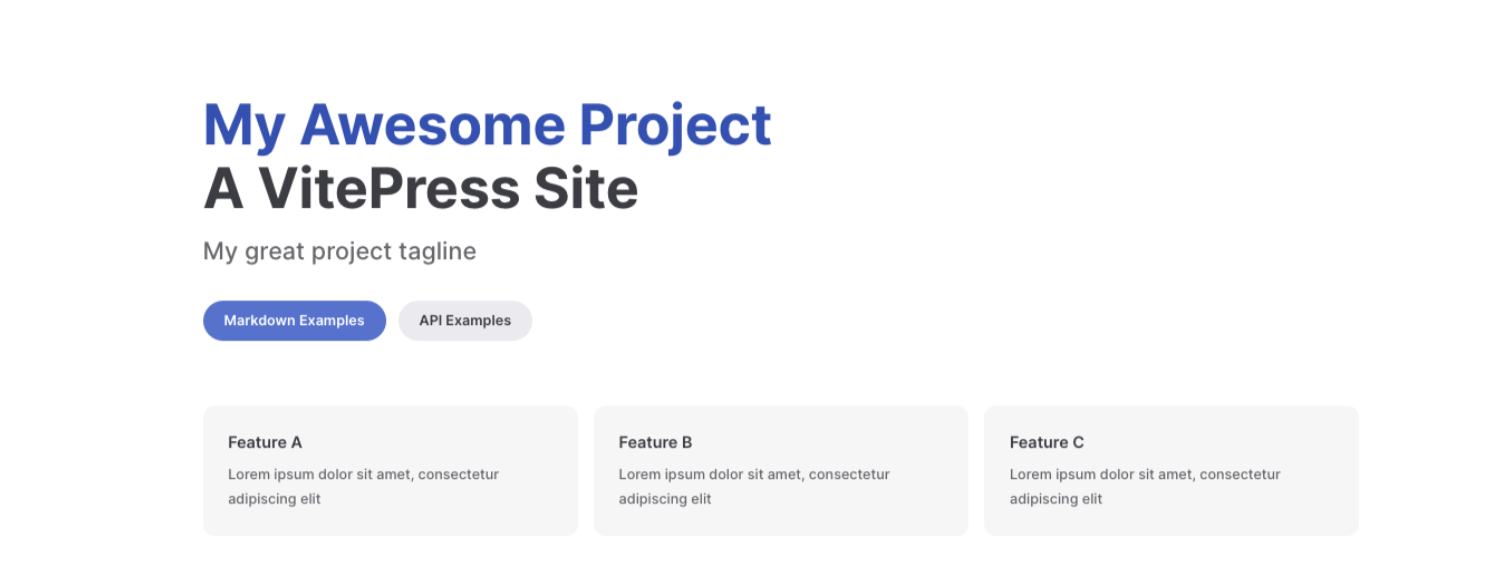
6. Page settings
Define the nav and sidebar configuration in the config.mts file: 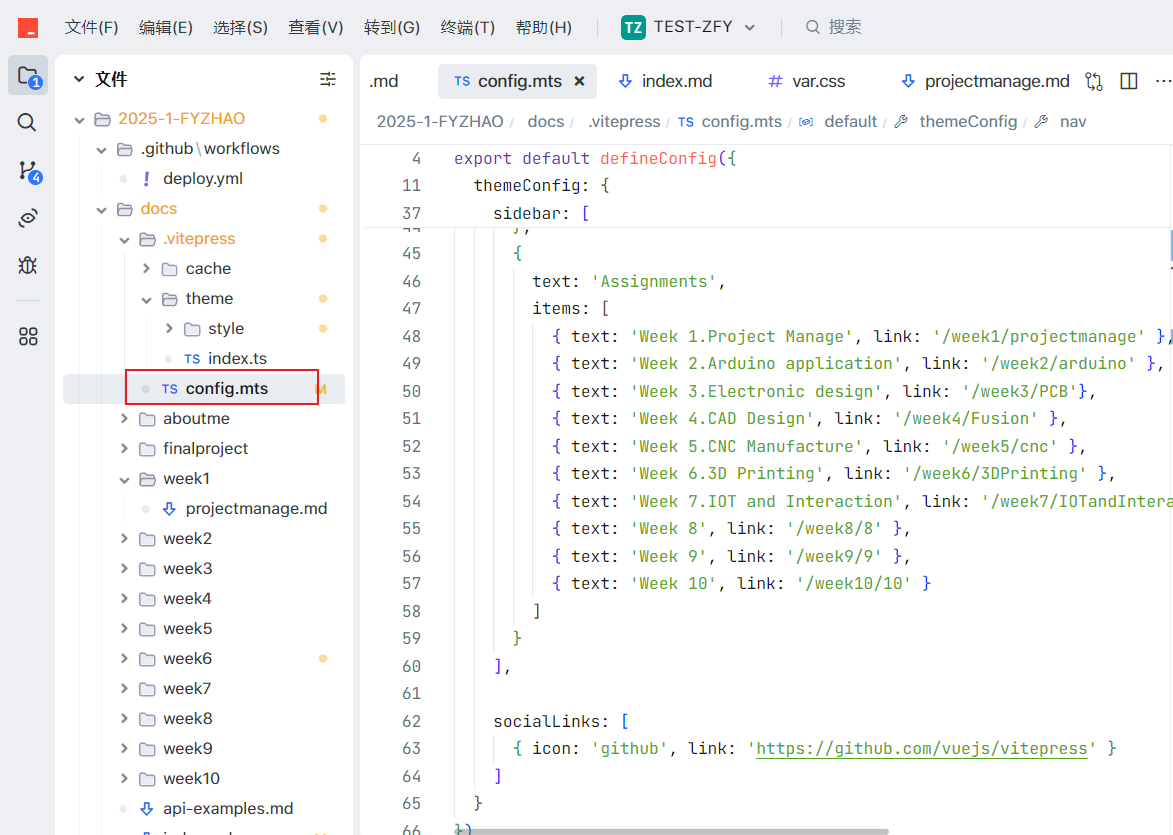 The following are the configuration codes for the drop-down menu and the sidebar.
export default defineConfig({
  themeConfig: {
    nav: [
      { text: 'Home', link: '/' },
      { text: 'Homework', items: [
        { text: 'Week 1', link: '/week1/projectmanage' },
        { text: 'Week 2', link: '/week2/arduino' },
        { text: 'Week 3', link: '/week3/PCB' }
      ] },
      { text: 'Final Project', items: [
        { text: 'Final', link: '/finalproject/final' },
        { text: 'Prepare', link: '/finalproject/finalXu' }
      ] }
    ],
    sidebar: [
      {
        text: 'About',
        items: [
          { text: 'About me', link: '/aboutme/me' },
          { text: 'Student agreement', link: '/aboutme/studentag' }
        ]
      },
      {
        text: 'Assignments',
        items: [
          { text: 'Week 1.Project Manage', link: '/week1/projectmanage' },
          { text: 'Week 2.Arduino application', link: '/week2/arduino' },
          { text: 'Week 3.Electronic design', link:'/week3/PCB'}
        ]
      }
    ]
  }
Add icons using a convention like:
themeConfig: {
    logo: {
      light: 'https://unncfab.oss-cn-hangzhou.aliyuncs.com/img/zhao/zf.png',
      dark: 'https://unncfab.oss-cn-hangzhou.aliyuncs.com/img/zhao/zf-2.png'
    },
Then follow the steps on the website to perform CSS styling and add pictures.(https://juejin.cn/post/7406144322834792499)