3D Printing
This week, I explored 3D printing techniques and studied various printing materials. Using Bambu Lab's MakerWorld community platform, I downloaded and customized a shell-shaped dish model, then successfully printed it with my 3D printer. Additionally, I experimented with dual-color printing to create more visually striking results.
1. FDM Technology and Bambu Lab Ecosystem
FDM Technology Introduction
Fused Deposition Modeling (FDM) is an additive manufacturing process that builds objects layer by layer through precise deposition of melted thermoplastic materials. Key characteristics include:
• Material extrusion through heated nozzle • Layer resolution typically 50-400 microns • Wide range of compatible materials (PLA, ABS, PETG, etc.) • Support structures for complex geometries
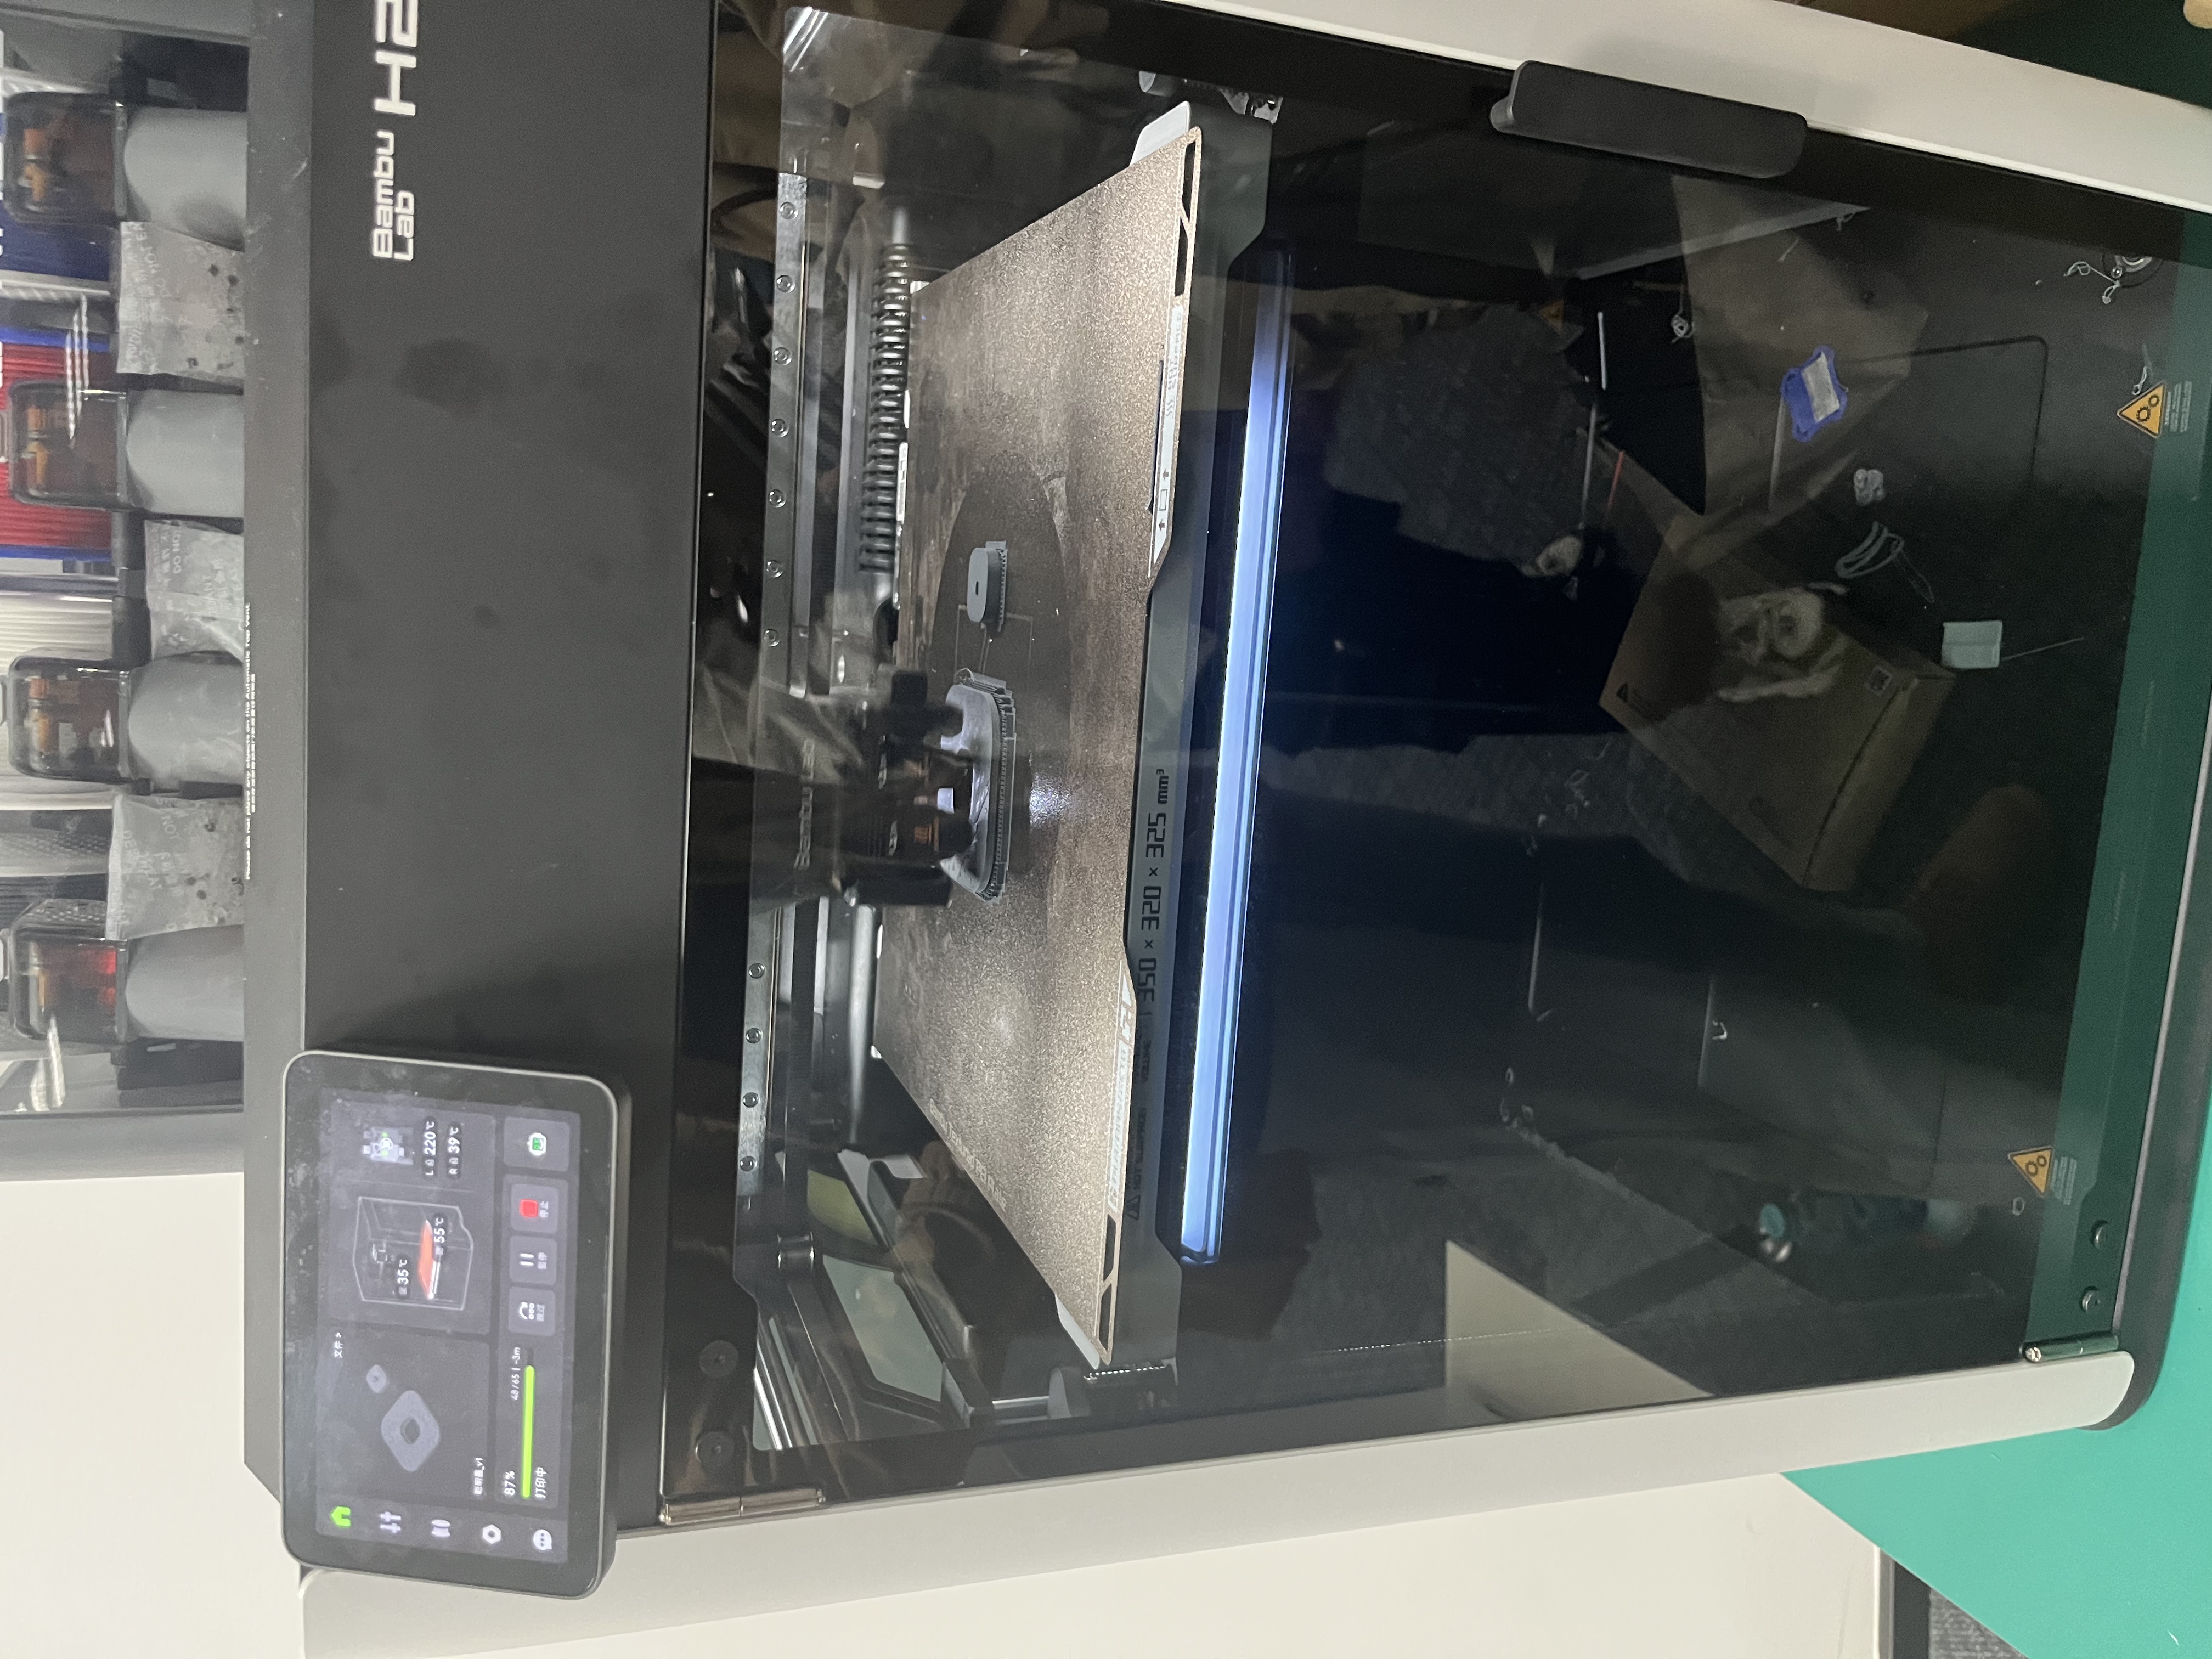
Bambu Lab 3D Printers
Bambu Lab's innovative printer series features:
• X1 Series (Flagship models): • CoreXY motion system • Active vibration compensation • 16×16 point automatic bed leveling • High-temperature chamber (up to 100°C) • LiDAR-assisted first layer calibration
• P1 Series (Value-oriented): • Simplified version of X1 technology • Maintains high-speed printing (up to 500mm/s) • Basic multi-color capabilities
Bambu Studio Software Official slicer software with unique features:
Download and Installation Visit Bambu Lab official website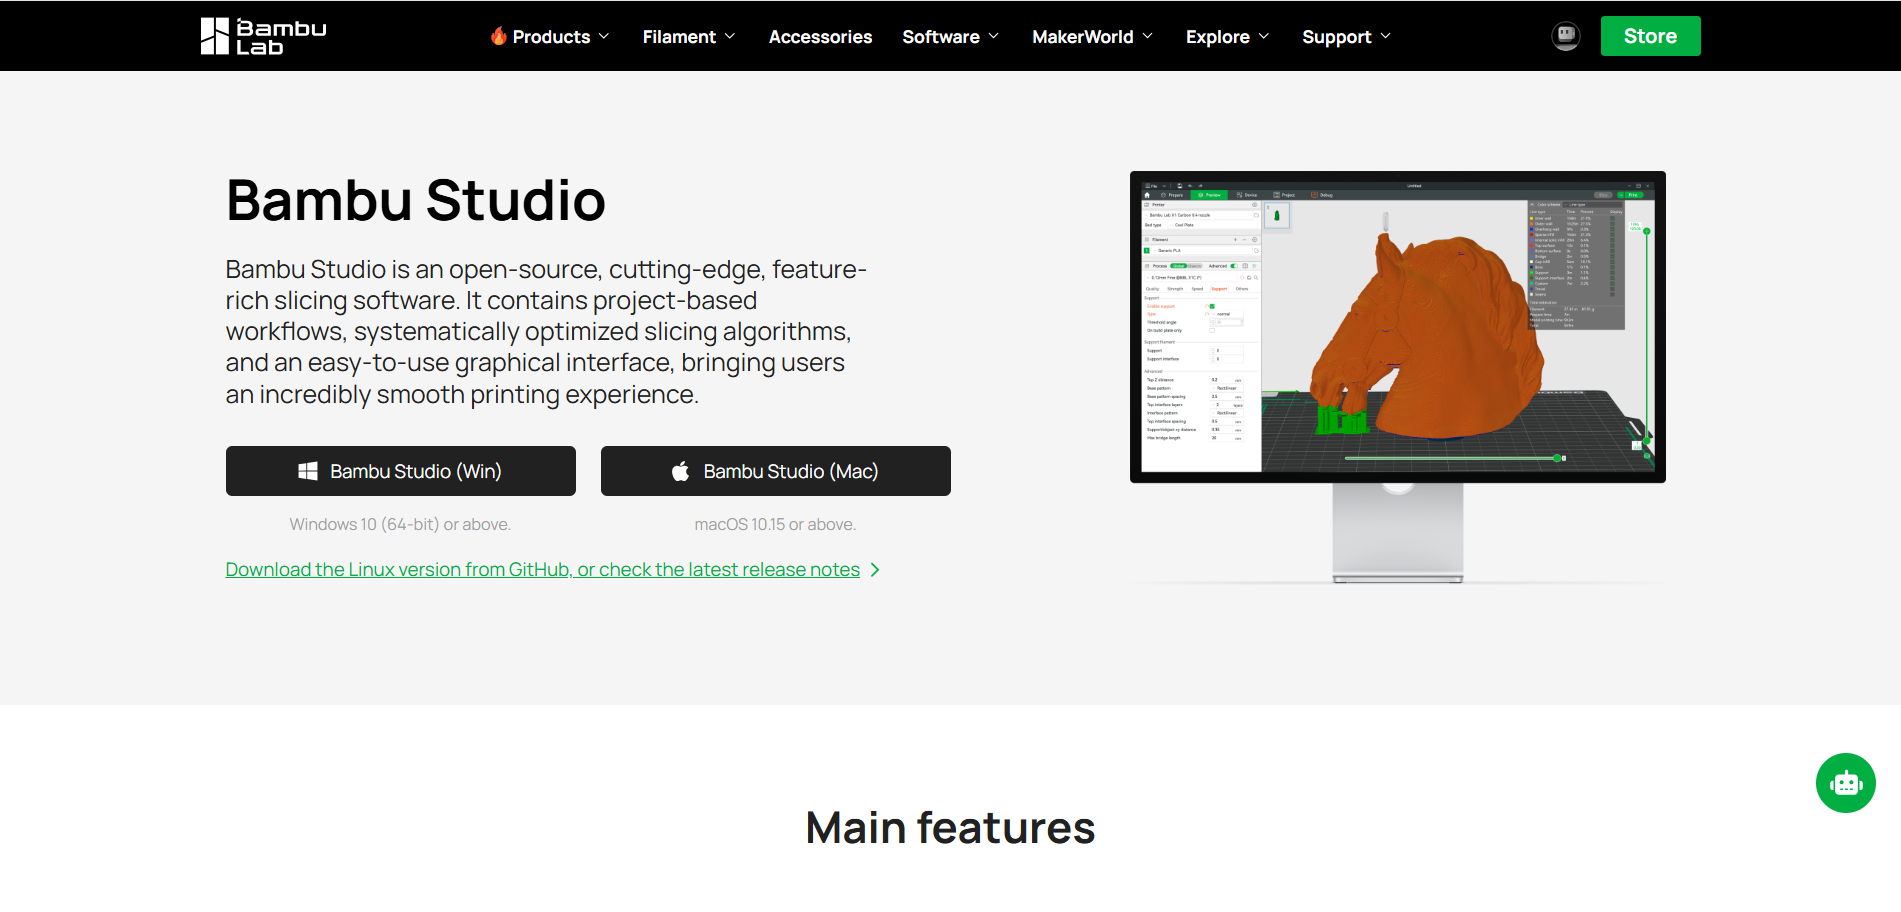 Navigate to Support > Software Downloads Select version compatible with your OS (Windows/macOS/Linux) Follow installation wizard instructions
Key Features
• AI-assisted print preparation • Dynamic flow rate calibration • Multi-material printing support • Cloud-based project management • Real-time print monitoring
Workflow Integration
• Direct connection to Bambu printers • Seamless transfer via LAN/WiFi/Bambu Cloud • Comprehensive failure detection system
2.Steps to Generate and Print a Vase Using MakerWorld
Access the MakerWorld Vase Generator
• Open a browser and navigate to the MakerWorld Vase Generator (ensure the link is correct).
• Sign up or log in if required to save designs.
Design Your Vase
• Choose a Base Shape: Select from preset templates (e.g., cylinder, cone, wave pattern) or click "Customize" to manually adjust parameters (height, diameter, wall thickness).
• Adjust Settings:
• Structure: Solid or hollow (for hollow, set wall thickness to 2-5mm for 3D printing).
• Preview: Check the 3D model in the preview window for overhangs (may need supports).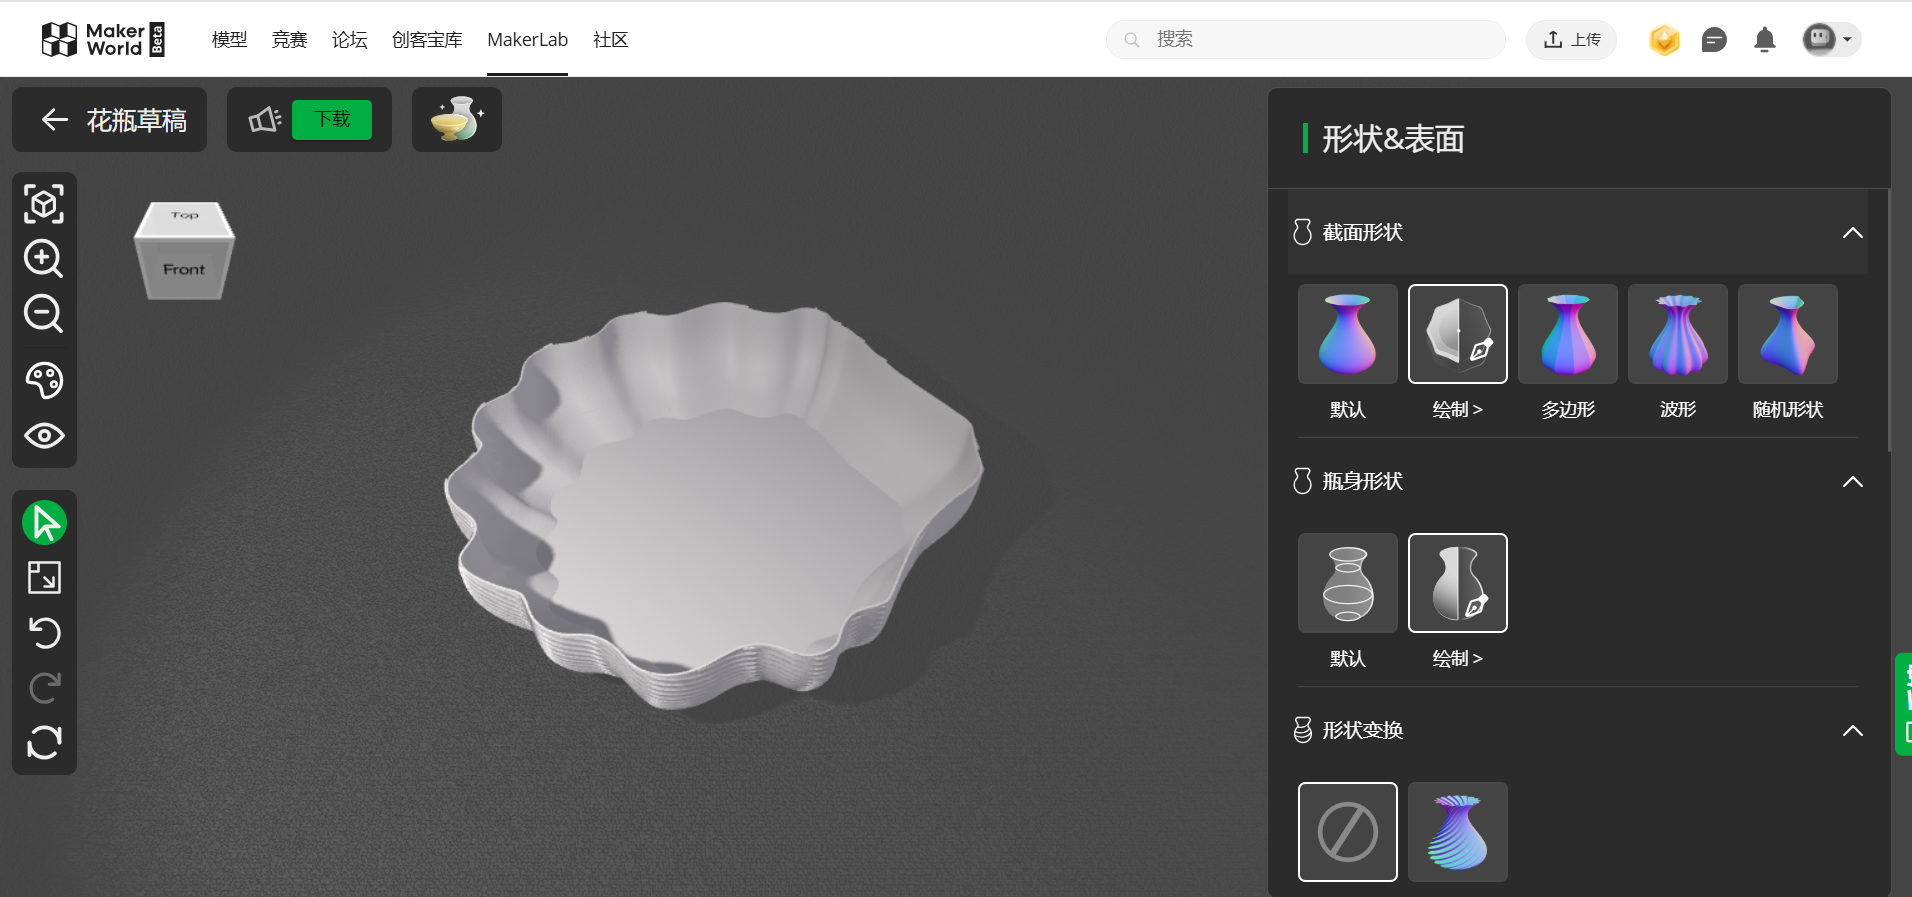
Export the Model
• Click "Generate Model" to create an STL or 3MF file.
• Download the file to your computer.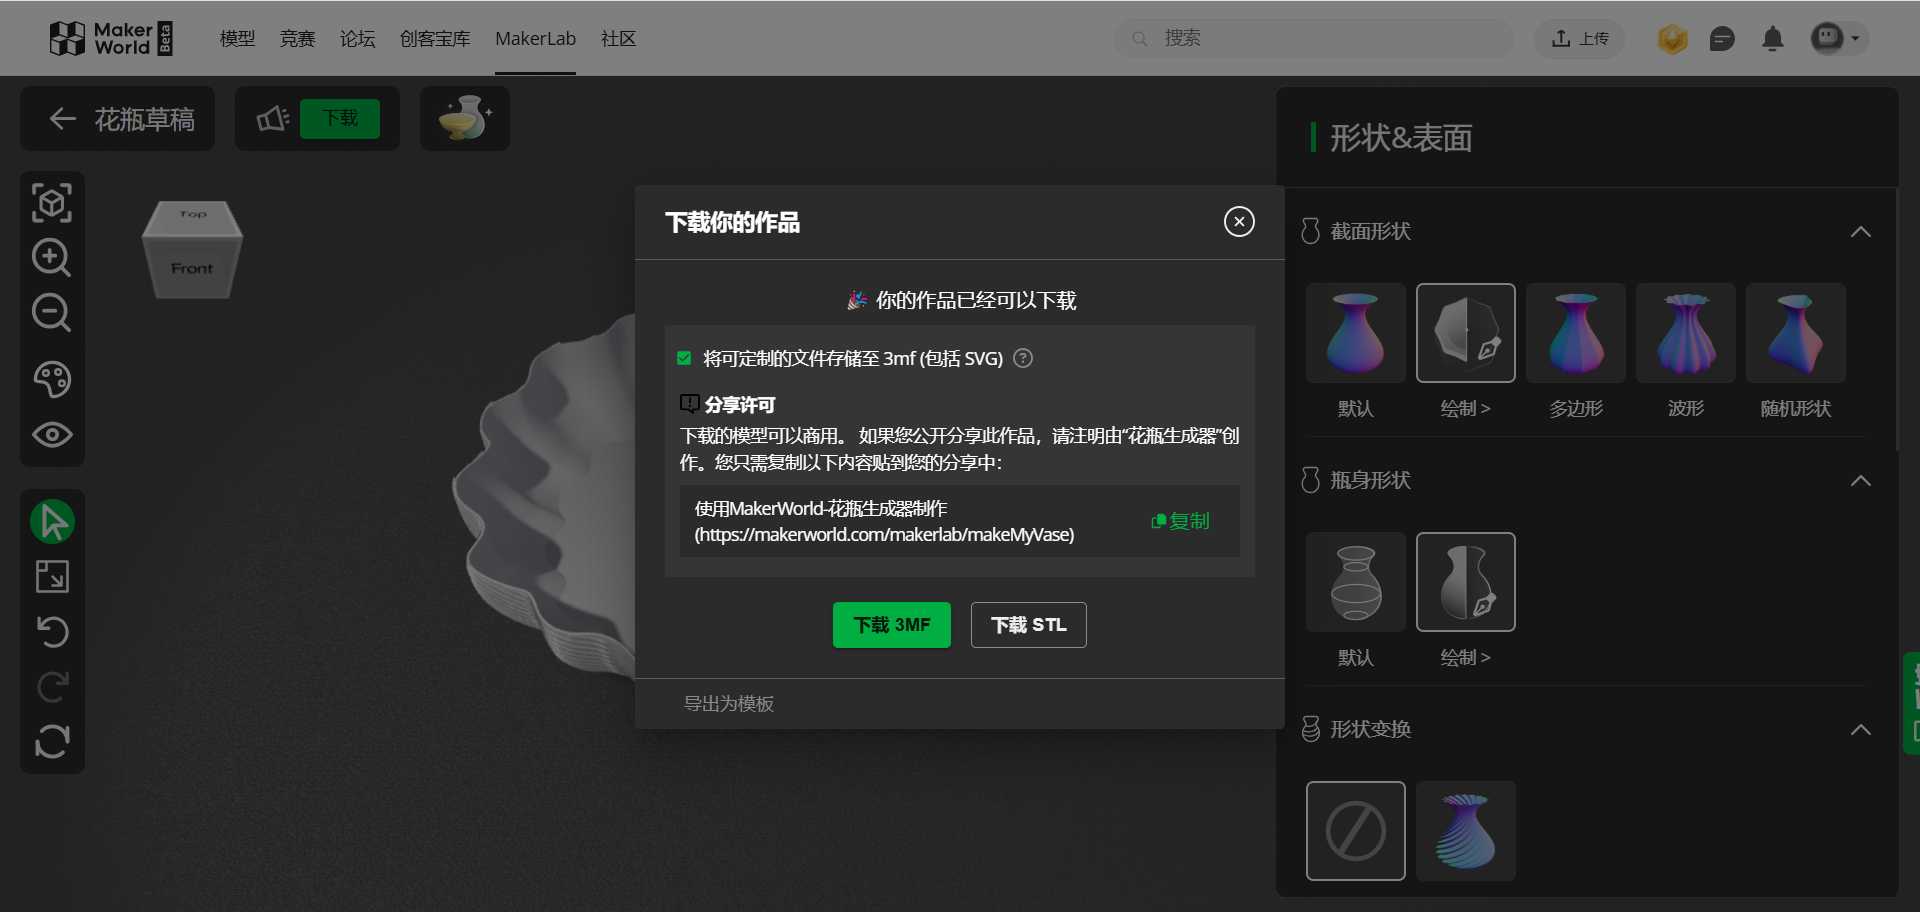
Slice the Model
• Open slicing software (e.g., Bambu studio).
• Import the vase model and configure print settings:
• Layer Height: 0.1-0.2mm for fine details.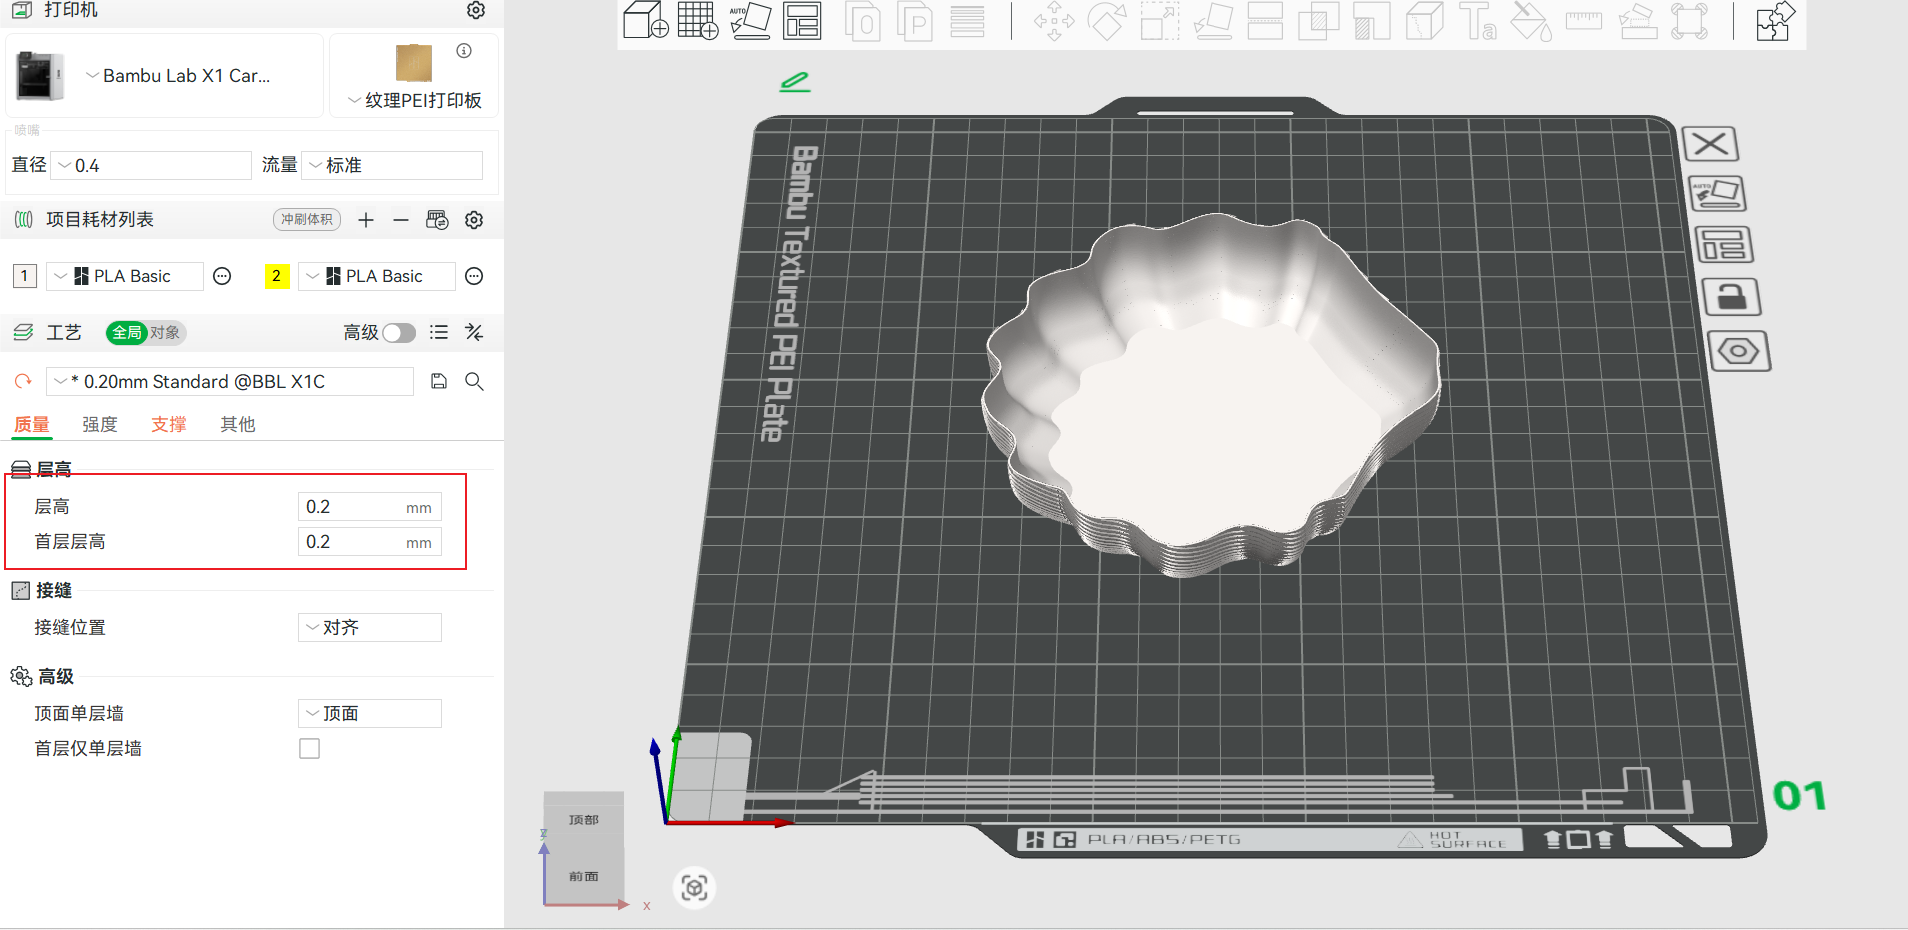
• Infill: 0% for hollow vases (walls only), 10-20% for solid.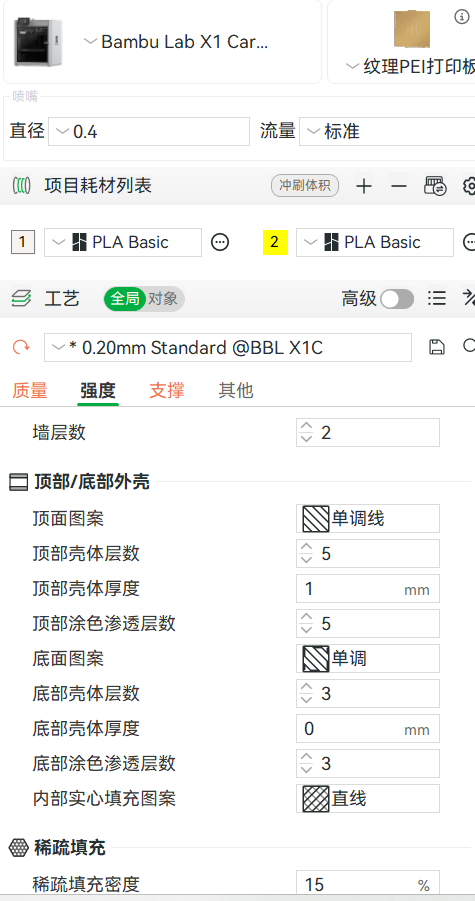
• Supports: Enable if the design has overhangs. 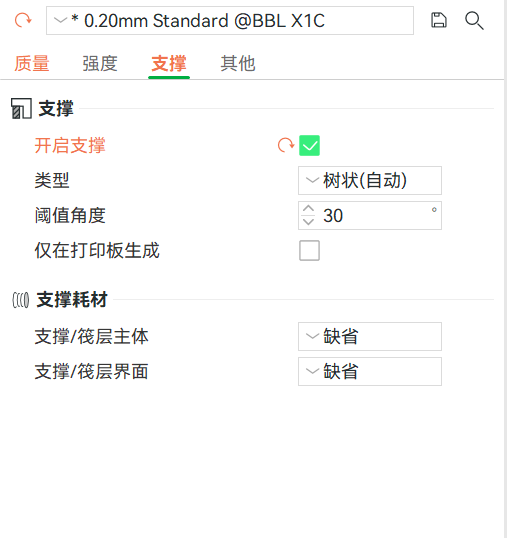 • Print Speed: 30-50mm/s for better quality.
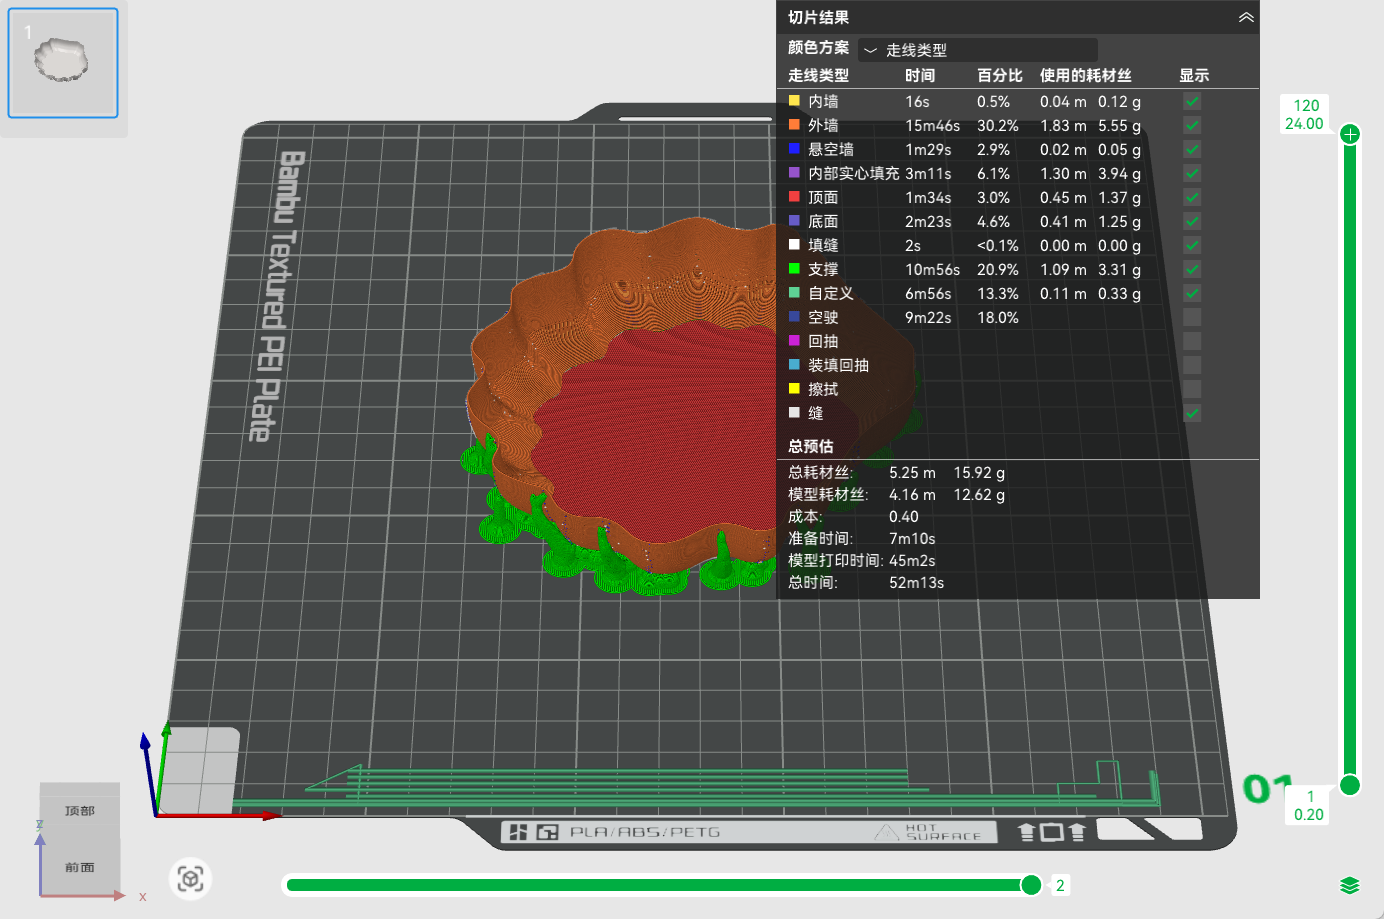
Prepare for Printing
• Check the 3D printer:
• Level the bed and clean the nozzle.
• Load filament (PLA for ease, PETG for durability).
• Transfer the Gcode to the printer (via SD card or direct connection).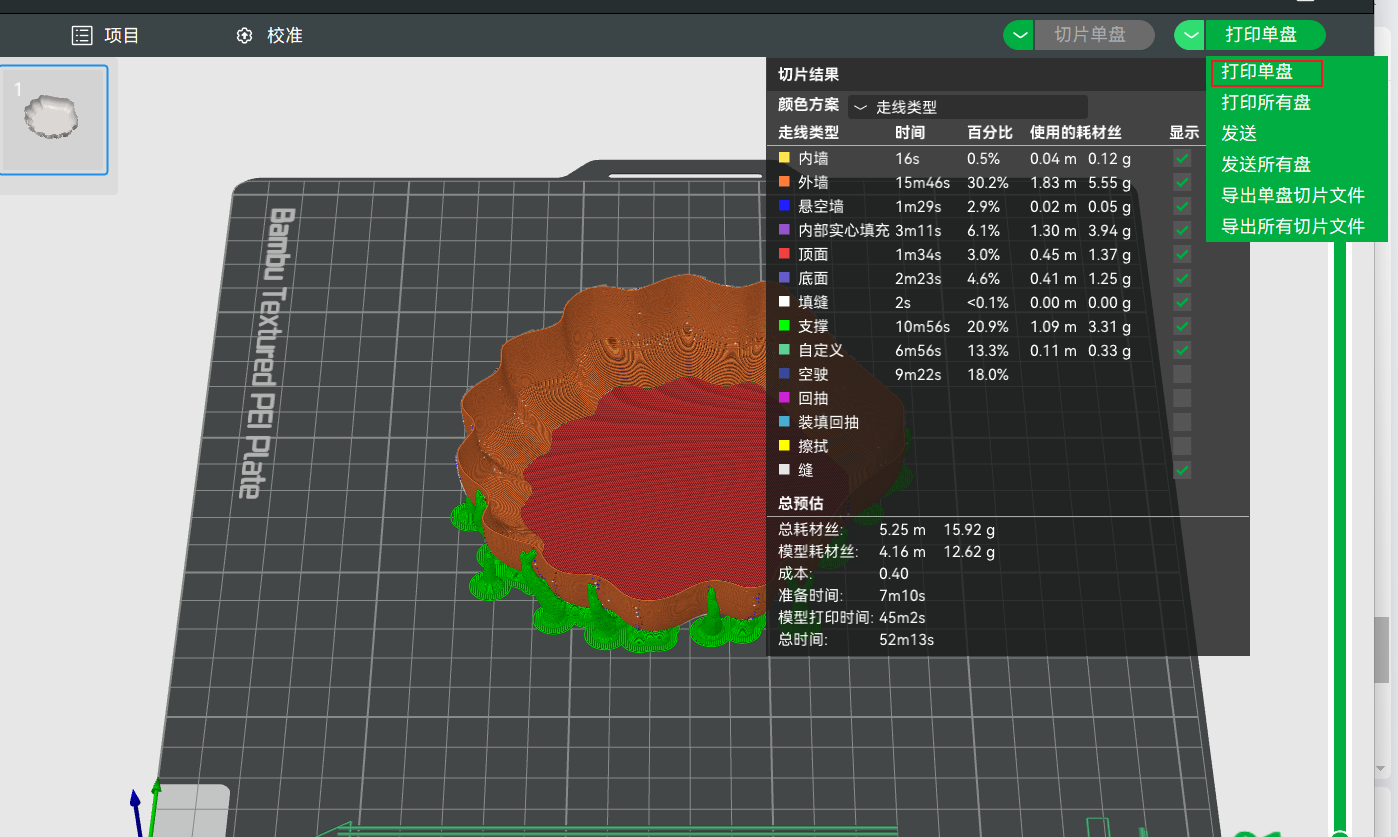
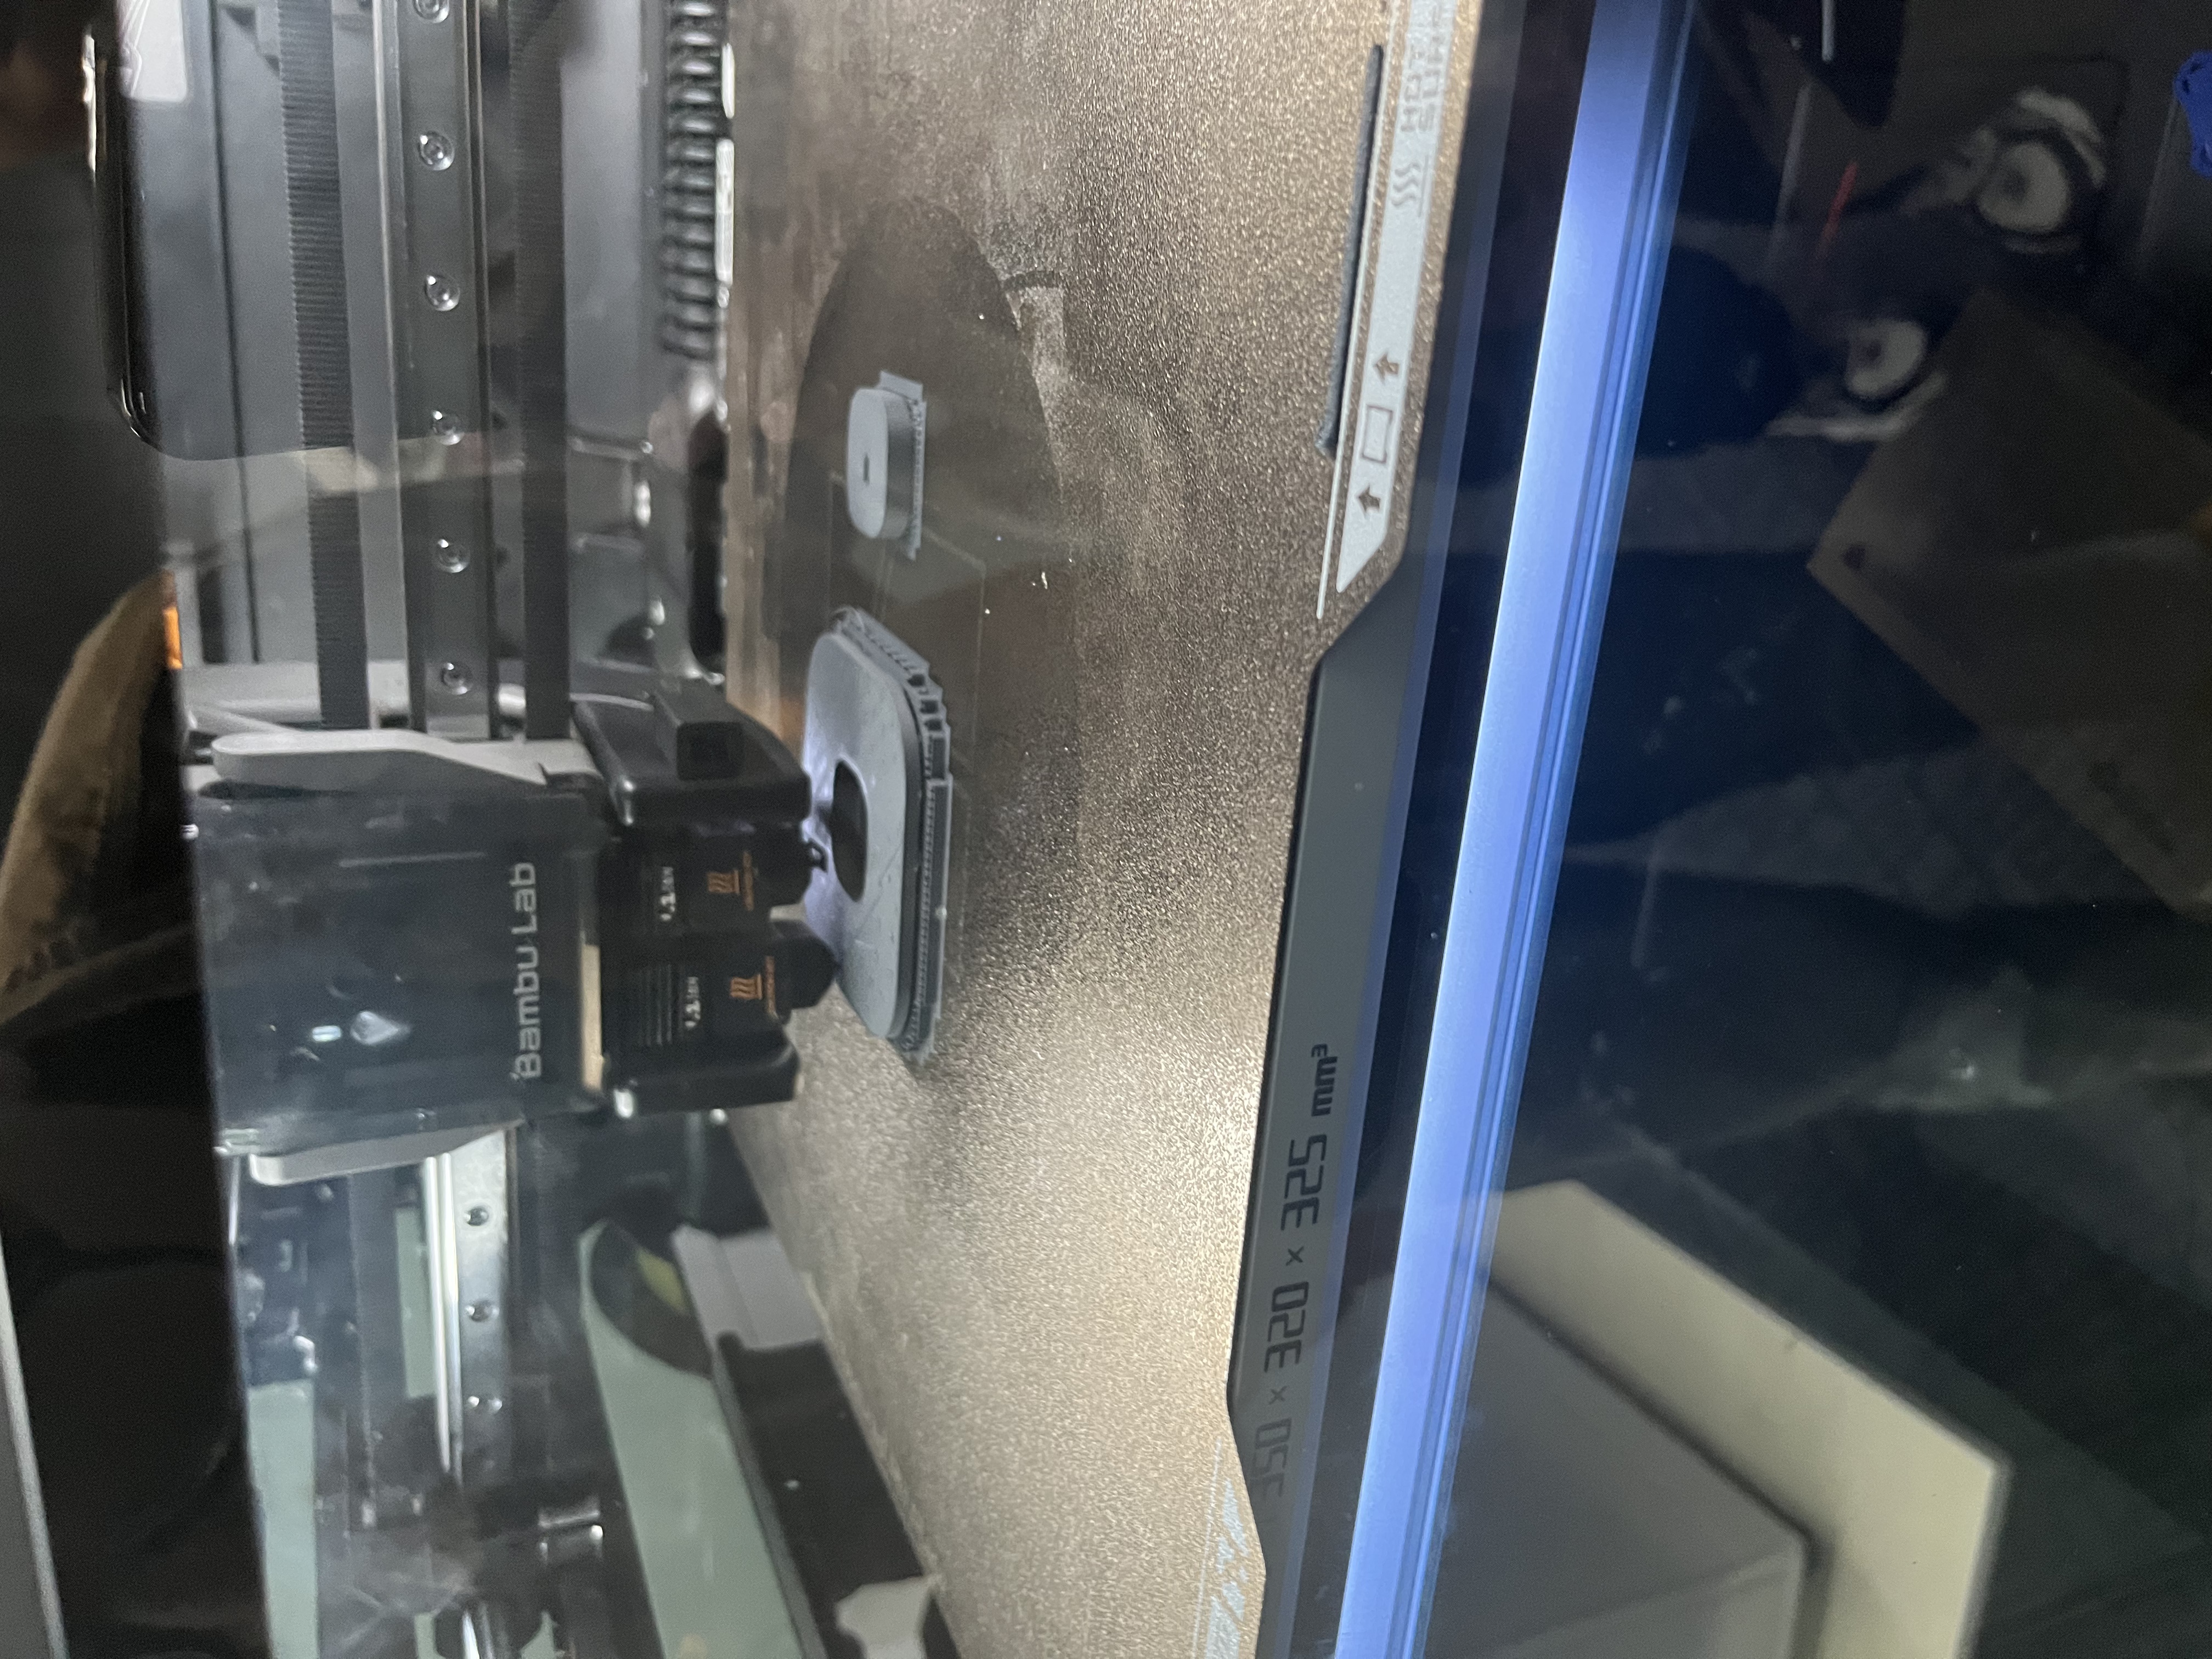
Start Printing
• Begin the print and monitor the first layer for adhesion.
• Estimated time: 3-6 hours for a 10cm vase (varies by complexity).
Post-Processing
• Remove Supports: Carefully detach support structures with pliers.
• Sanding: Smooth seams or rough edges (optional).
• Painting: Apply spray paint or hand-paint for customization.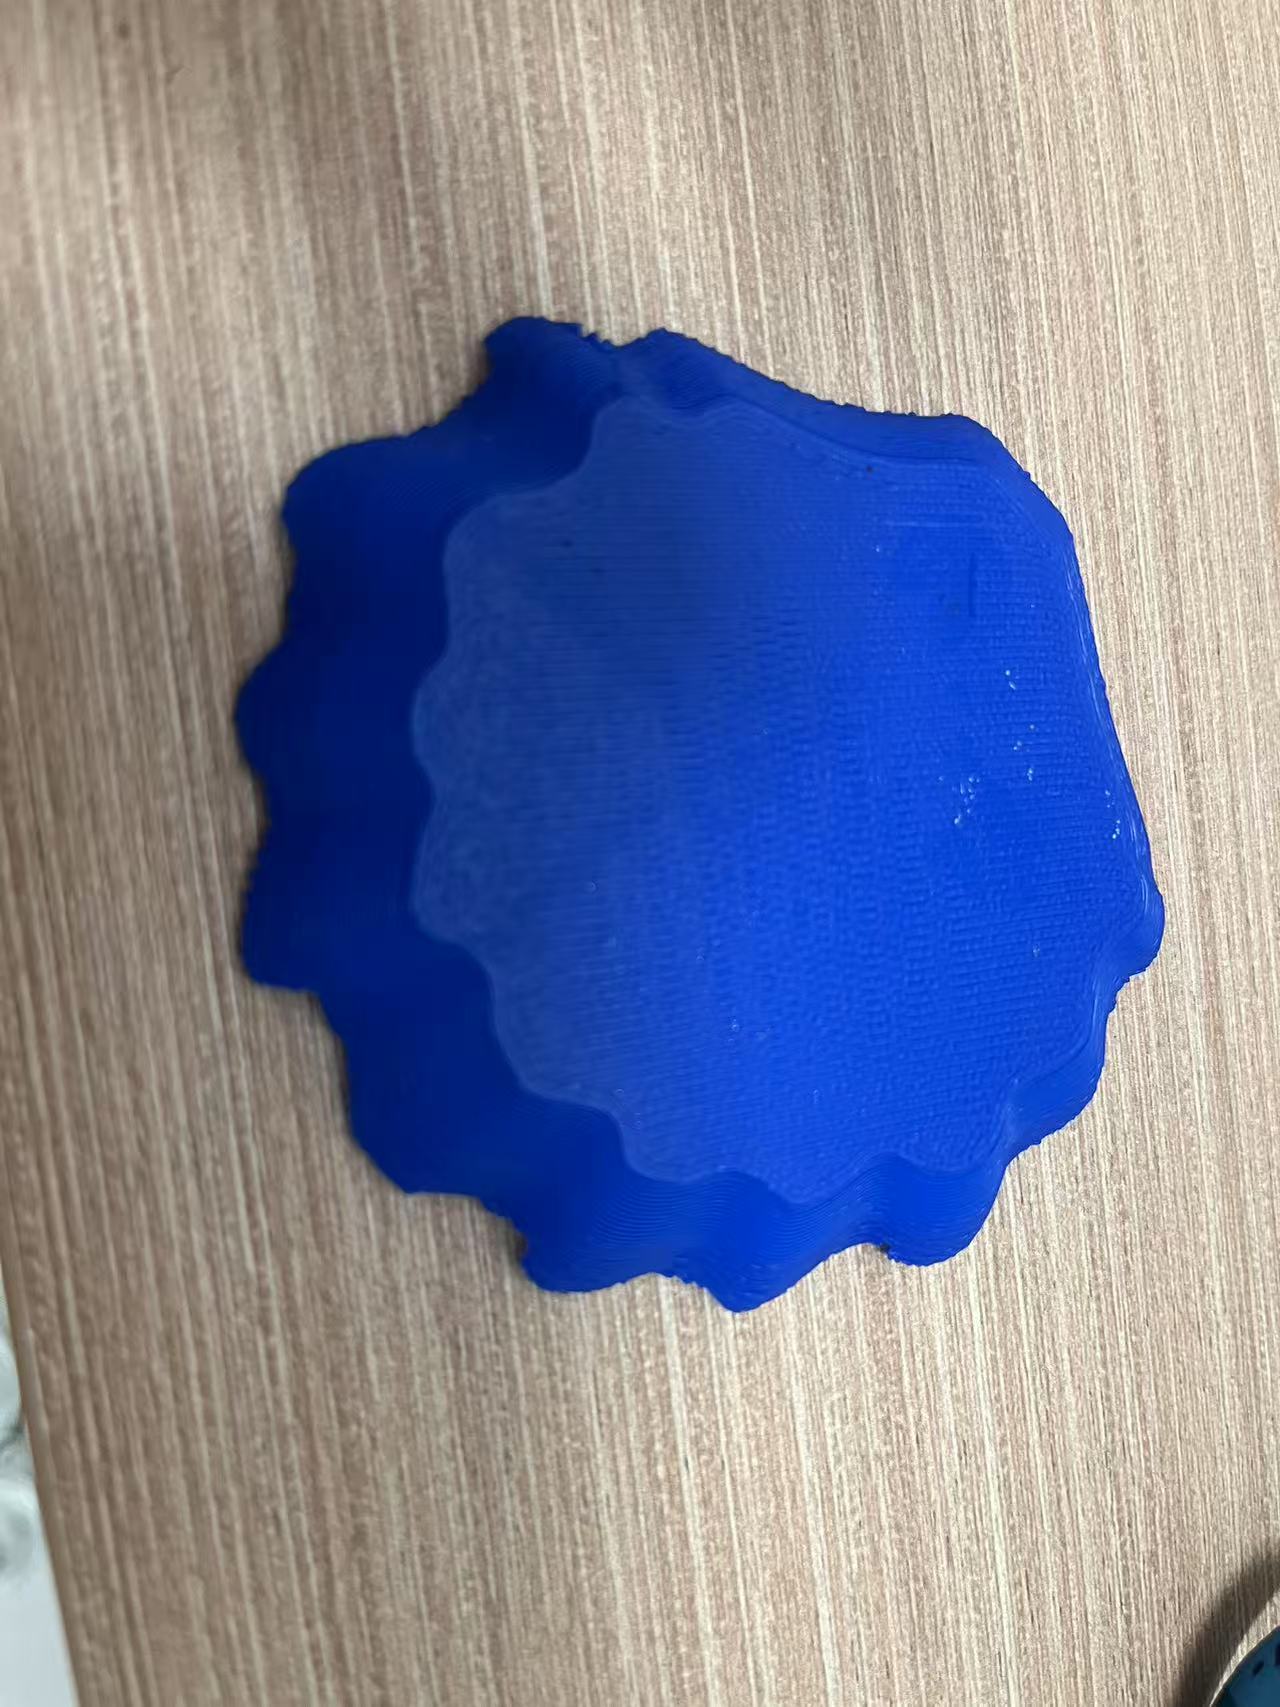 For troubleshooting, visit MakerWorld’s Help Center or community forums.
3. Dual-Color Printing
Download a Box Model
• Visit a 3D model repository (e.g., Thingiverse, Printables, or MakerWorld).
• Search for "box" and select a model suitable for dual-color printing (e.g., with separate lid/base or color-accented details).
• Download the STL/3MF file (ensure it supports multi-material or has split parts).
Import the Model into Bambu Studio
• Open Bambu Studio and click "Add Plate" (if starting a new project).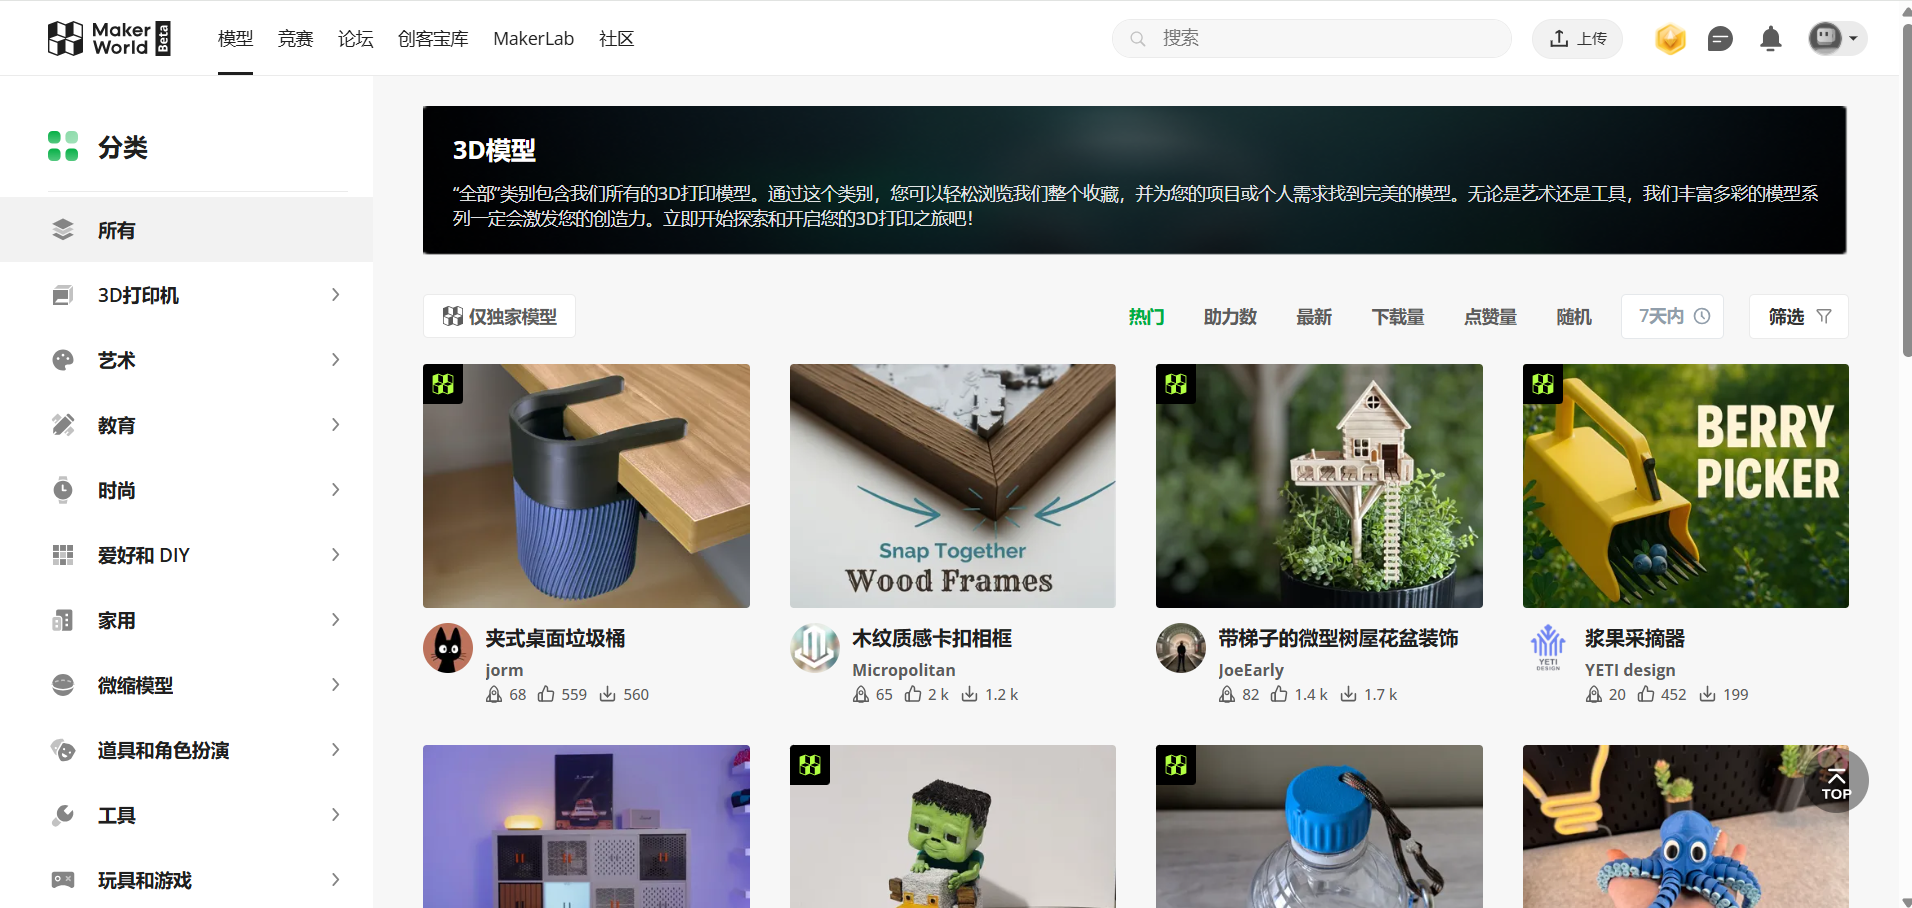 • Import the downloaded box model via File > Import or drag-and-drop.
• If the box is split into multiple parts (e.g., lid and base), import all files and align them on the build plate.
Assign Colors/Materials for Dual-Color Printing
Select the Toolhead:
• Confirm your printer supports multi-material (e.g., Bambu Lab X1 with AMS).
• Synchronous material. 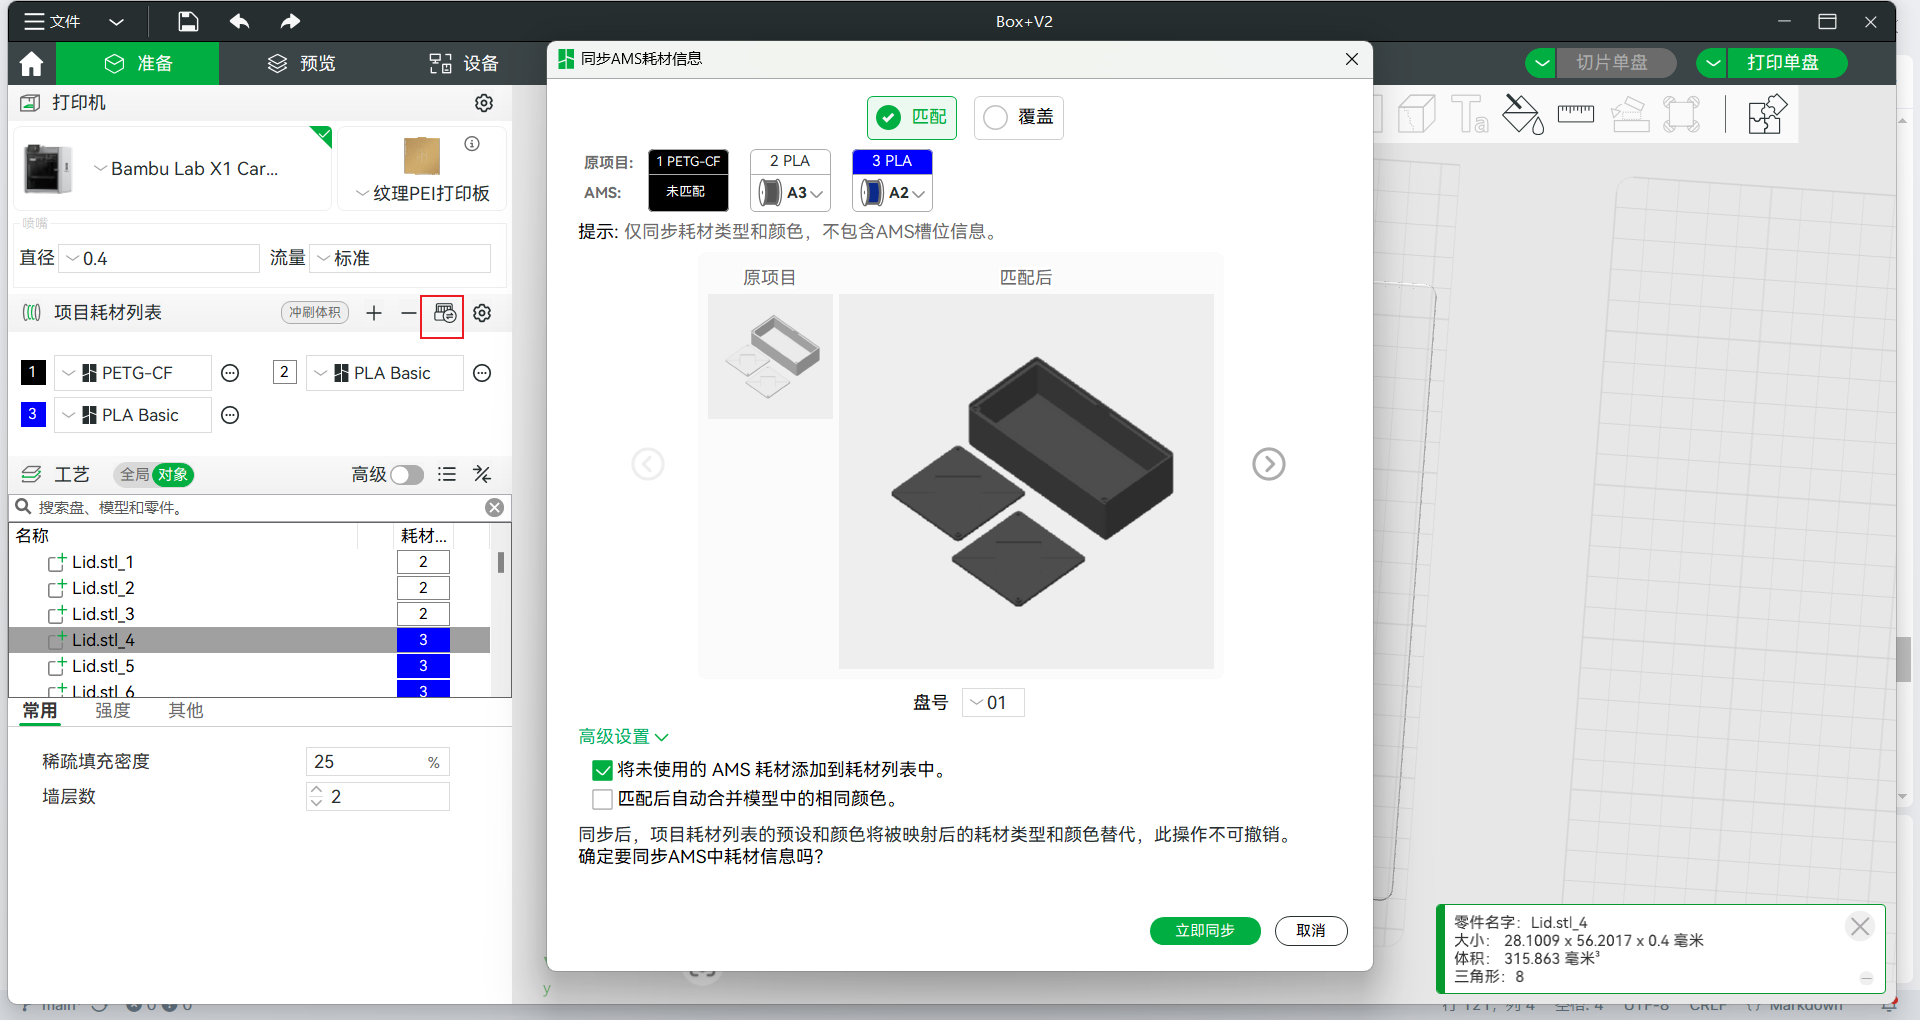 Assign Filaments:
• Click the model, then navigate to the "Object" tab in the right panel.
• If the model has separate STLs for each color part, assign filaments to each object:
◦ Select an object → "Filament" dropdown → Choose AMS slot (e.g., Slot 1: PLA Black, Slot 2: PLA White,Slot 3: PLA Blue).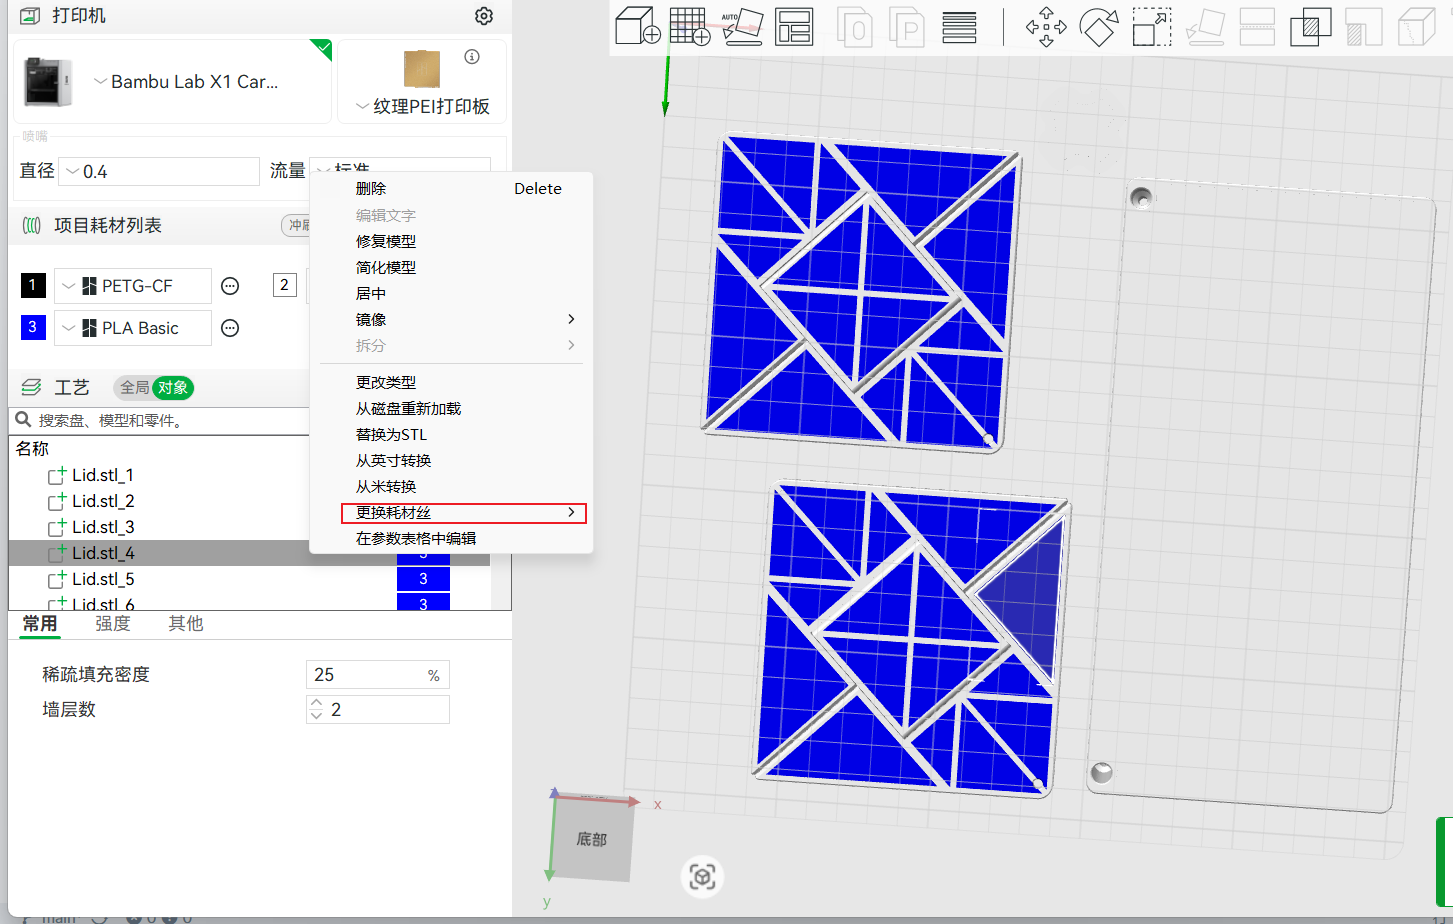
Configure Print Settings
• Layer Height: 0.2mm (balance of speed and detail).
• Infill: 15-20% (for structural strength).
• Supports: Disable unless the design has overhangs.
• Brim/Raft: Enable if adhesion is a concern.
• Purge Settings: Adjust "Flush into object" or "Purge volumes" to minimize color contamination (critical for dual-color prints).
Slice and Preview
• Click "Slice" to generate the Gcode.
• Use the "Preview" mode to check:
• Color transitions (ensure no unintended blending).
• Extrusion paths (watch for travel moves between colors).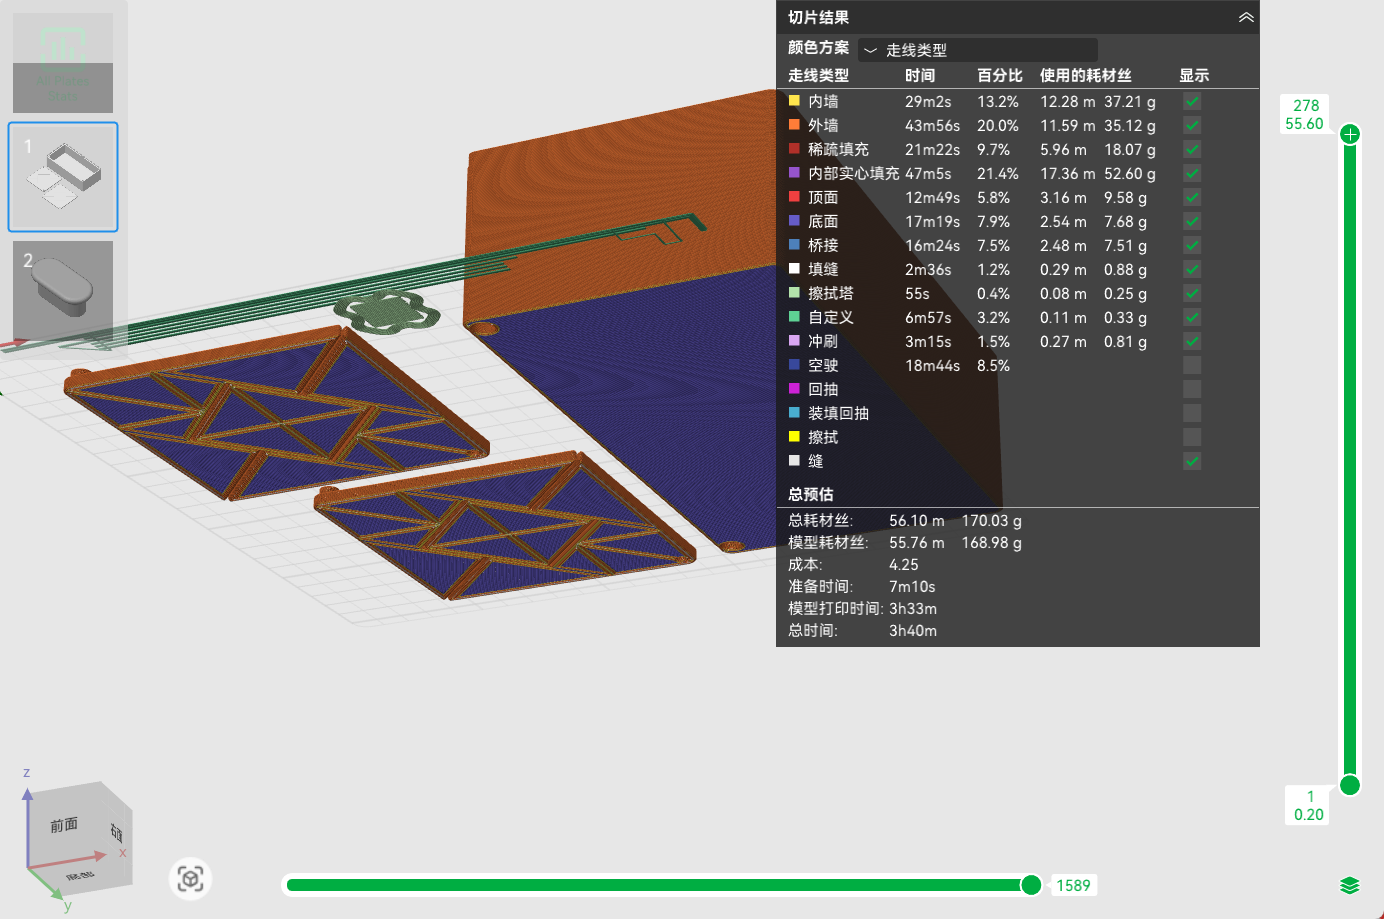
Print the Box
Load Filaments:
• Insert both filaments into the AMS slots. • Ensure filaments are compatible (e.g., both PLA to avoid temperature conflicts).
Start Printing:
• Send the Gcode to the printer via Wi-Fi or USB.
• Monitor the first layer for proper adhesion and color switching.
Post-Processing
• Remove Brim/Raft: Use tweezers or a scraper.
• Clean Seams: Sand any rough edges where colors meet.
4.3D Scanning with Polycam
Overview
The EinStar is a compact, handheld 3D scanner developed by Shining 3D, designed to make high-quality 3D scanning accessible, affordable, and easy to use. It’s ideal for beginners, educators, artists, makers, and small businesses seeking reliable 3D data capture without the complexity of industrial-grade systems. 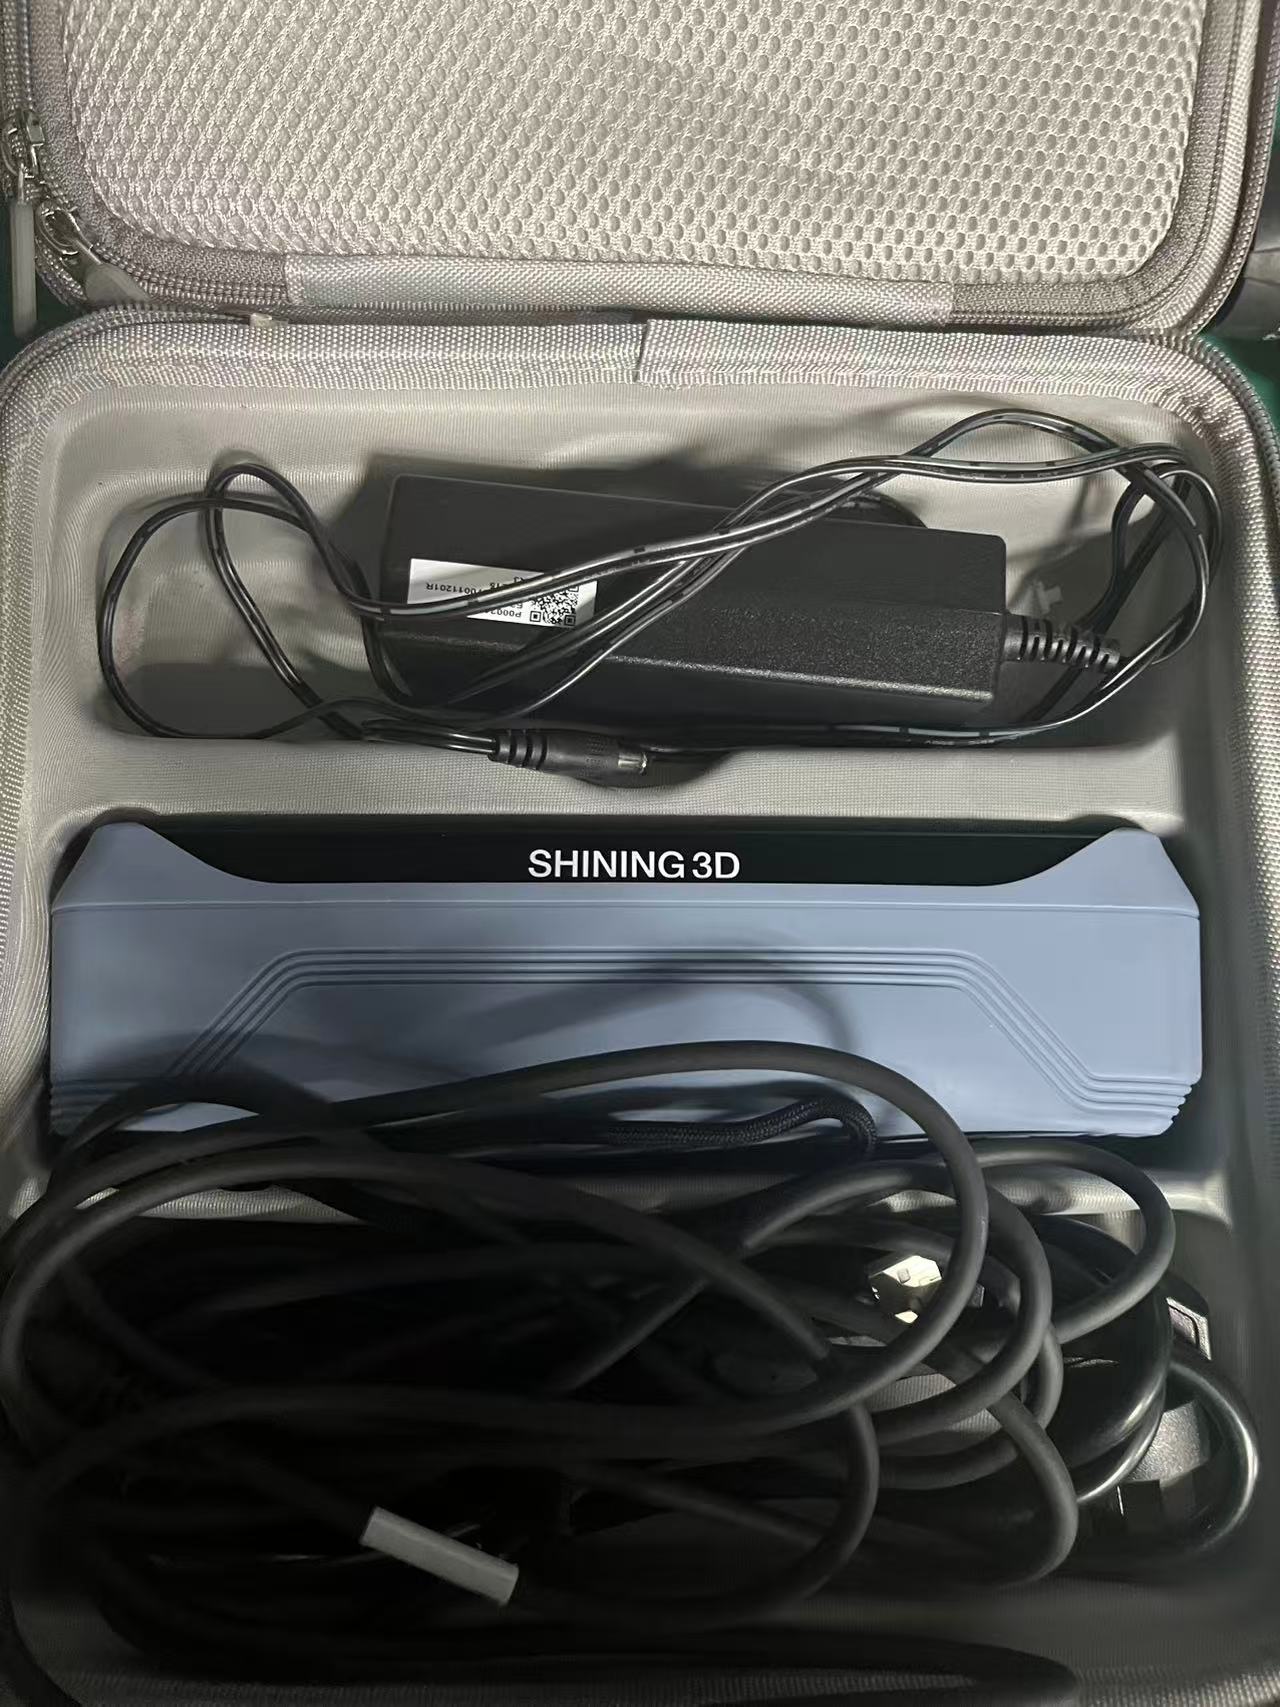
Scanning Process
Certainly! Here's an English description of the EXStar scanning process, which is the software used with the EinStar 3D scanner:
The EXStar software provides an intuitive, step-by-step interface for scanning with the EinStar 3D scanner. Below is a typical scanning process using EXStar:
(1) Device Connection & Calibration
- Connect the EinStar to your computer via USB 3.0.
- Launch the EXStar software, which will automatically detect the device.
- Perform a quick calibration if prompted to ensure optimal accuracy and alignment.
(2) Scan Mode Selection
Choose the appropriate scan mode based on your target:
- Standard Scan for objects and surfaces
- Human Scan for body or face scanning
- Outdoor Scan with brightness optimization
(3) Preview & Environment Setup
- Use the live preview window to adjust lighting and positioning.
- Ensure the object is stable and fully within the camera’s field of view.
- EXStar will display real-time feedback including tracking status and data quality.
(4) Scanning in Real Time
- Press Start Scan to begin capturing the 3D model.
- Move the scanner steadily around the object, keeping a consistent distance (ideally 300–500 mm).
- Real-time mesh generation allows you to monitor surface coverage and alignment.
(5) Post-Processing
After scanning is complete, EXStar automatically enters the post-processing phase:
- Global registration: Refines alignment across the entire scan
- Noise reduction: Removes floating or misaligned points
- Hole filling: Automatically patches small missing areas
- Texture mapping: Applies RGB color texture to the mesh (if enabled)
(6) Export & Application
- Export the final model in formats such as OBJ, STL, or PLY.
- The file can be used directly in 3D printing, CAD software, animation, or game development.
(7)Final Output
Successfully scanned object, preserving key geometric features.

5. Homework
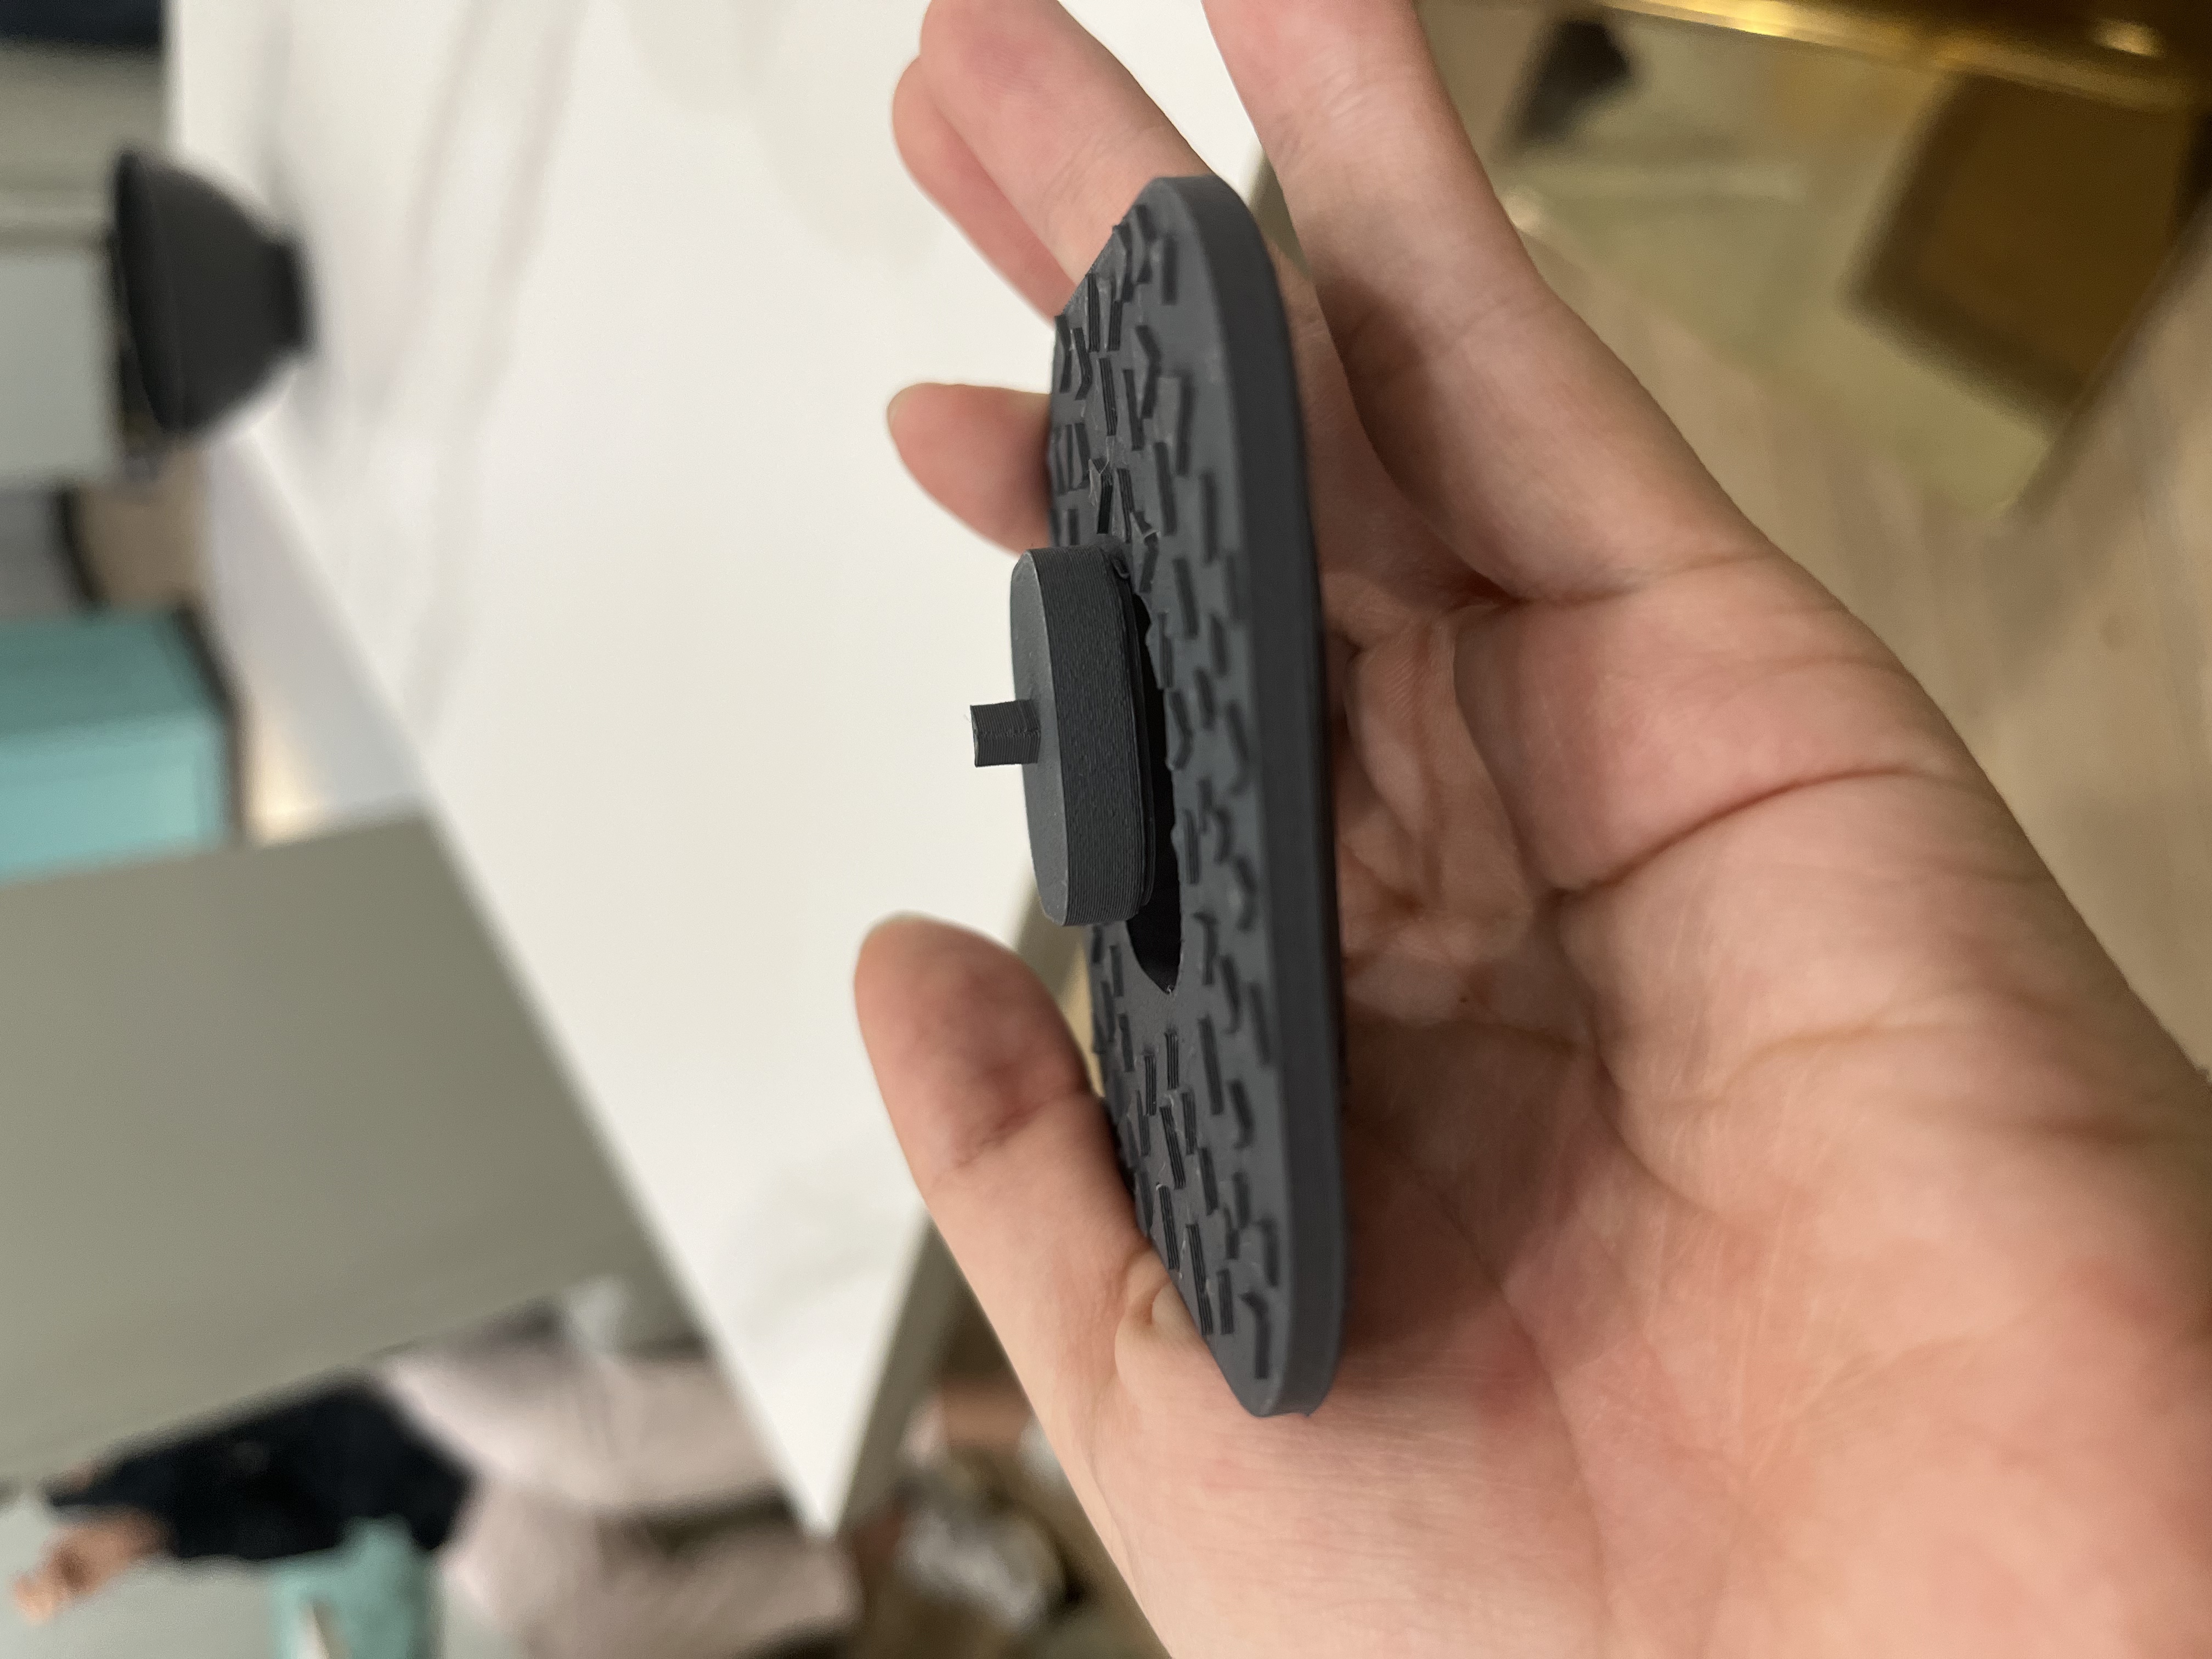
This week's homework is to print my own 3D model designed by Fusion 360, which is a Scented candle LIDS.
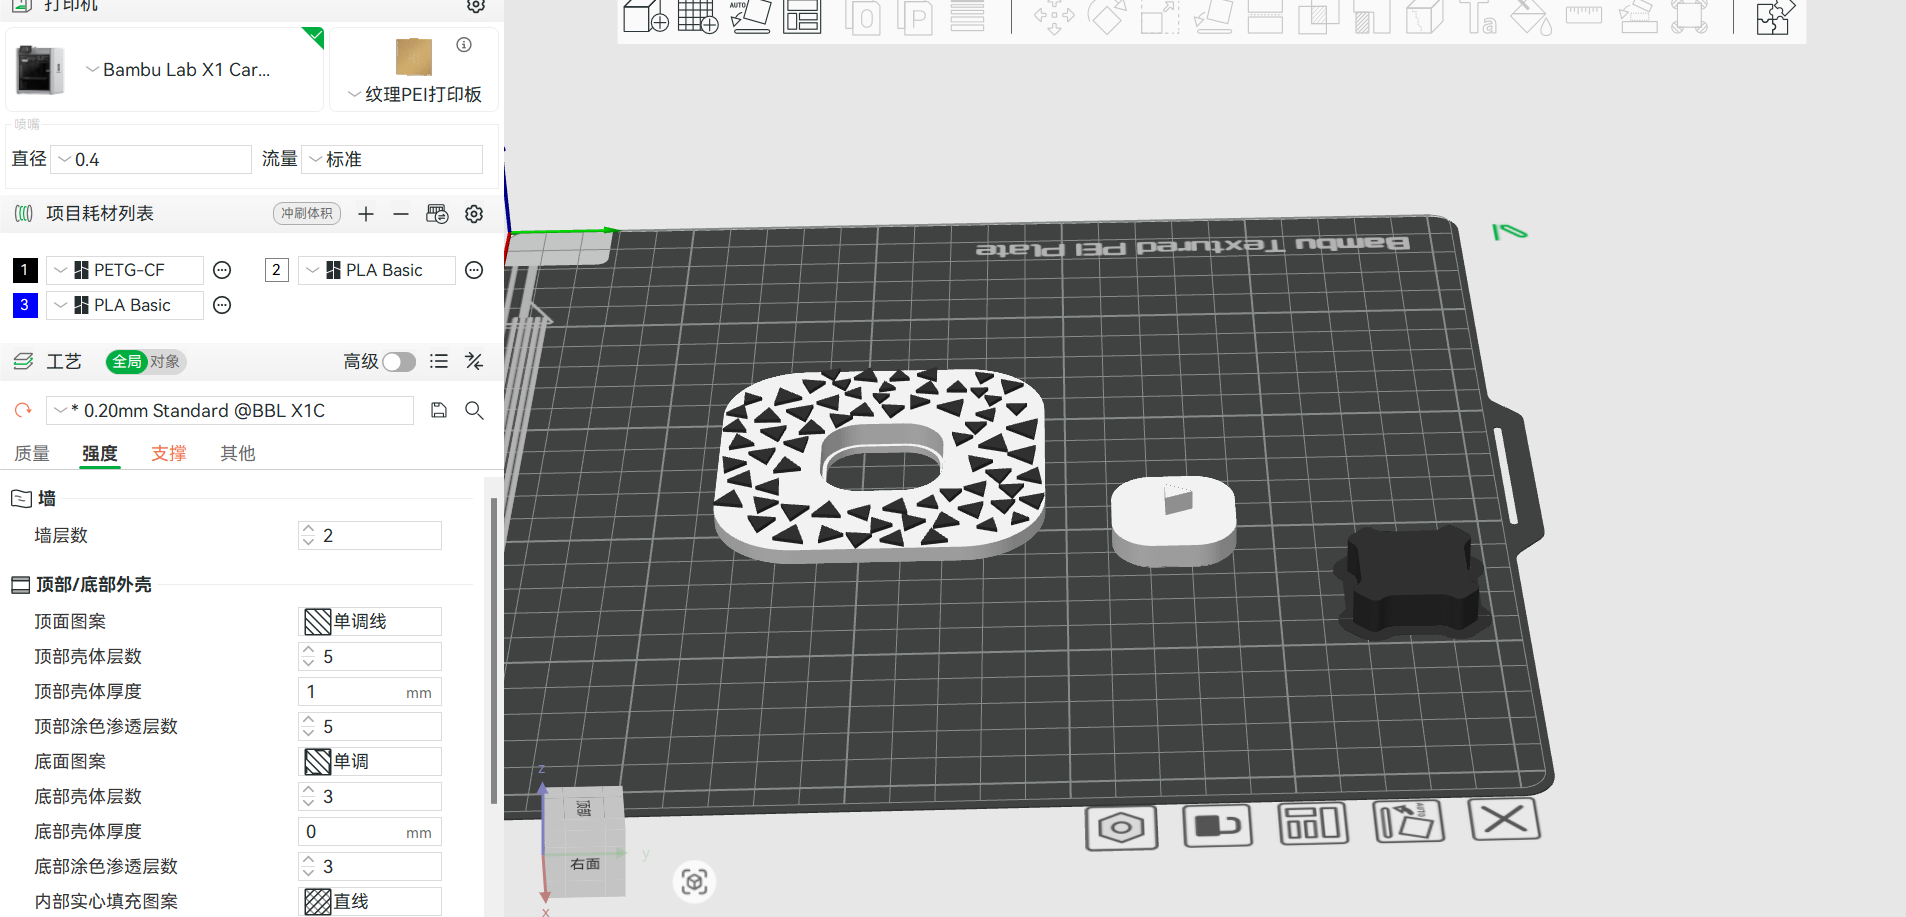
3D Printing Prep
Export as a 3mf file and enter the slicing tool for 3d printing Settings.
Critical Parameters
| Feature | Value | Note |
|---|---|---|
| Layer Height | 0.12mm | For snap-fit accuracy |
| Wall Count | 2 | 0.8mm total thickness |
| Snap-fit Tolerance | +0.1mm | Compensate for FDM shrinkage |
| Support | "Tree" (15° threshold) | Minimize contact points |
Preview the model.
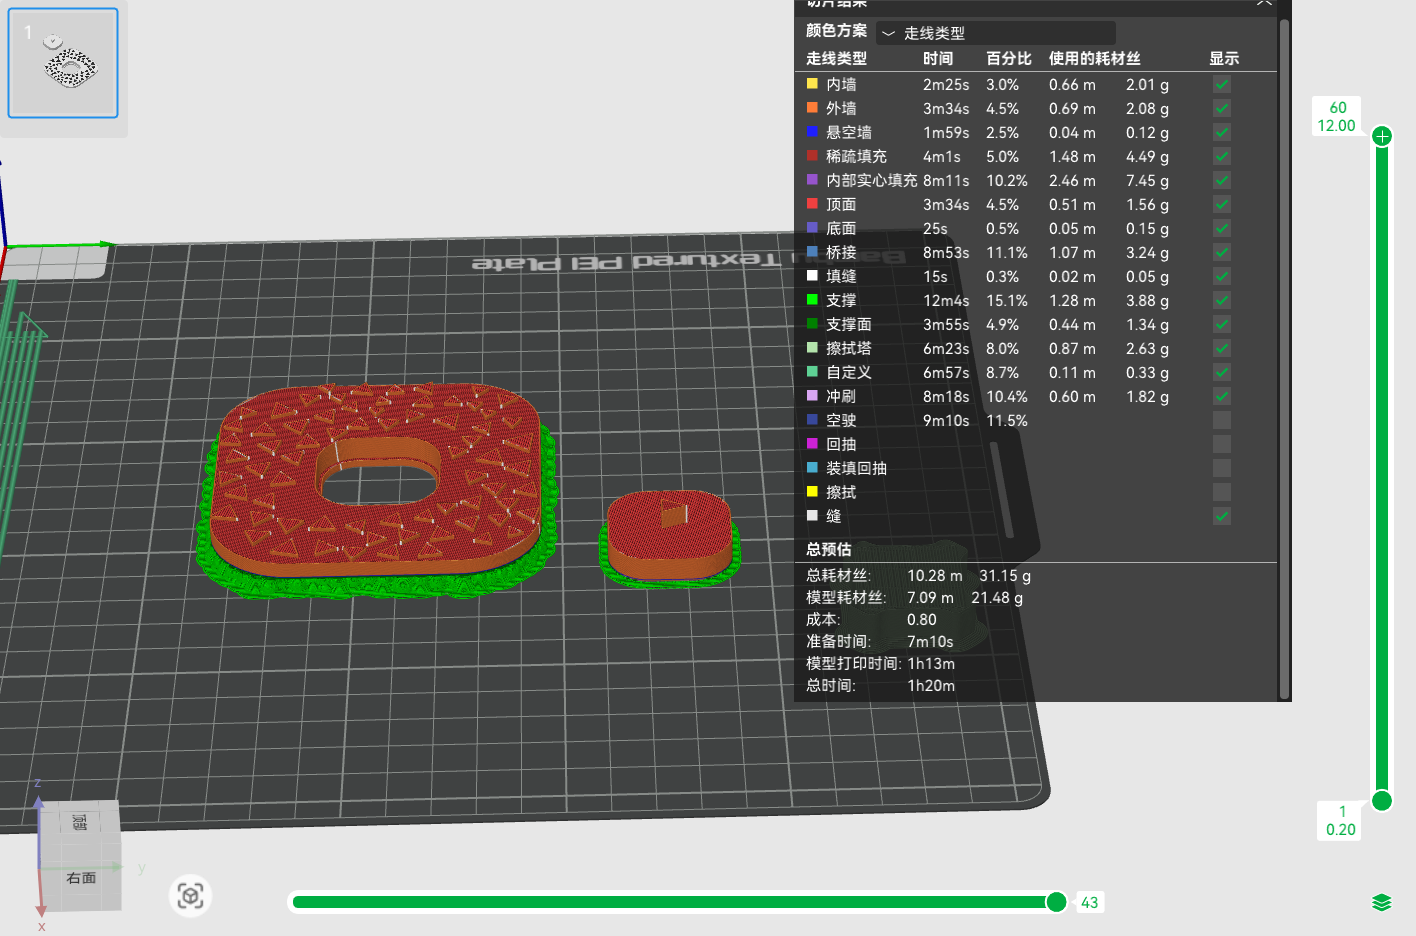
The tree-shaped support is difficult to remove and causes errors. 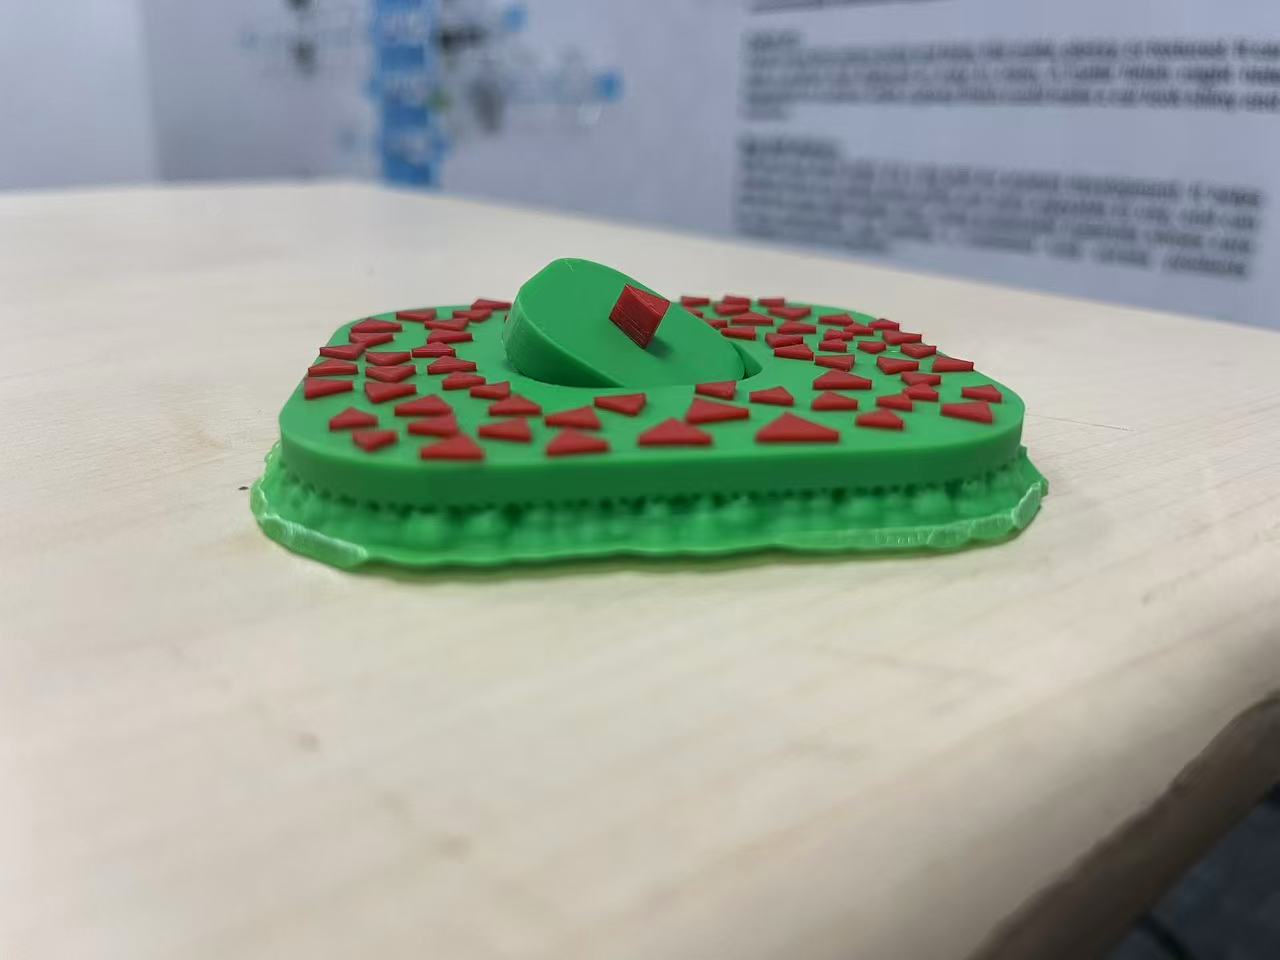
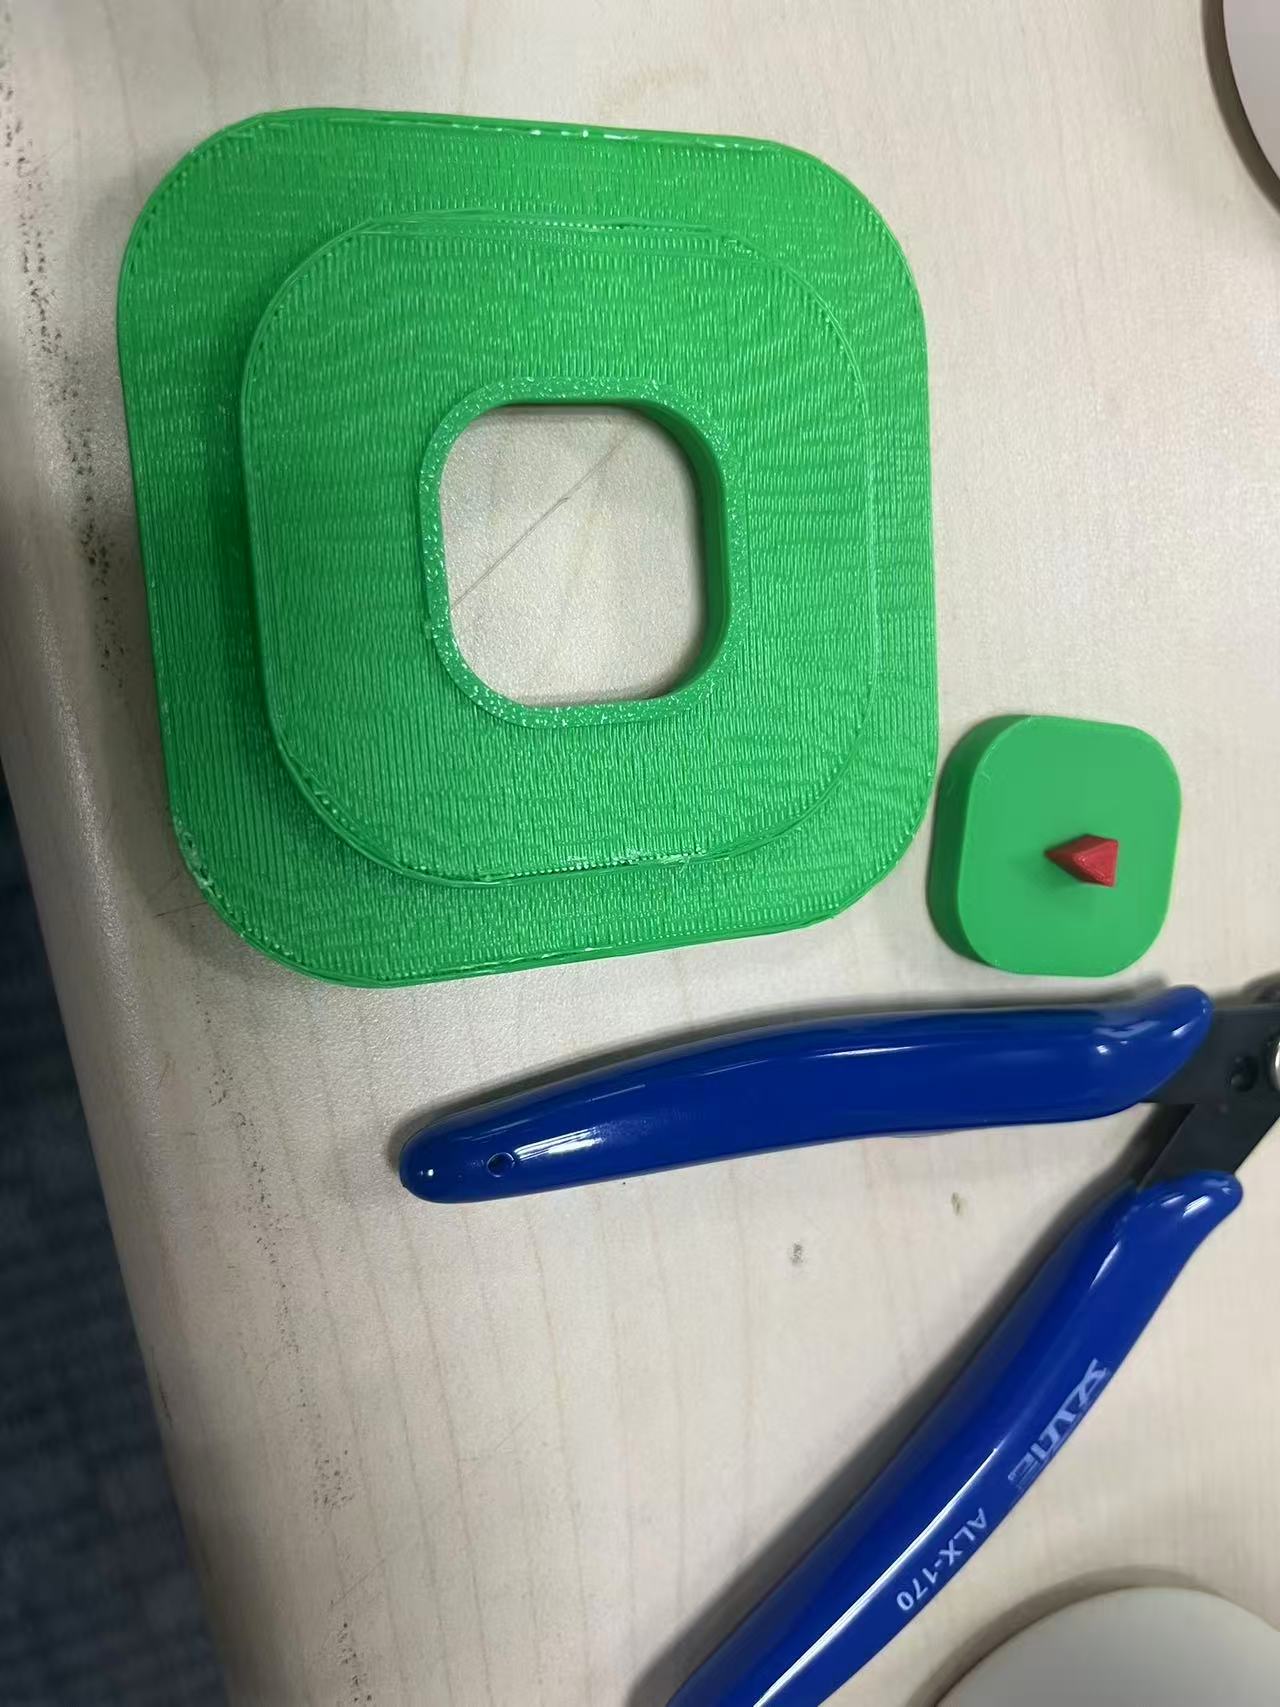
The following is the final model with common supports and cf materials. They are more suitable for a scented candle.