Appearance
Web Construction
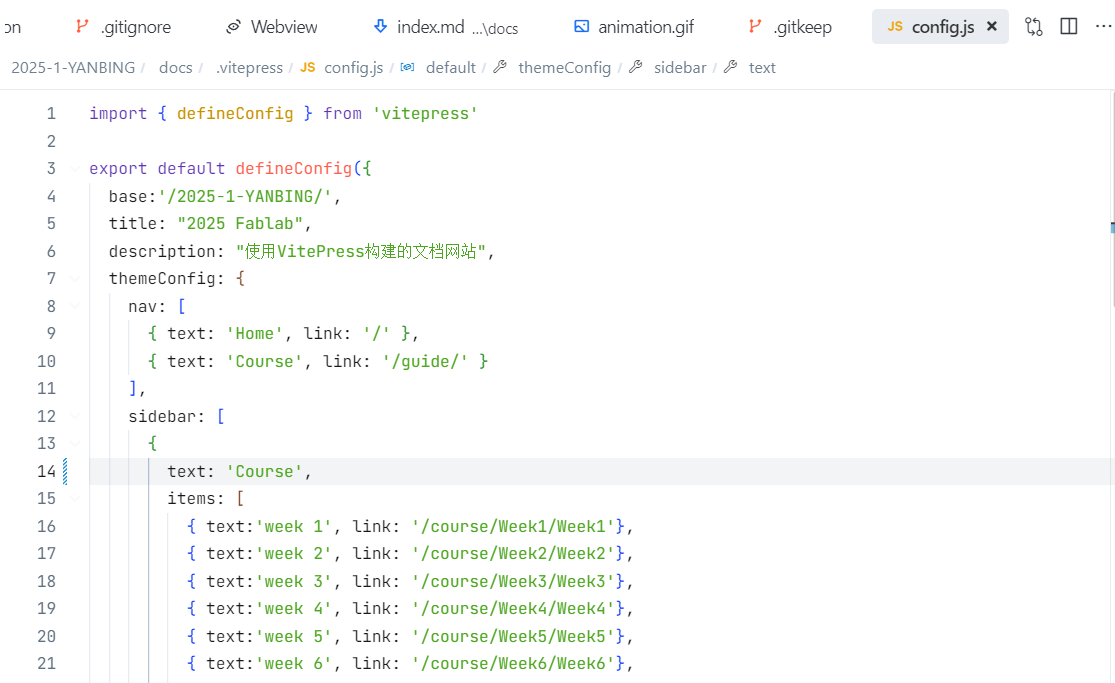
1. Vitepress Configuration
After installing Vitepress. VitePress provides a configuration file located at docs/.vitepress/config.js. This file allows us to customize various settings of website, such as the title, description, theme, navigation, and more. To construct the frame of website, Home and Course are the two main pages. For the Course Page, week 1 to week 10 themes are listed in the sidebar.
2. Customize Main Page
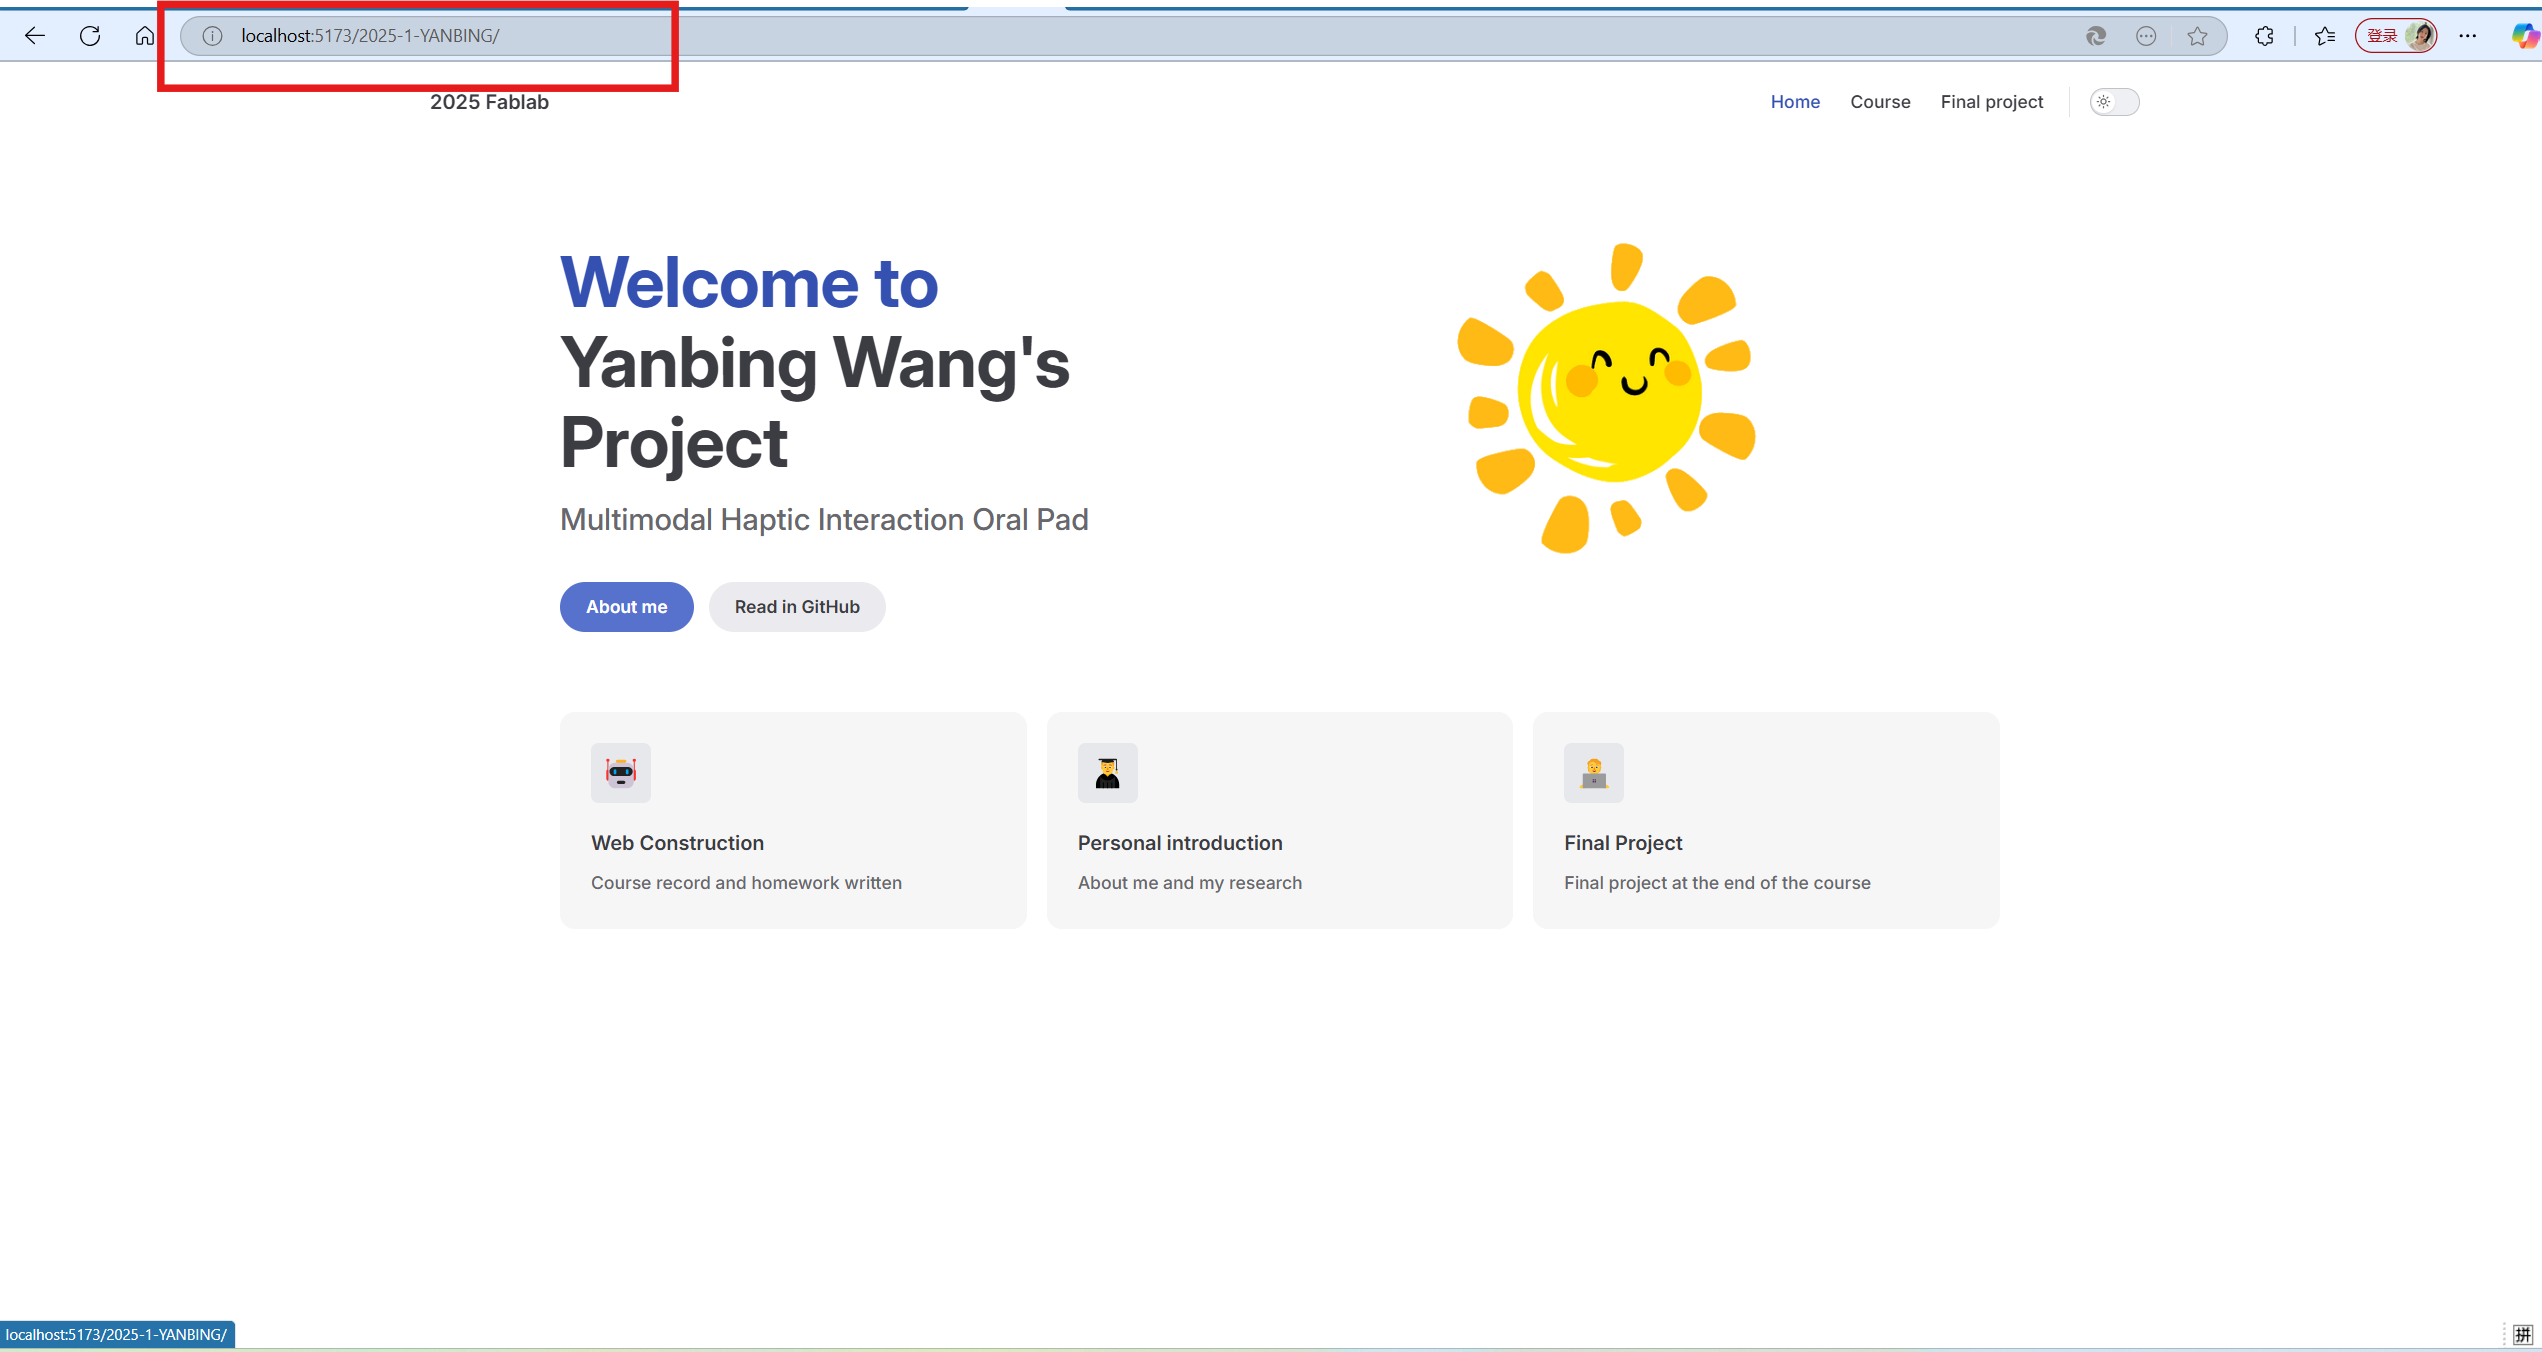
By default, the main page of your website is the index.md file located in the docs folder. If it doesn't exist, simply create a new file named index.md inside the docs folder. I structured my main page using standard Markdown syntax.And I also customize the top of the main page with a hero header.In addition, I linked Resrathgate Page and Github Page in the main page. An anitaion was added in the background. 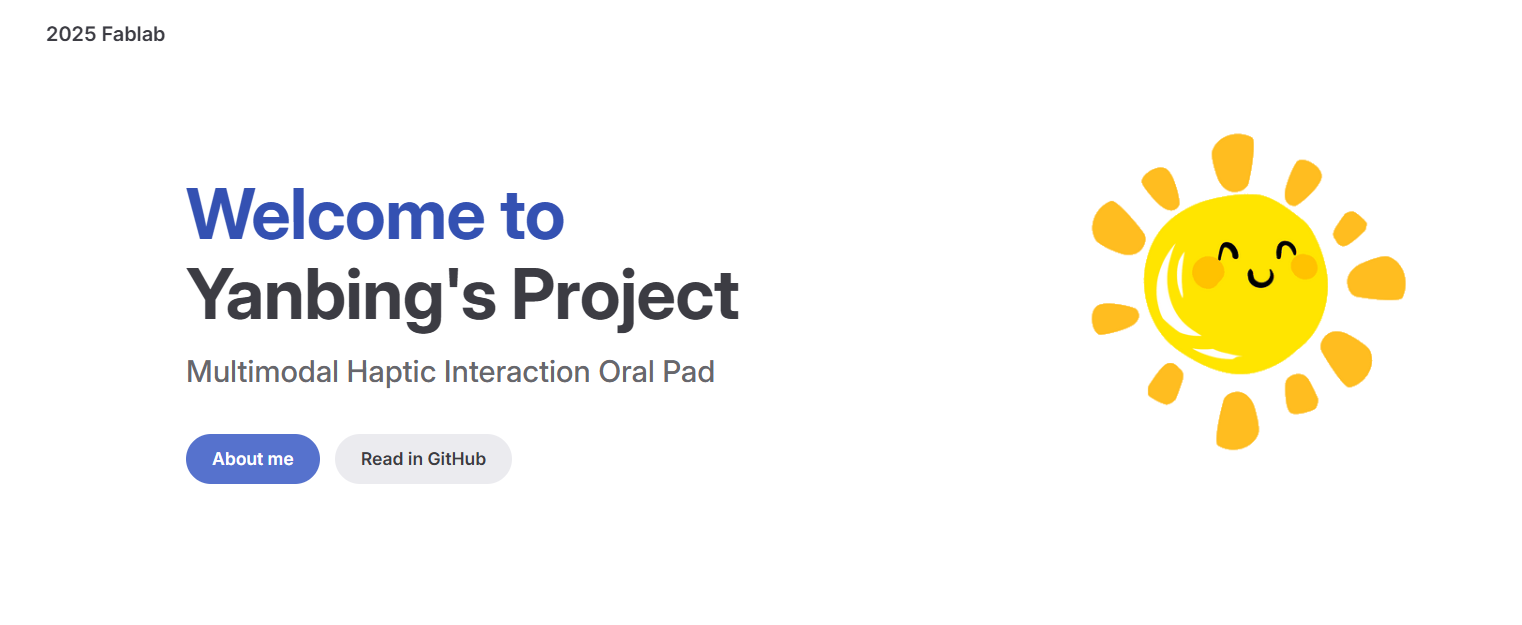 The index md file is shown below.
bash
layout: home
hero:
  name: Welcome to
  text: Yanbing's Project
  image:
    src: /images/animation.gif
    alt: 动态演示
    width: 300
  tagline: Multimodal Haptic Interaction Oral Pad
  actions:
    - theme: brand
      text: About me
      link: https://www.researchgate.net/profile/Yanbing-Wang-17
    - theme: alt
      text: Read in GitHub
      link: https://github.com/UNNC-Fab/2025-1-YANBING
For the features section, I used the features cards with one title, one emojy, one sentence.
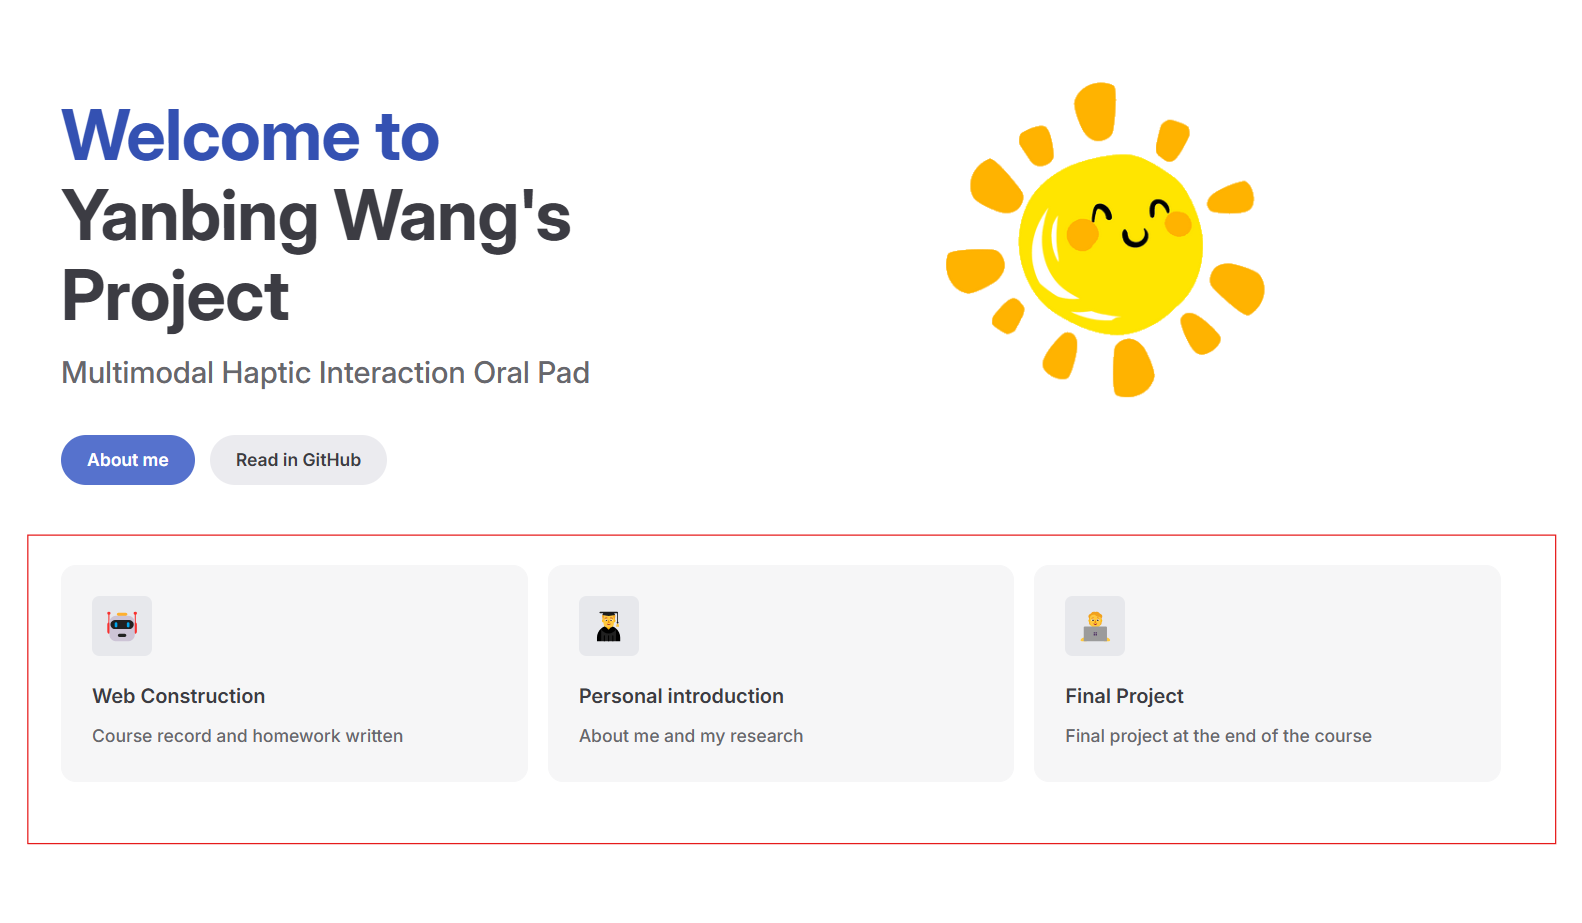
The code is shown below.
bash
features:
- icon: 🤖
title: Web Construction
details: Course record and homework written
- icon: 👨🎓
title: Personal introduction
details: About me and my research
- icon: 🧑💻
title: Final Project
details: Final project at the end of the courseTo show the navigation bar of the website, i set the navigation bar with three items, Home, Course, and Final Project. The code is shown below.
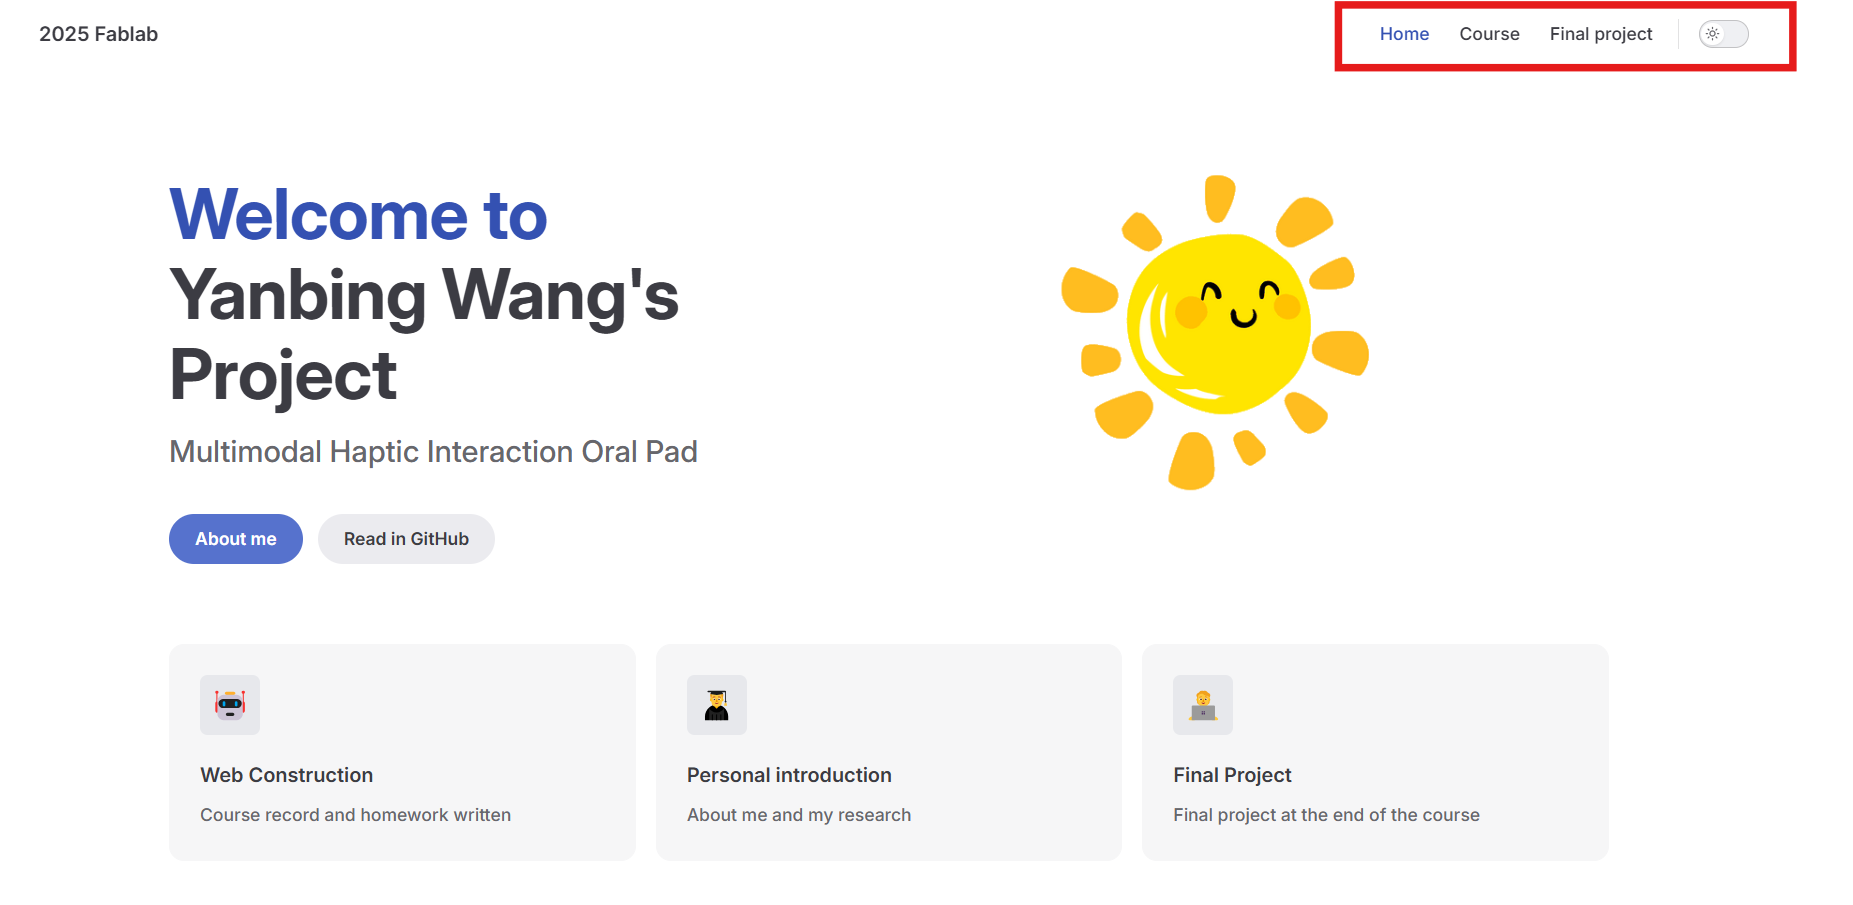
bash
nav: [
{ text: 'Home', link: '/' },
{ text: 'Course', link: '/course/' },
{ text: 'Final project', link: '/project/' },
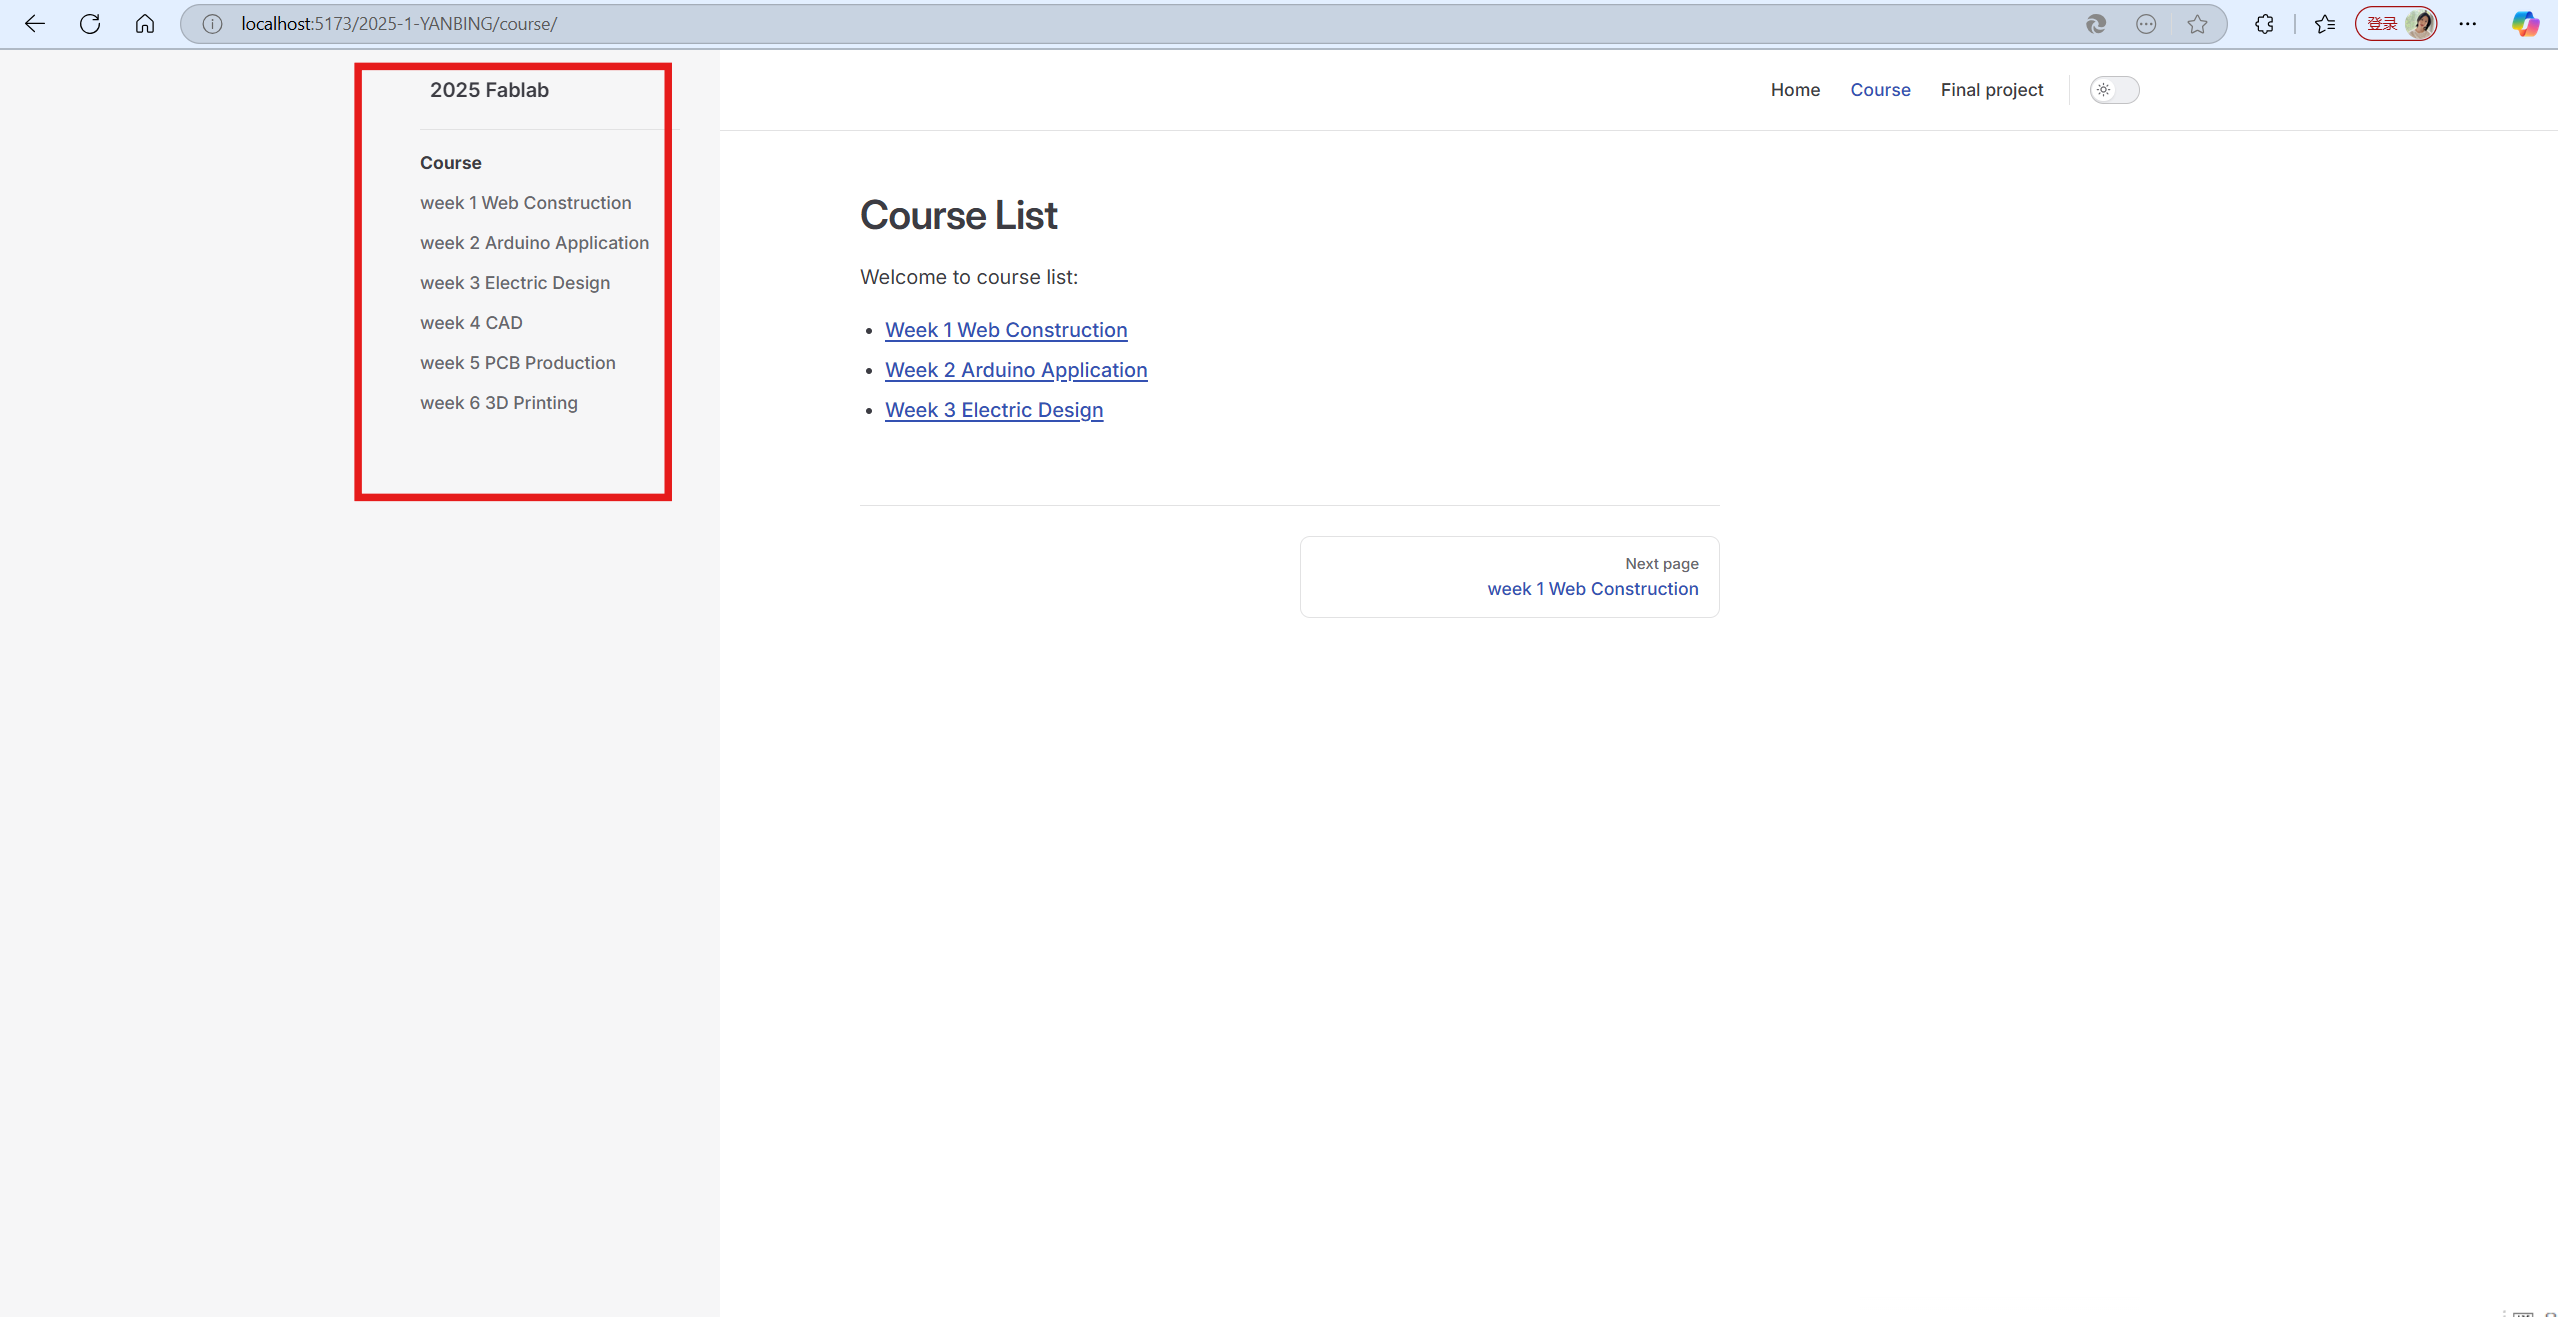
],In the course page, we will set the sidebar and divide the course content into different weeks. The code is shown below.
bash
sidebar: {
      '/course/': [
        {
          text: 'Course',
          items: [
            { text:'week 1 Web Construction', link: '/course/Week1/Week1'},
            { text:'week 2 Arduino Application', link: '/course/Week2/Week2'},
            { text:'week 3 Electric Design', link: '/course/Week3/Week3'},
            { text:'week 4 CAD', link: '/course/Week4/Week4'},
            { text:'week 5 PCB Production', link: '/course/Week5/Week5'},
            { text:'week 6 3D Printing', link: '/course/Week6/Week6'},
          ]
        }
      ],
In the same time, please don't forget to add the relevant files to the corresponding folders. Such as dcourse/.Week 1/week 1.md . Then we get the page.
3. Preview the Web page
Once I have written content for the main page, run the VitePress development server to preview it. Then thie will launch a local development server, where we can get the website that we can preview. 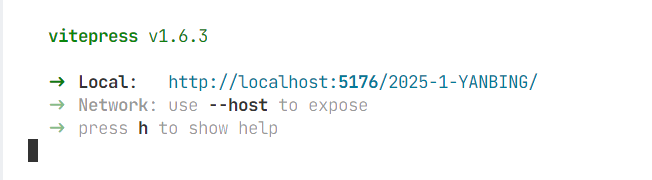
After opening the website, I can preview the website.
bash
npm run docs:build
npm run docs:preview
4. Push the Page to Github
After constructing the website, I will use Git to track project files and then pushing them to a GitHub repository. 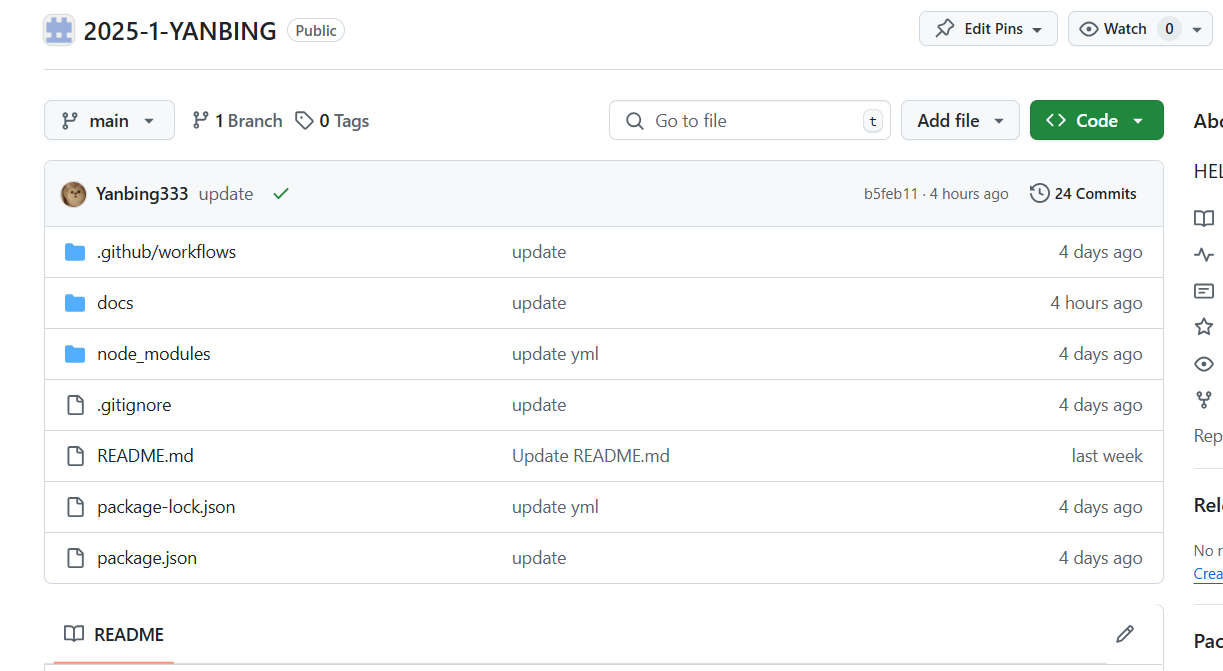 The code was shown below.
bash
`git add --all`
`git commit -m`
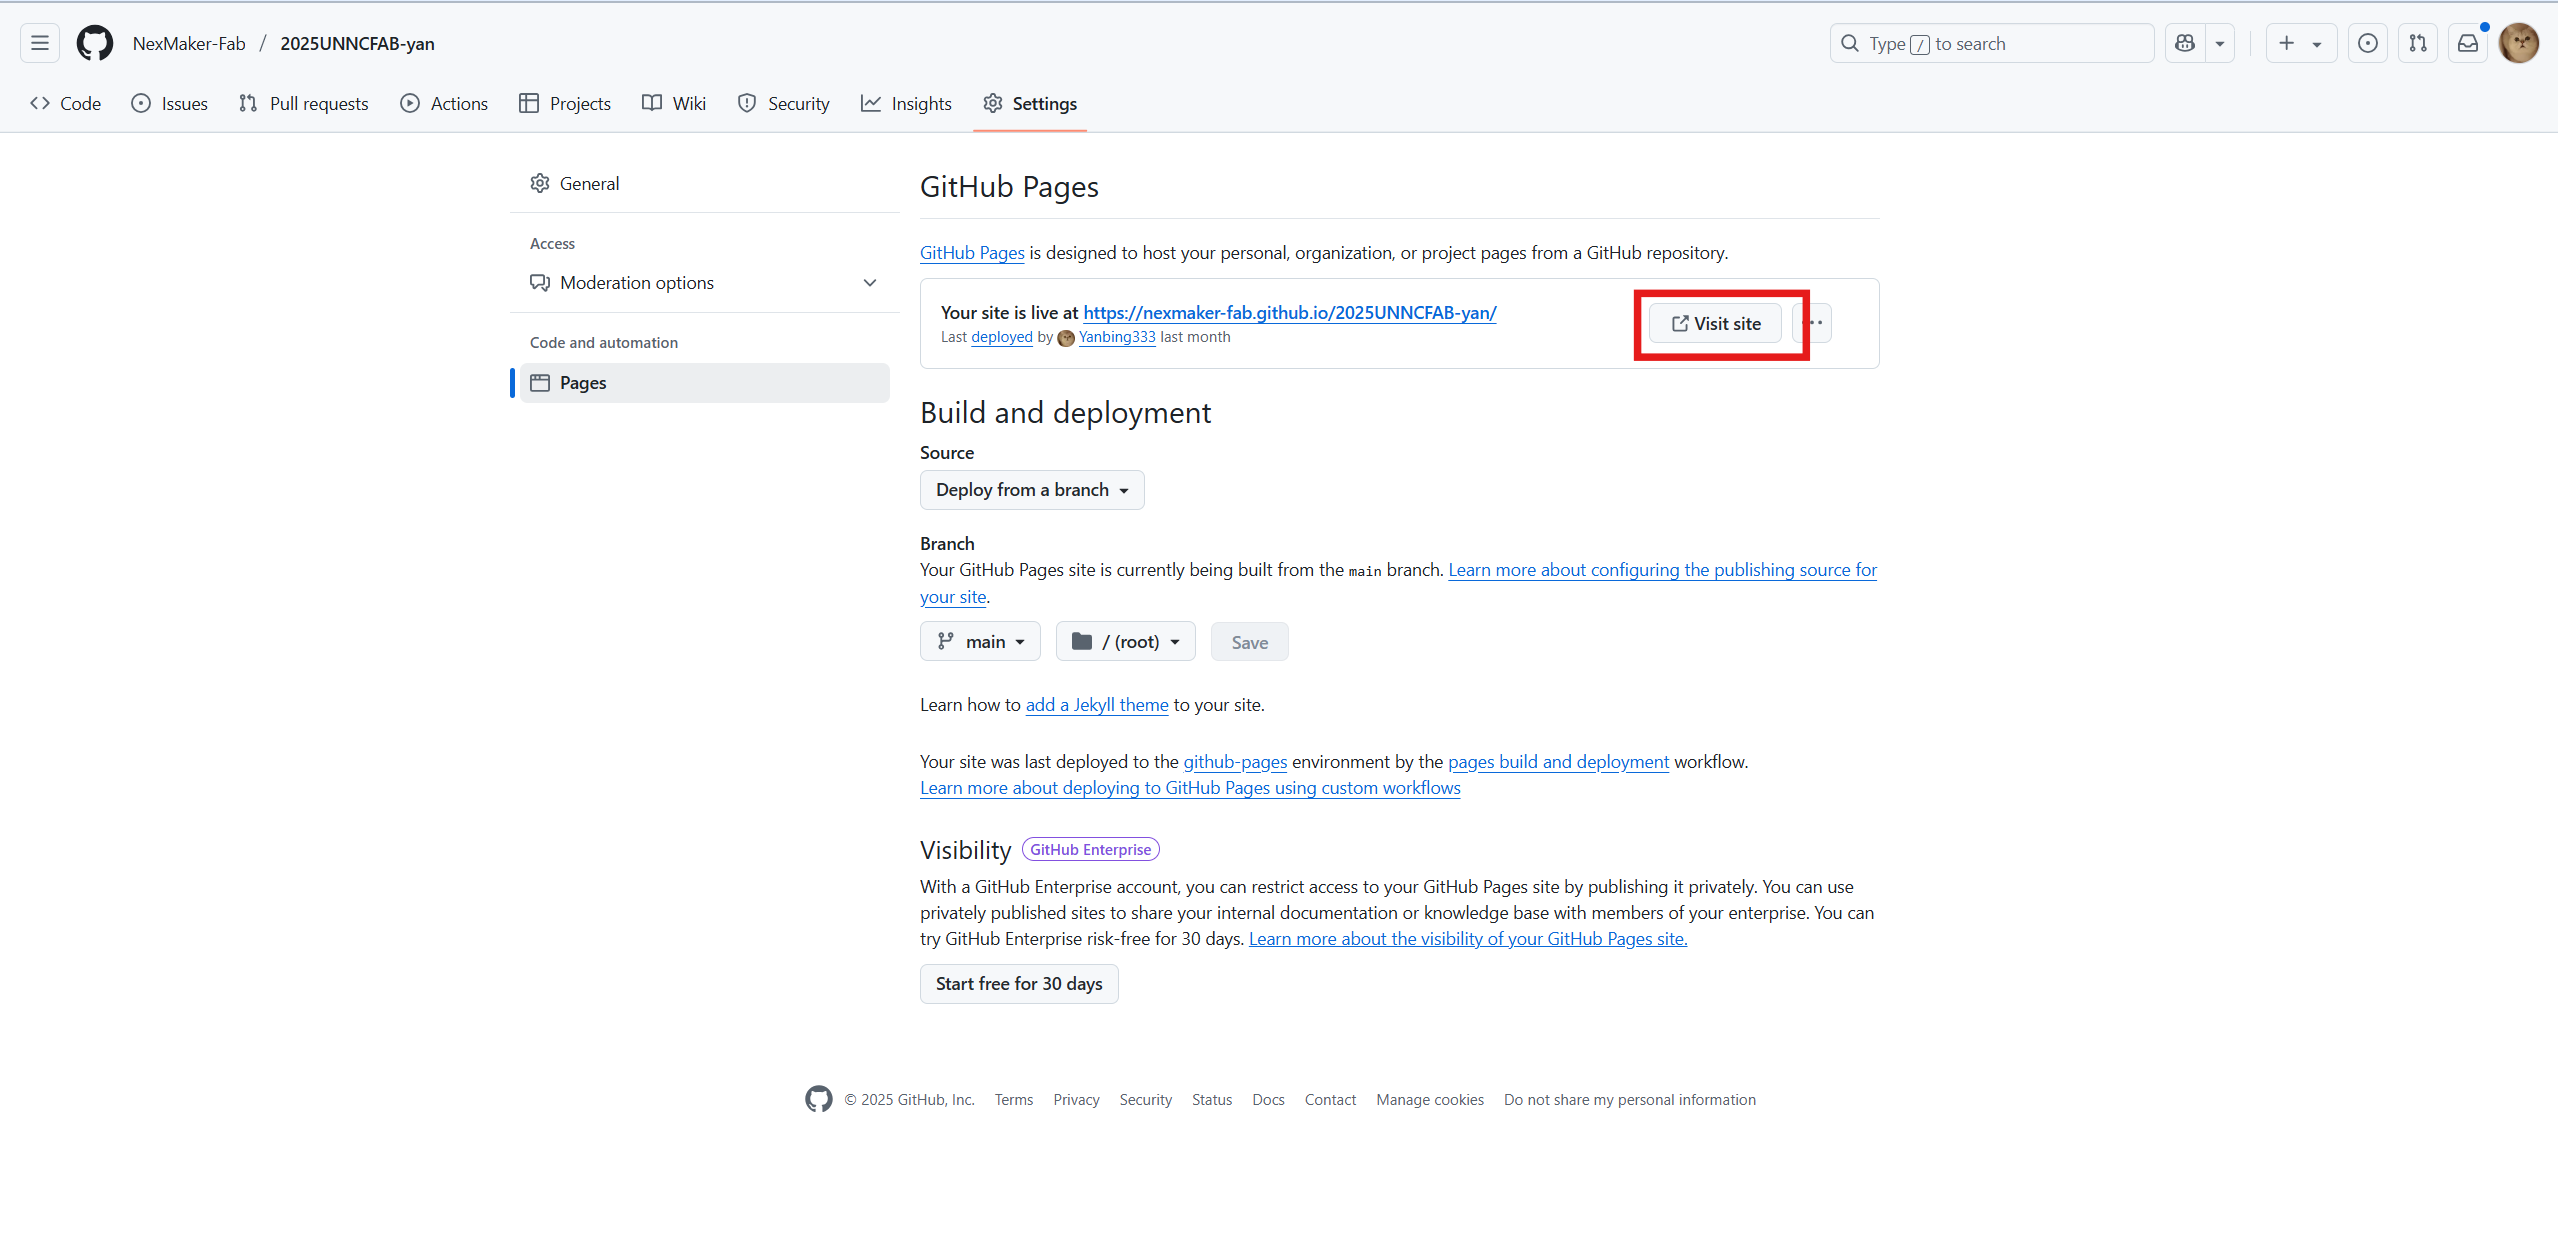
`git push origin main`5. Preview the Page on Github
Click the page.
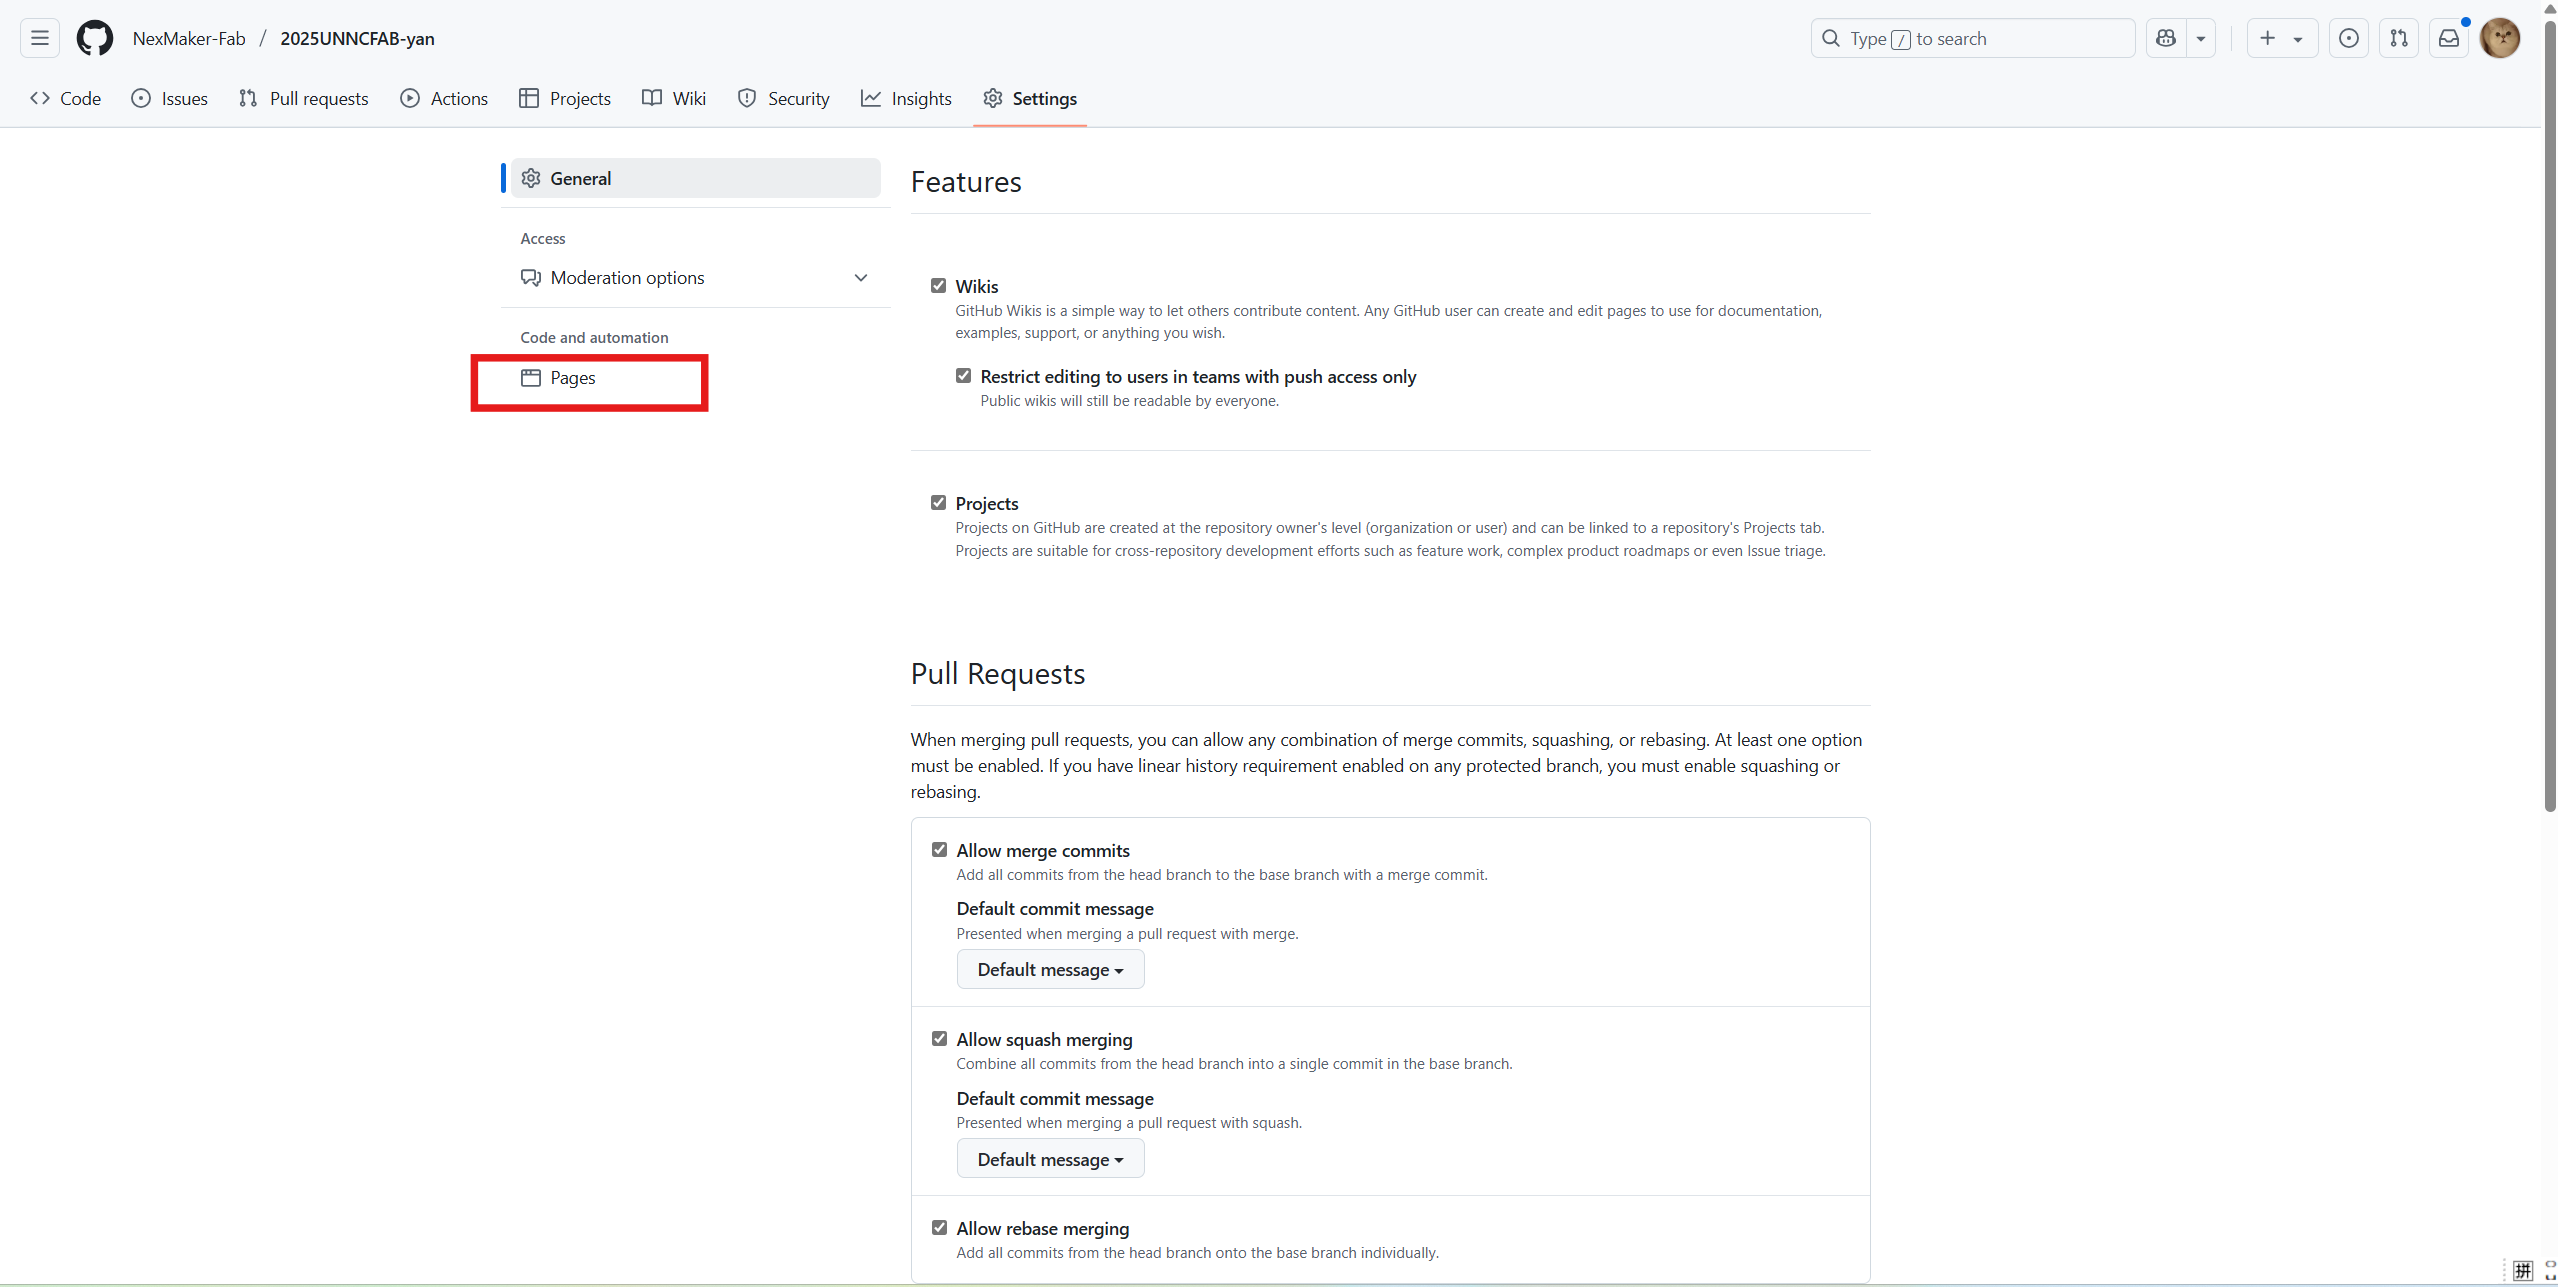
Then we will get the page website here. After visiting it, you will get the page preview via vitepress.