Appearance
Arduino Application
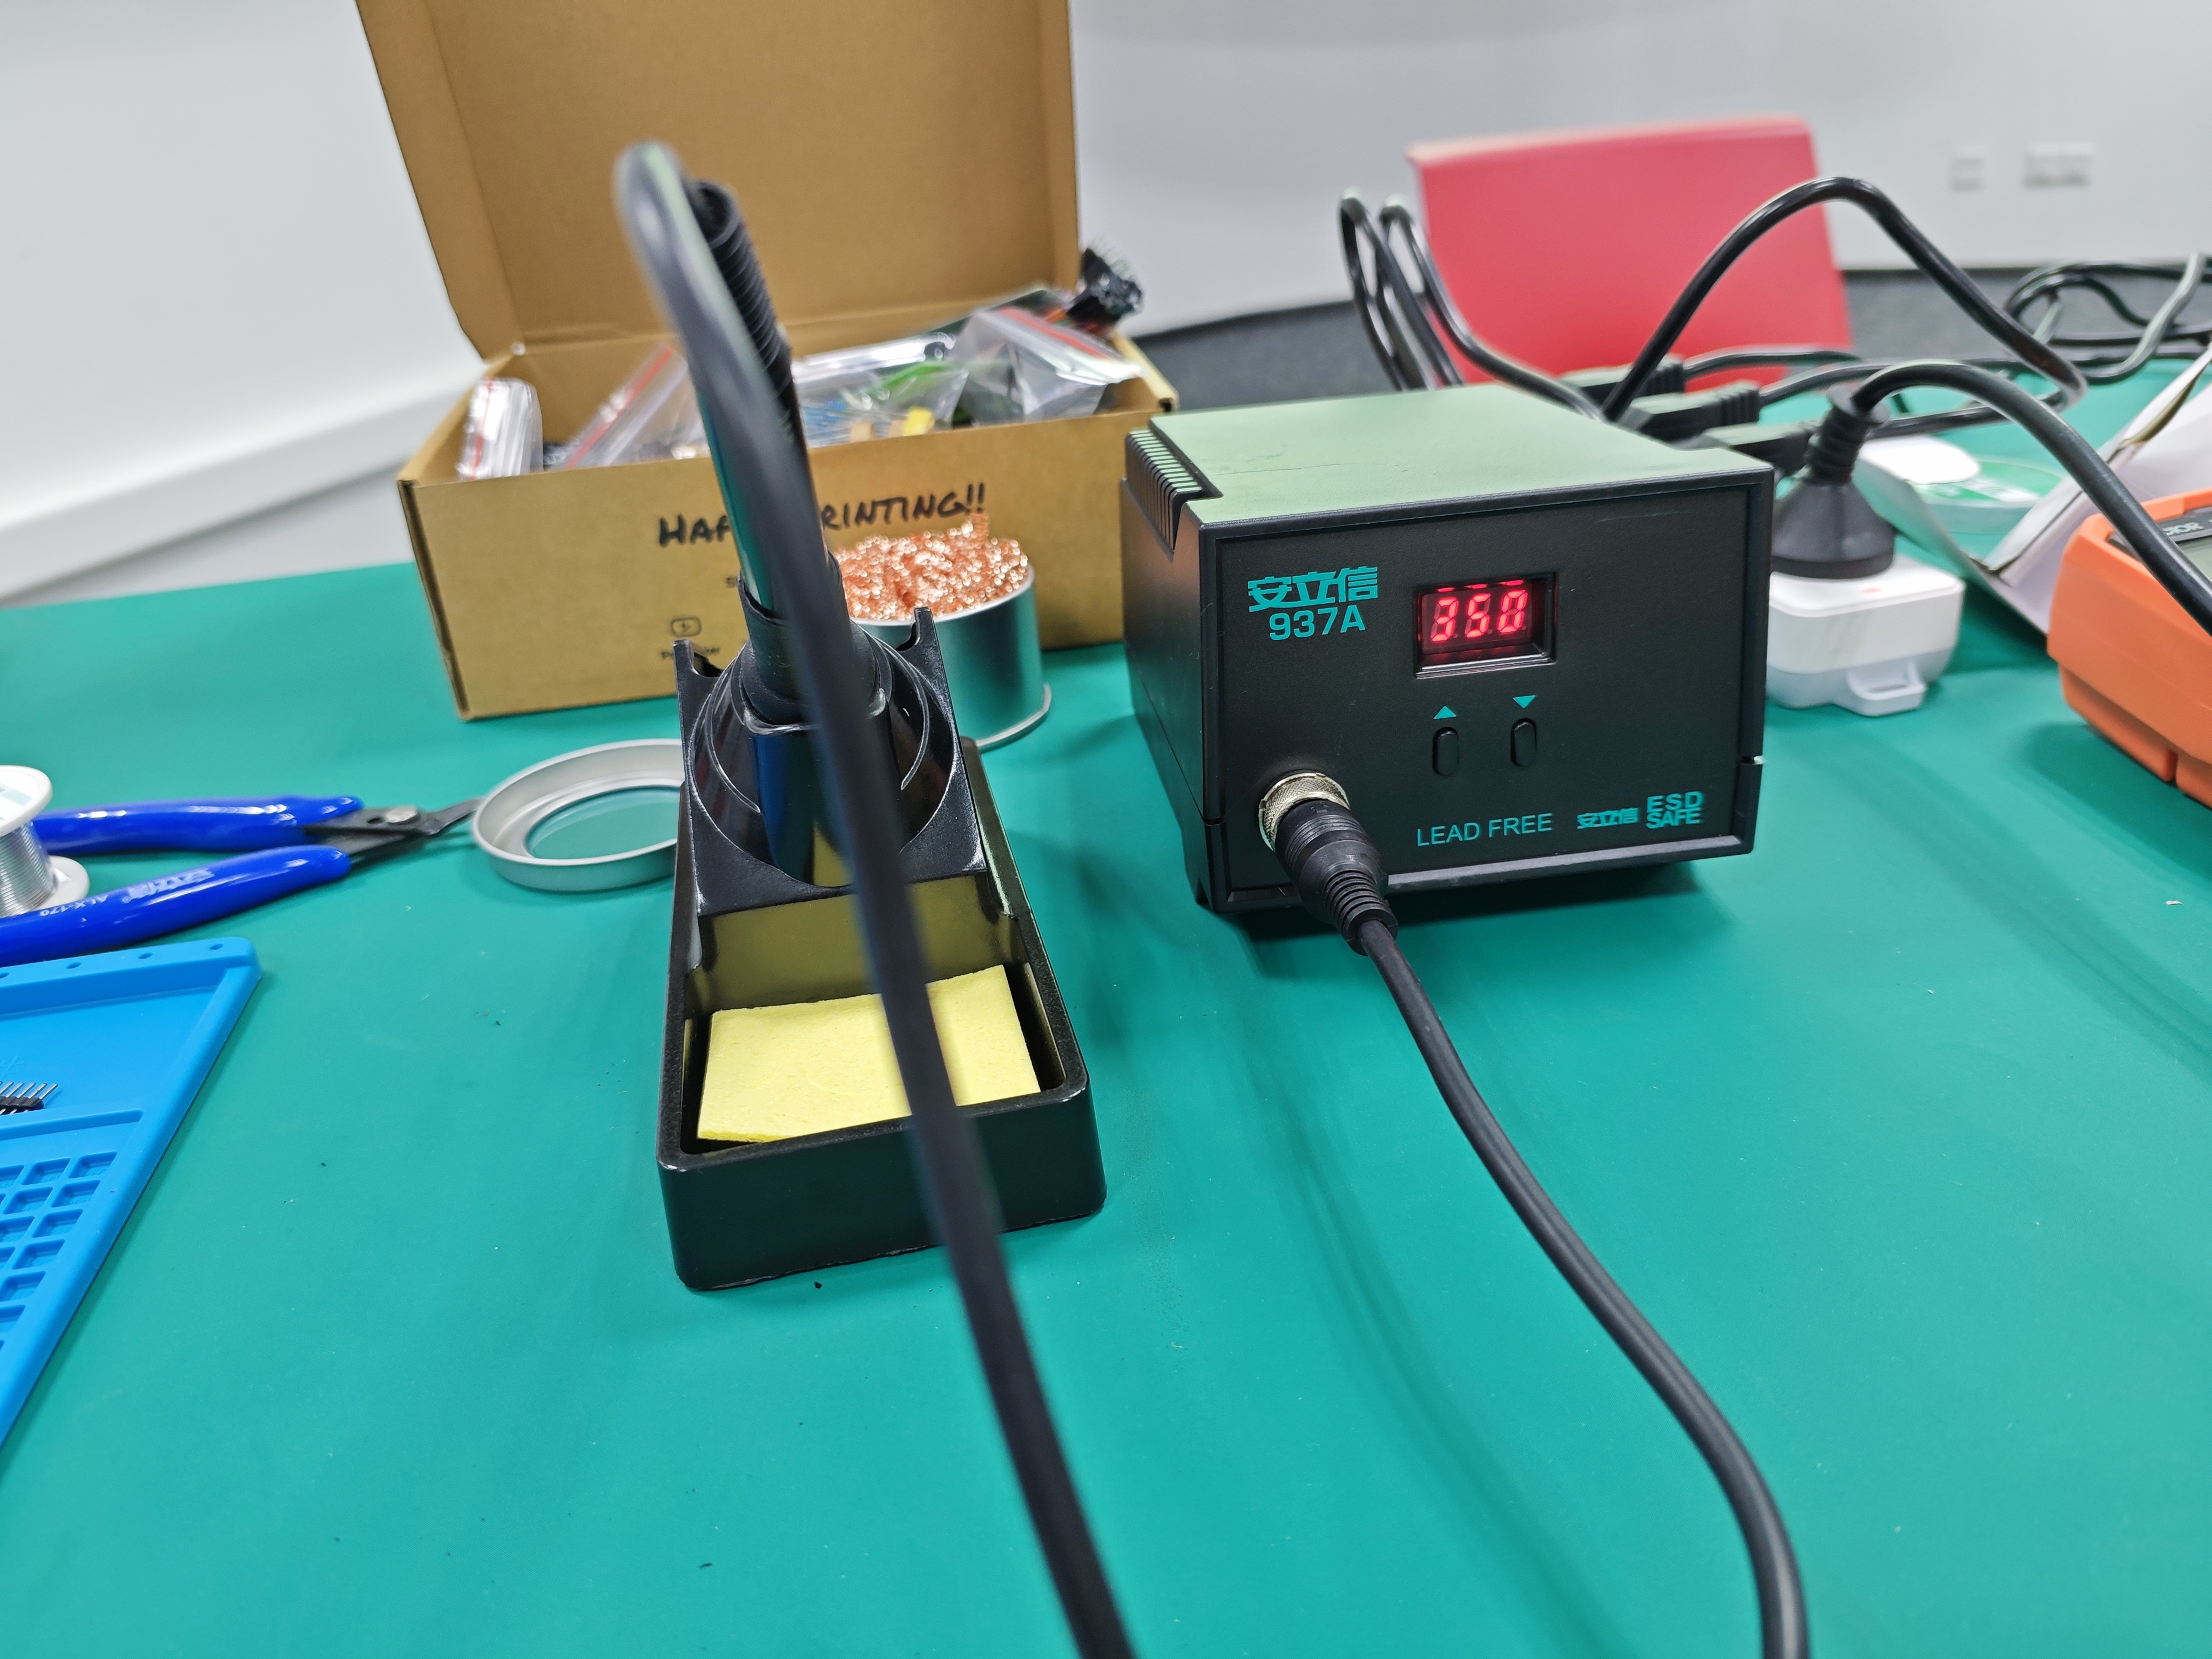
1. Welding Practice
At the beginning of the course, we learned and practiced how to use a soldering iron to solder chips and pins. Firstly, Adjust parameters such as welding current, voltage and welding speed according to the welding materials and requirements. Secondly, insert the parts to be welded into the solder paste. During the welding process, try to keep the welding torch steady to avoid false welding. After the welding is completed, a voltmeter should be used to test the function of the welded parts to avoid short circuit or open circuit caused by welding problems.
2. Ardunio Practice
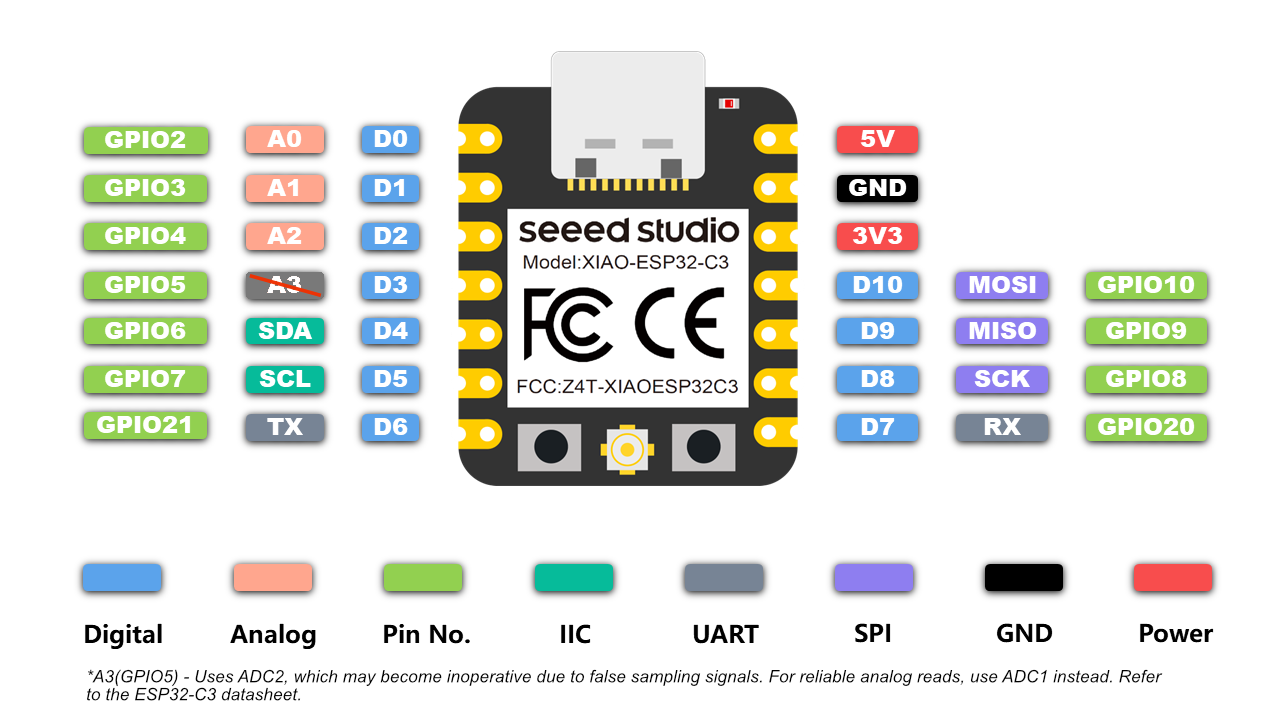
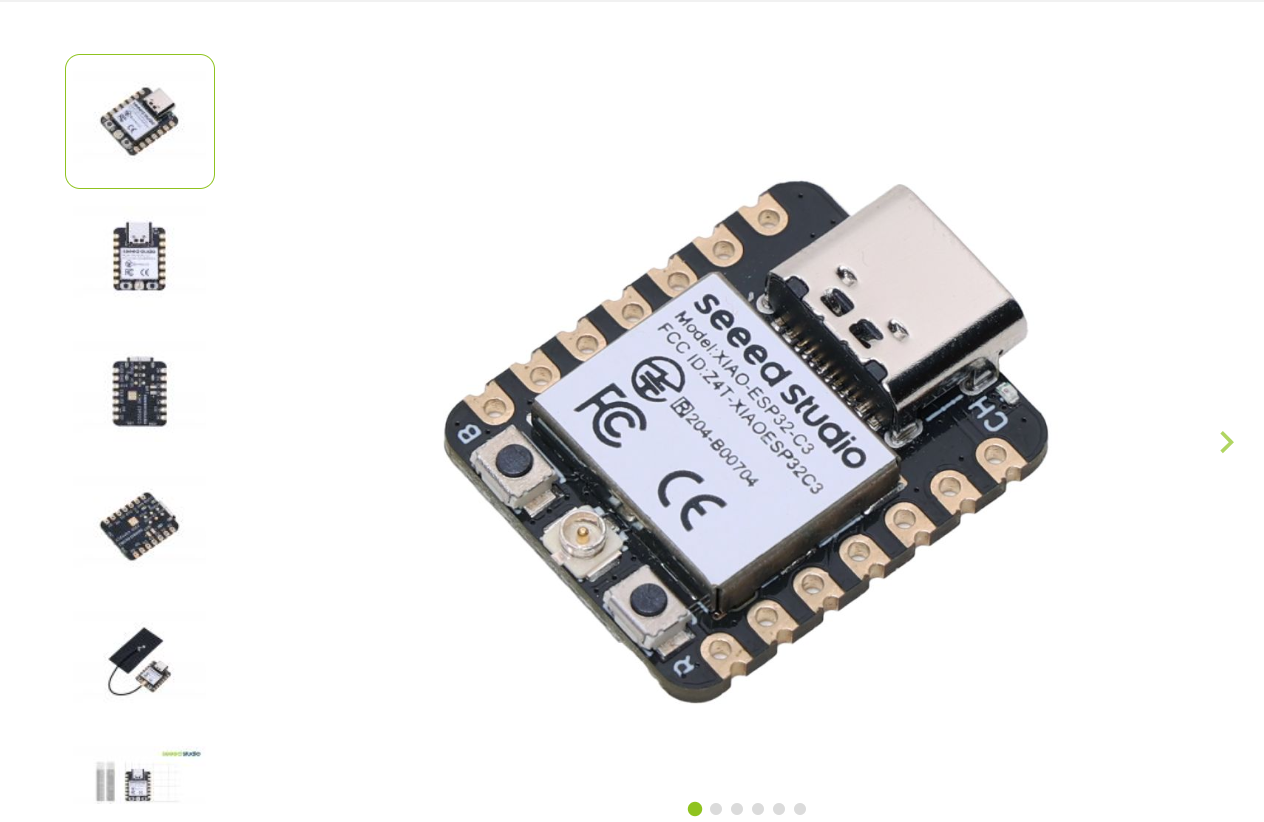
In this course, we used Arduino esp32 XIAO as the main chip to finish relevant operations. It is a small, low-power development board suitable for embedded systems, Internet of Things (IoT) applications and other projects. Features Bluetooth and WIFI communication and supports up to 11 GPIO pins.Provides stable power management, supports 3.3V input and provides stable voltage output through integrated LDO (Low Voltage Difference Regulator).
More information about chip:esp32 XIAO
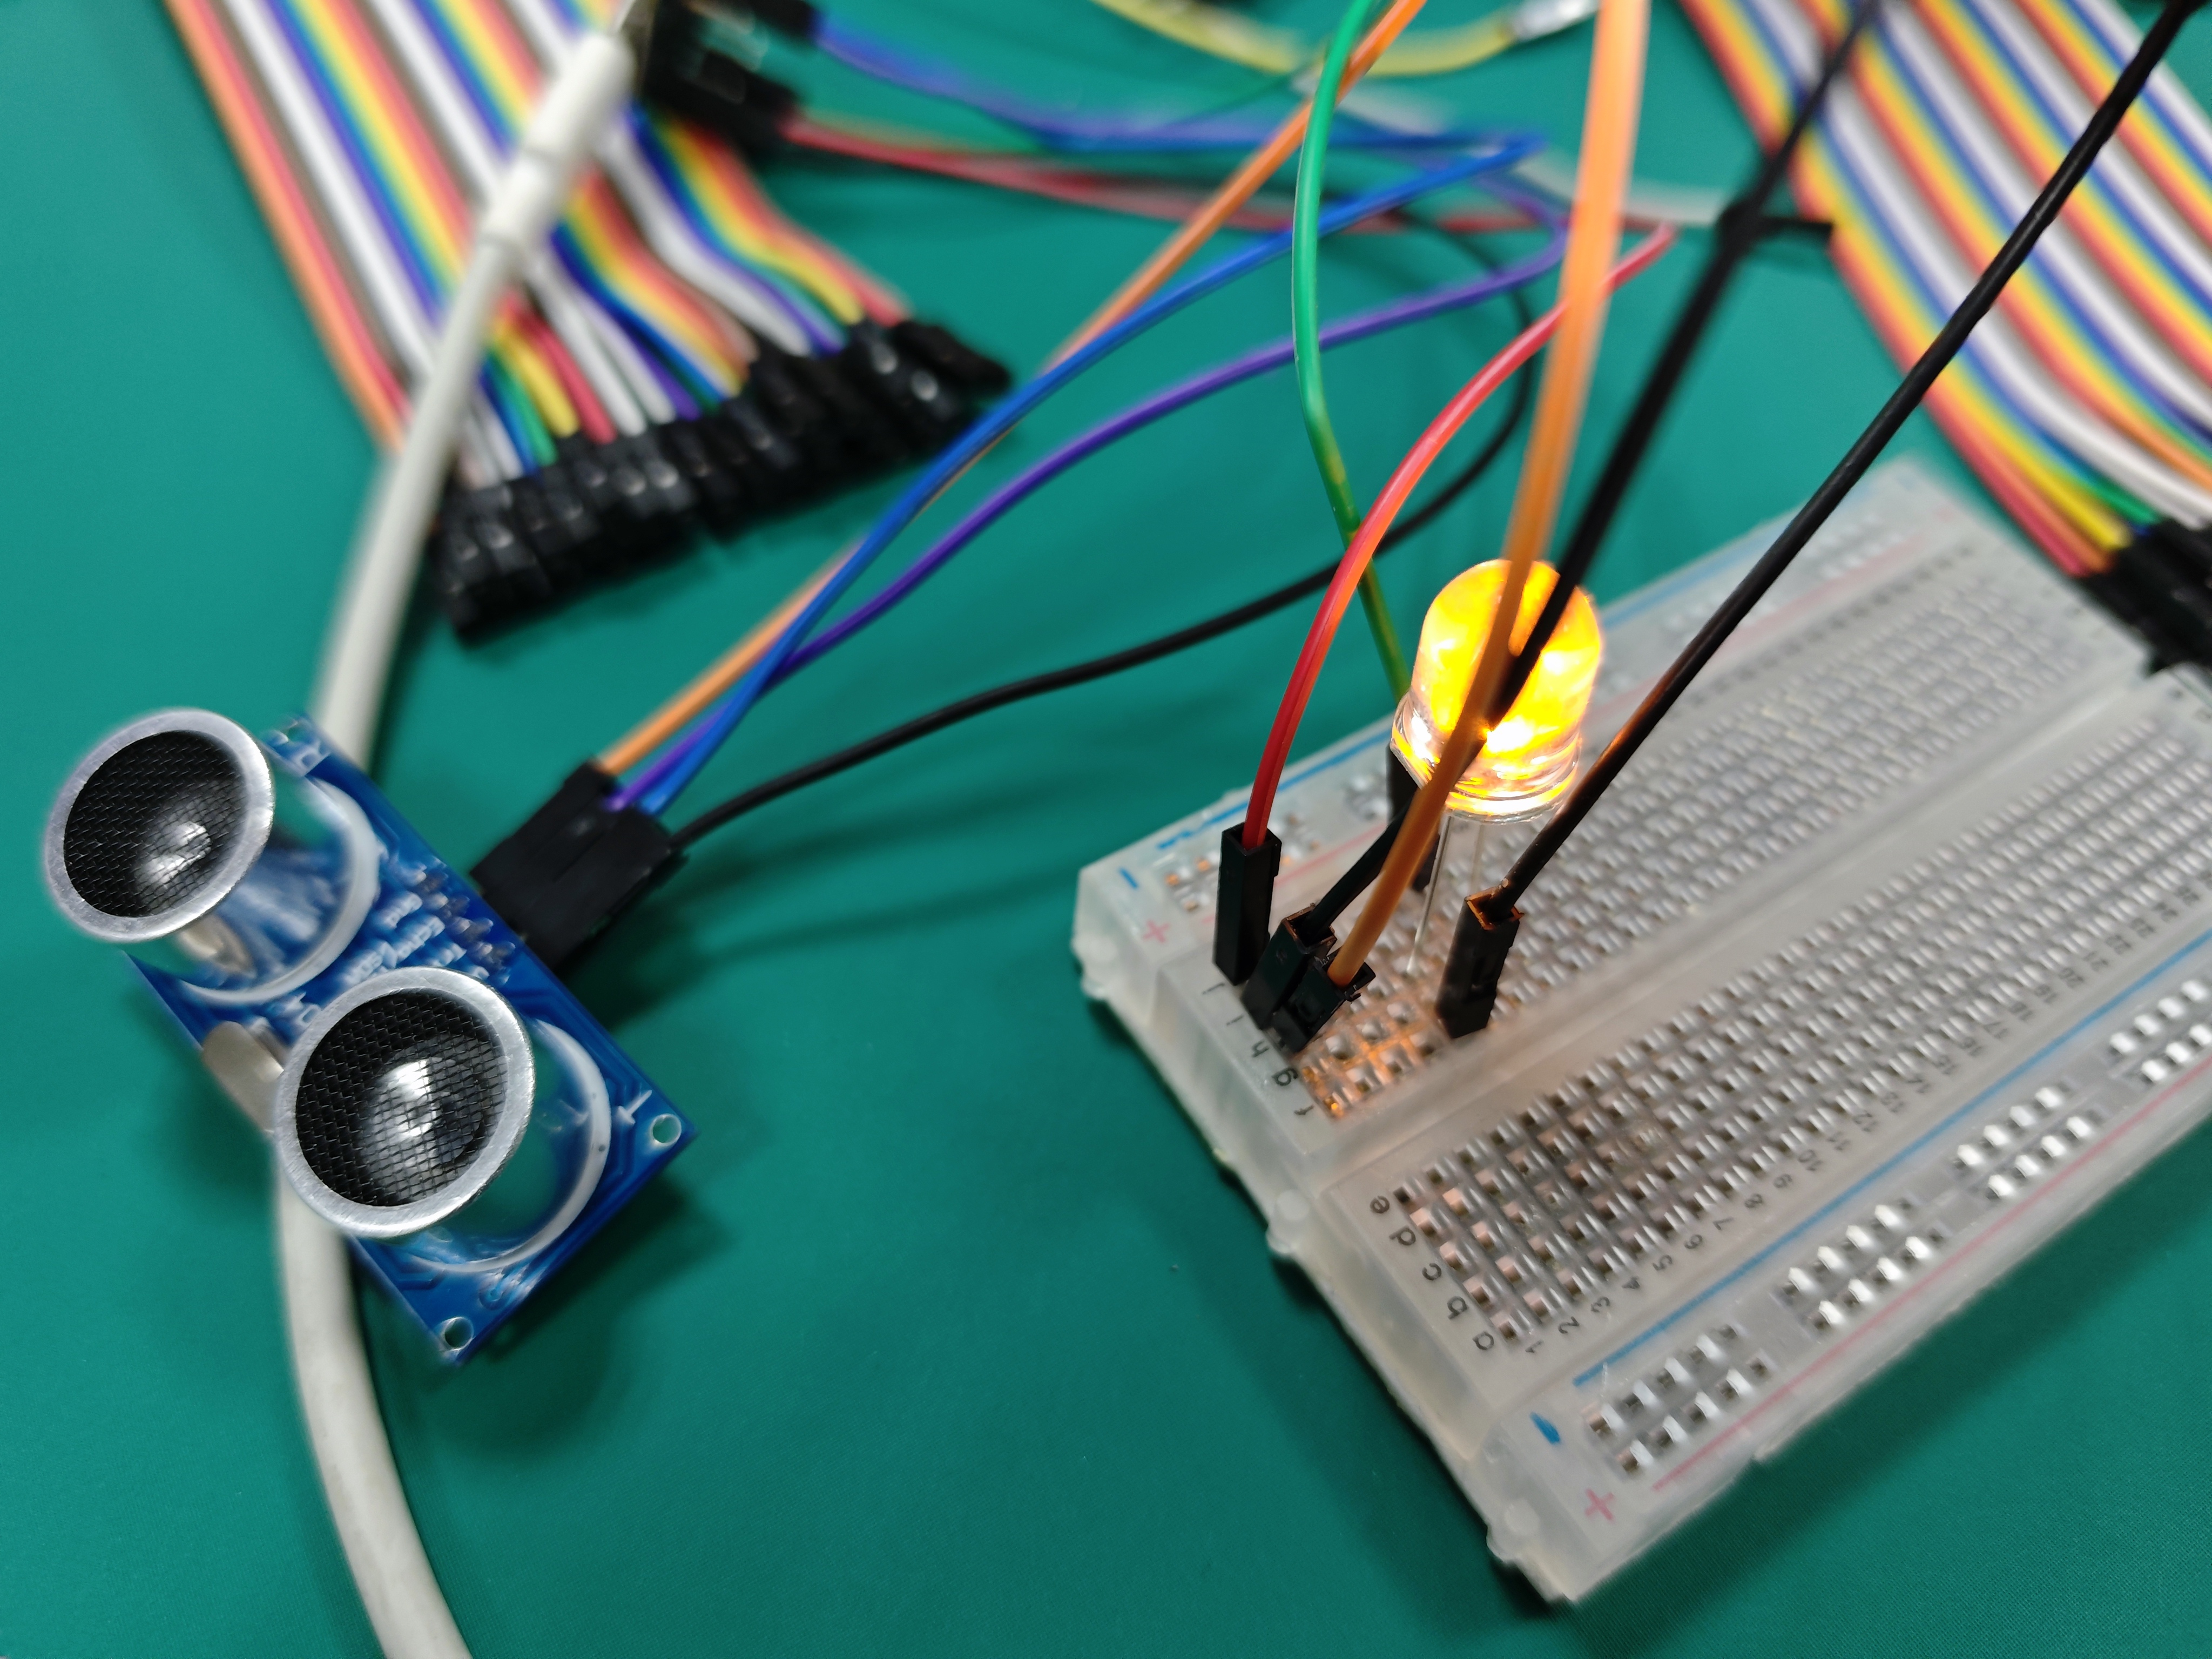
To finish a case, we used ultrasonic sensors to control the led light bulb to turn on and off.When completing the Case, I had the following problems: 1. Short-connecting problem of led bulb in breadboard. 2. The sensor connection port is correctly connected to the chip3, the small bulb connection resistance is too large to cause the problem of not bright.
In addition. you can monitor the case via websitehttps://wokwi.com/arduino.
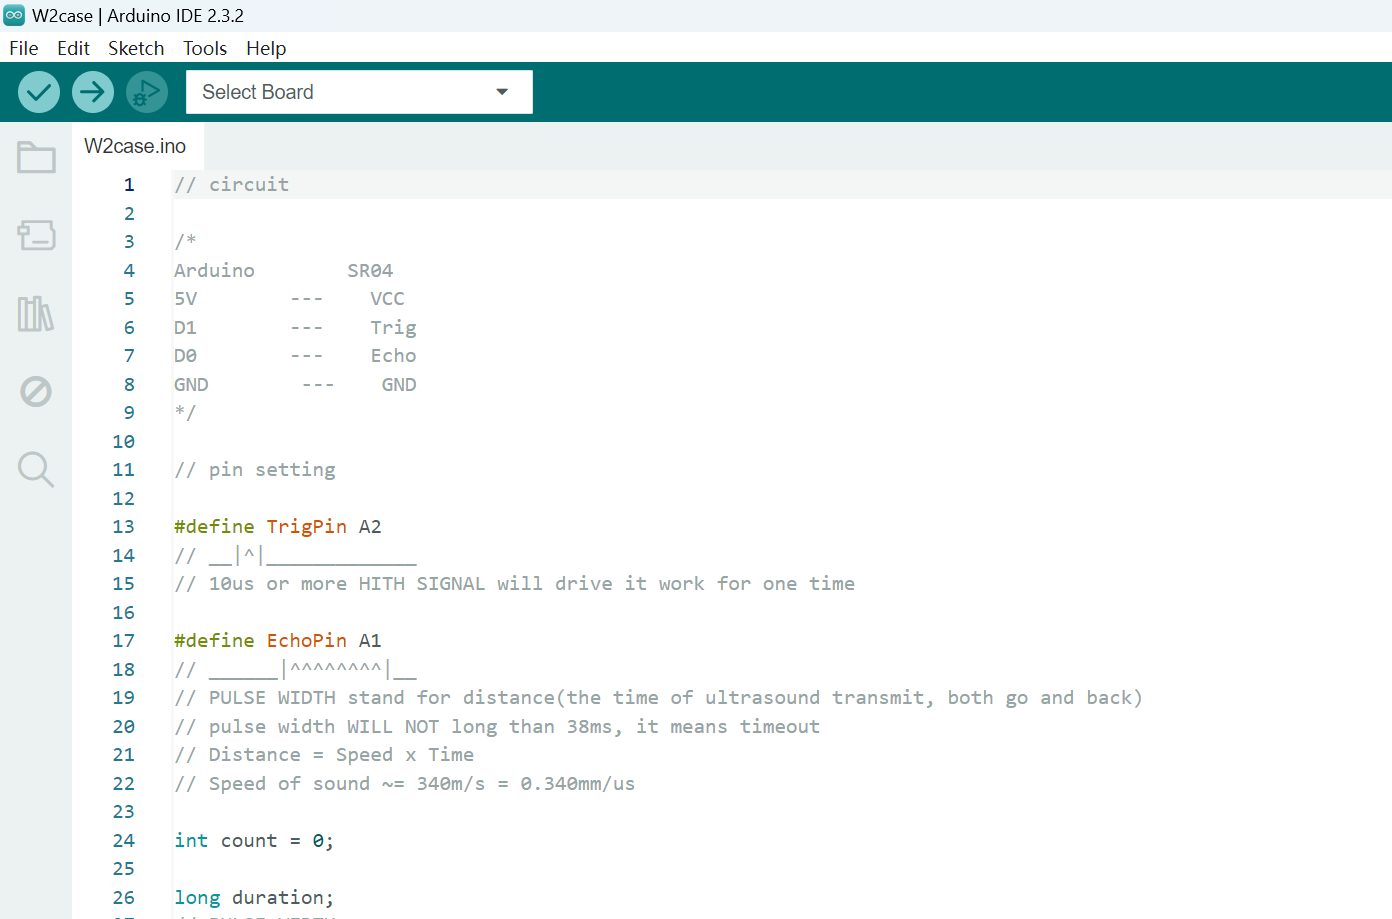
The code is as follows1:
bash
#define TrigPin A0
#define EchoPin A1
int count = 0;
long duration;


void setup() {
  // put your setup code here, to run once:
  Serial.begin(115200);
  pinMode(TrigPin, OUTPUT);
  pinMode(EchoPin, INPUT);
  digitalWrite(TrigPin, LOW);
  delay(1);
  pinMode (D10, OUTPUT);

}

void loop() {
  // put your main code here, to run repeatedly:
  Serial.println(count++);
  Serial.println(getDistance());
  Serial.println("");
  Serial.println("");
  delay(1000);
  int distance= getDistance();
  if (distance>200){
    digitalWrite(D10, HIGH);
  }
  else {
    digitalWrite(D10, LOW);
  }
}

long getDistance() {
  digitalWrite(TrigPin,LOW);
  delayMicroseconds(2);
  digitalWrite(TrigPin, HIGH);
  delayMicroseconds(10);
  digitalWrite(TrigPin,LOW);
  duration = pulseIn(EchoPin,HIGH);
  return duration * 0.34029 /2;
}
3. Ardunio Homework Practice
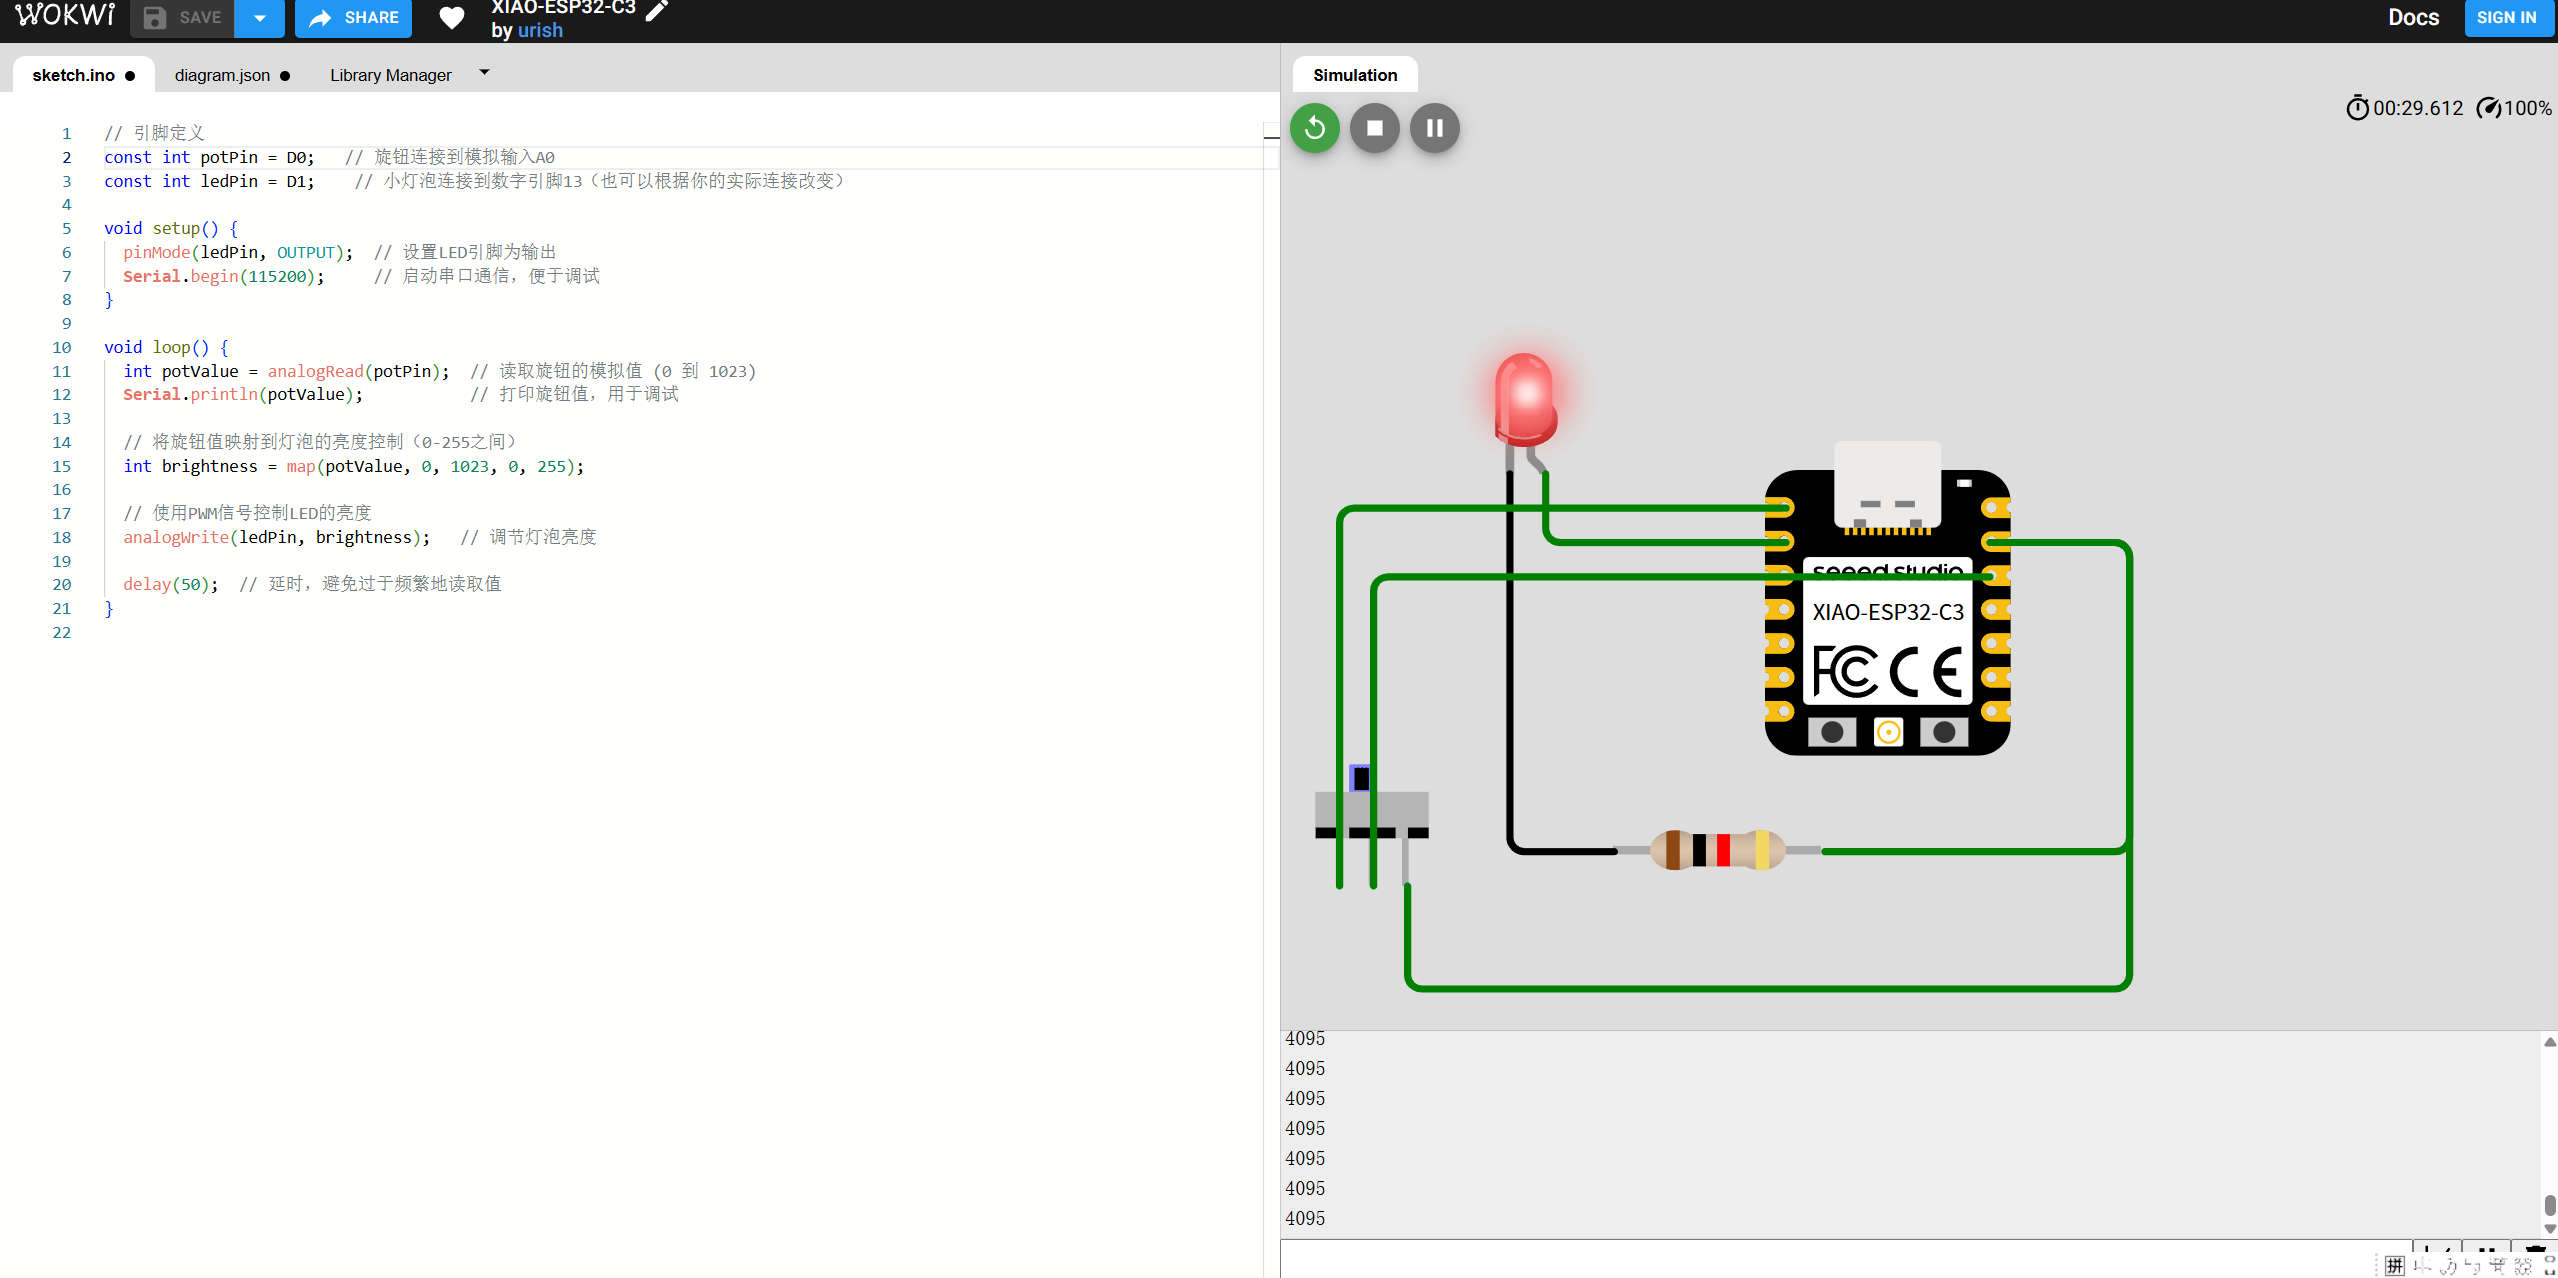
In the homework practice, I used the slide-switch to control the brightness of LED. Firstly, I monitor the case in wokwi. It has been demonstrated the case can work scucesssfully.
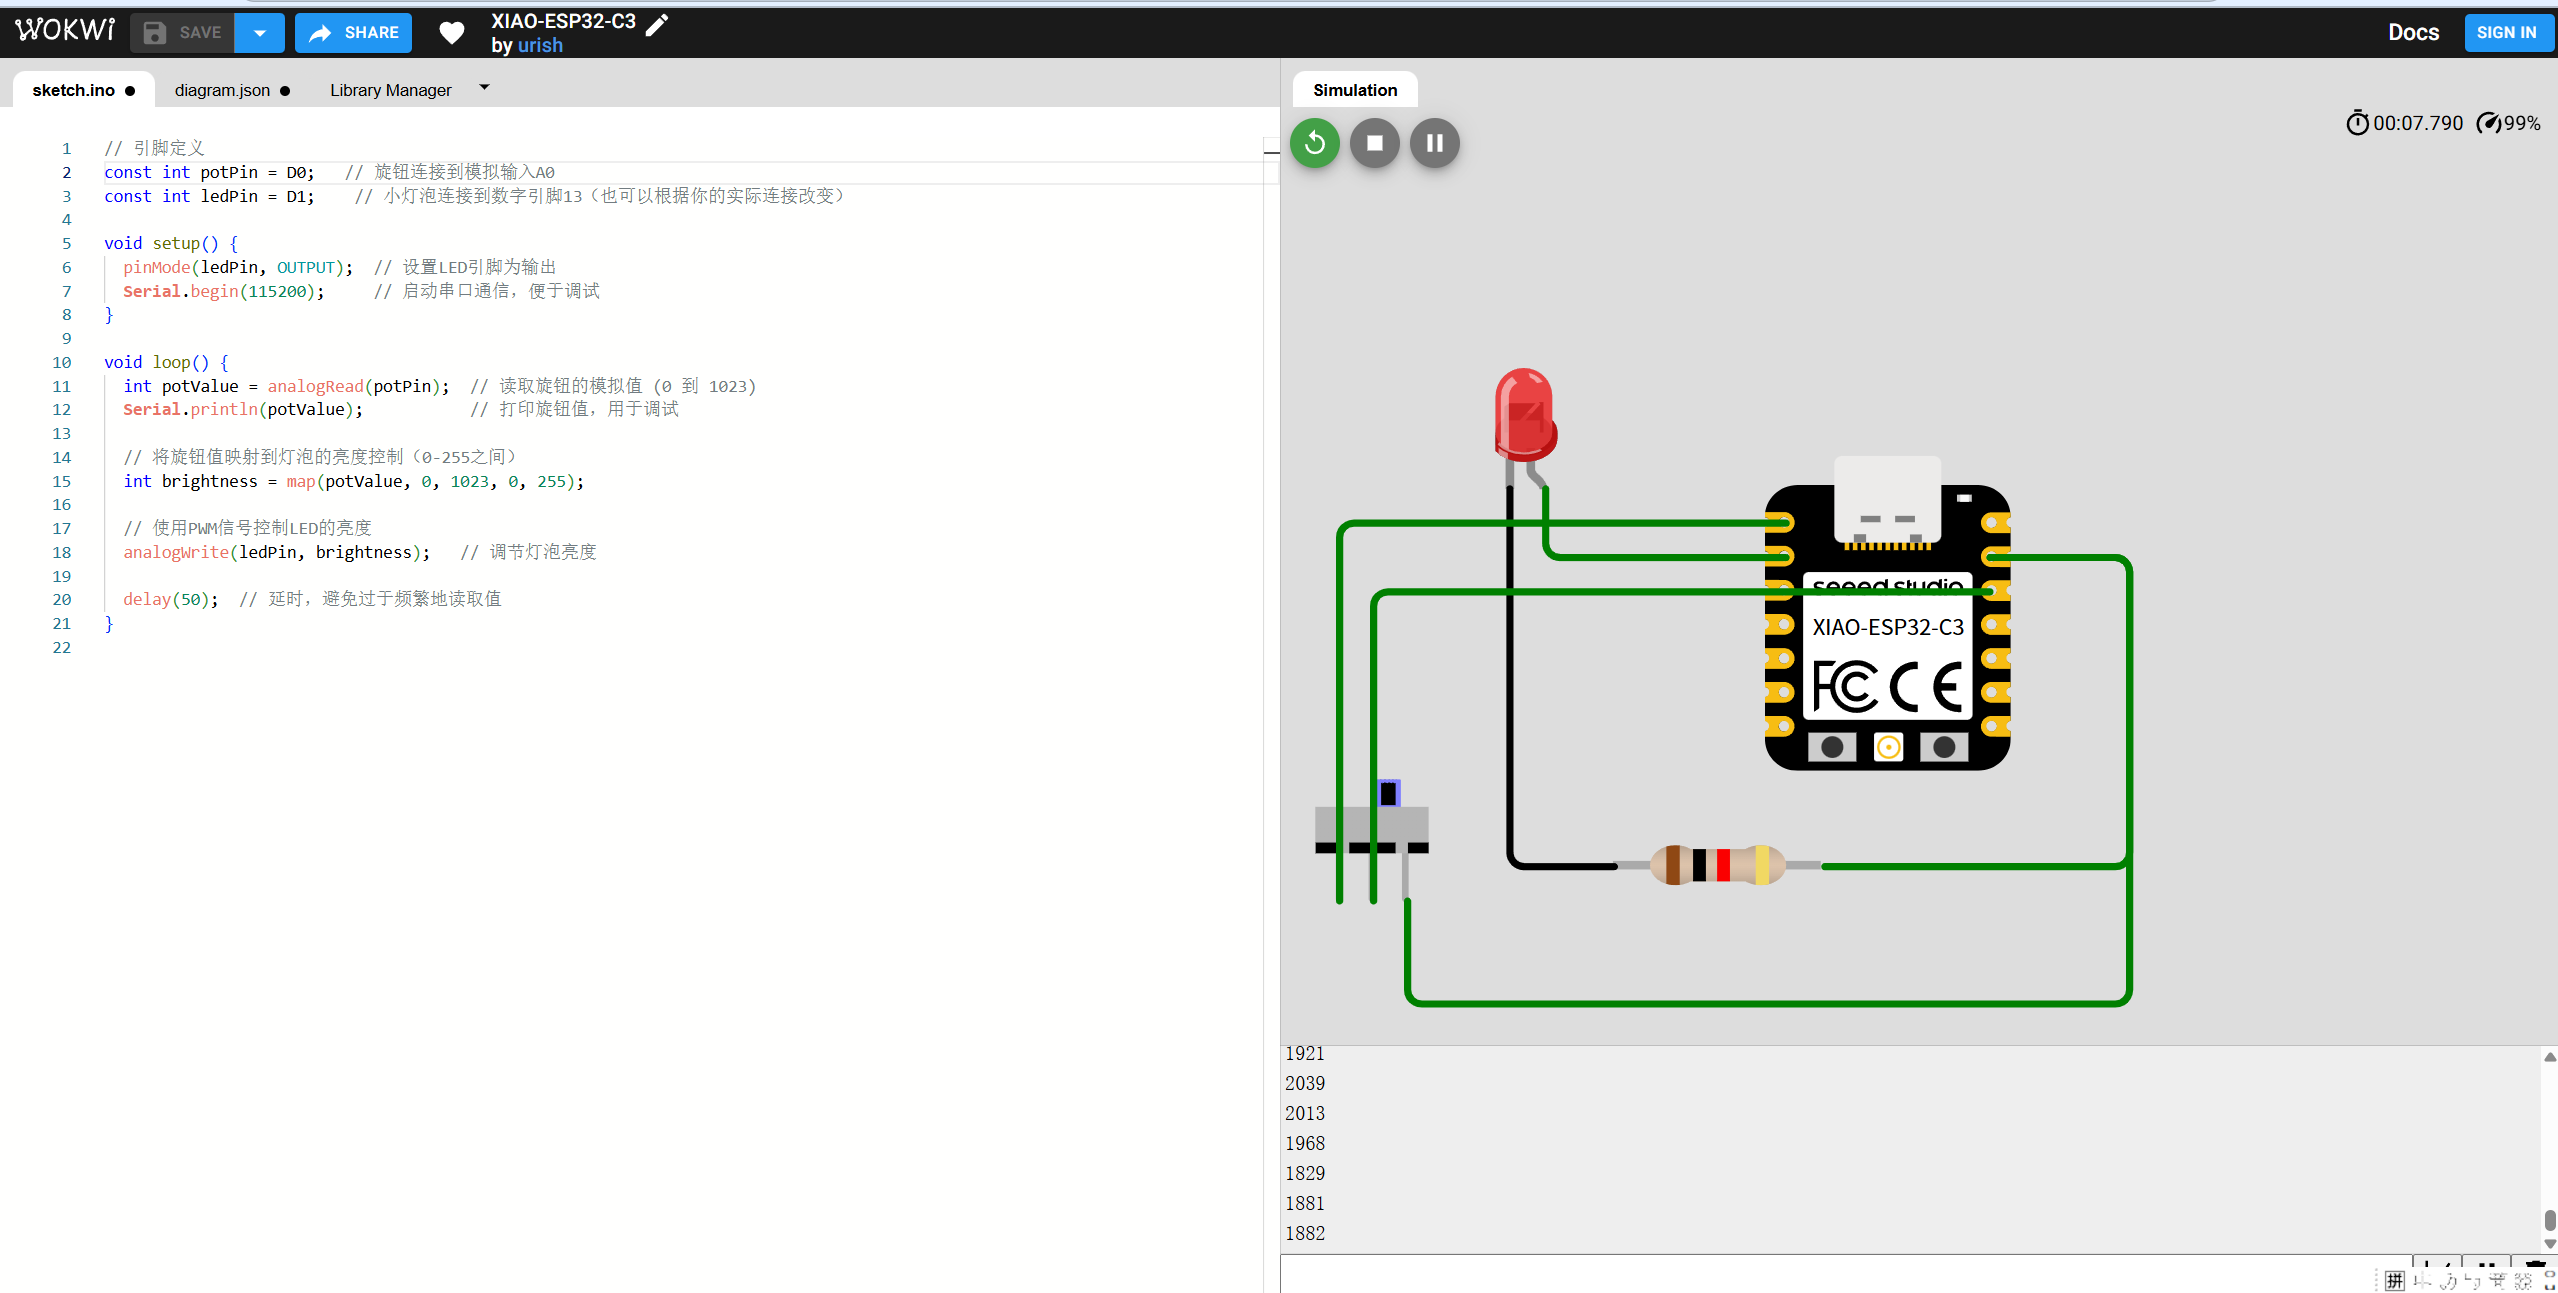
Then, i copy the code to the Arduino and upload it.
bash
// 引脚定义
const int potPin = D0;   // 旋钮连接到模拟输入A0
const int ledPin = D1;    // 小灯泡连接到数字引脚13(也可以根据你的实际连接改变)

void setup() {
  pinMode(ledPin, OUTPUT);  // 设置LED引脚为输出
  Serial.begin(115200);     // 启动串口通信,便于调试
}

void loop() {
  int potValue = analogRead(potPin);  // 读取旋钮的模拟值 (0 到 1023)
  Serial.println(potValue);           // 打印旋钮值,用于调试

  // 将旋钮值映射到灯泡的亮度控制(0-255之间)
  int brightness = map(potValue, 0, 1023, 0, 255);

  // 使用PWM信号控制LED的亮度
  analogWrite(ledPin, brightness);   // 调节灯泡亮度

  delay(50);  // 延时,避免过于频繁地读取值
}
It can be seen that the data of the slide switch is obtained.
.gif)