3D-Printing
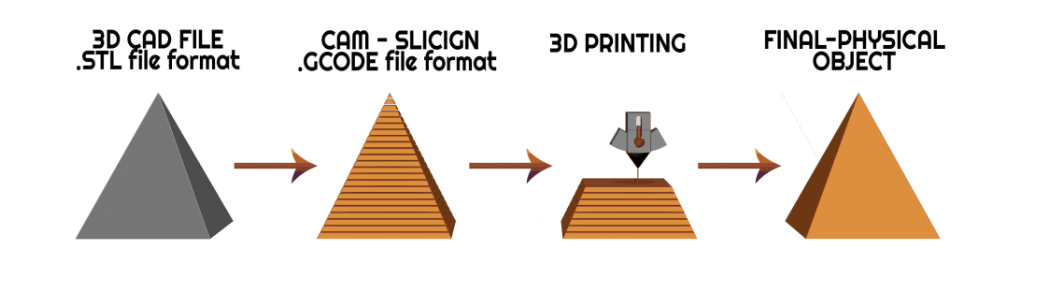
3D printing technology is done by computer process building parts inside machine through layer by layer. It can produce physical prototype directly from computer and capable of using variety of materials. As shown below the process is to provide a 3D CAD file of some sort for example STL format. This then is sliced and processed into multiple layers for the printer and starts printing layer by layer resulting into the final object.
If each layer is filled fully then not only would it cost overwhelmingly amounts of materials the larger the project is but the print time would also skyrocket taking days to complete. So when objects are being 3D printed there are different sections of input required to place.
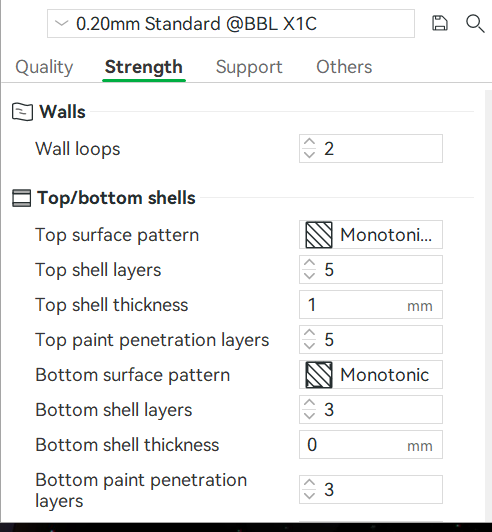
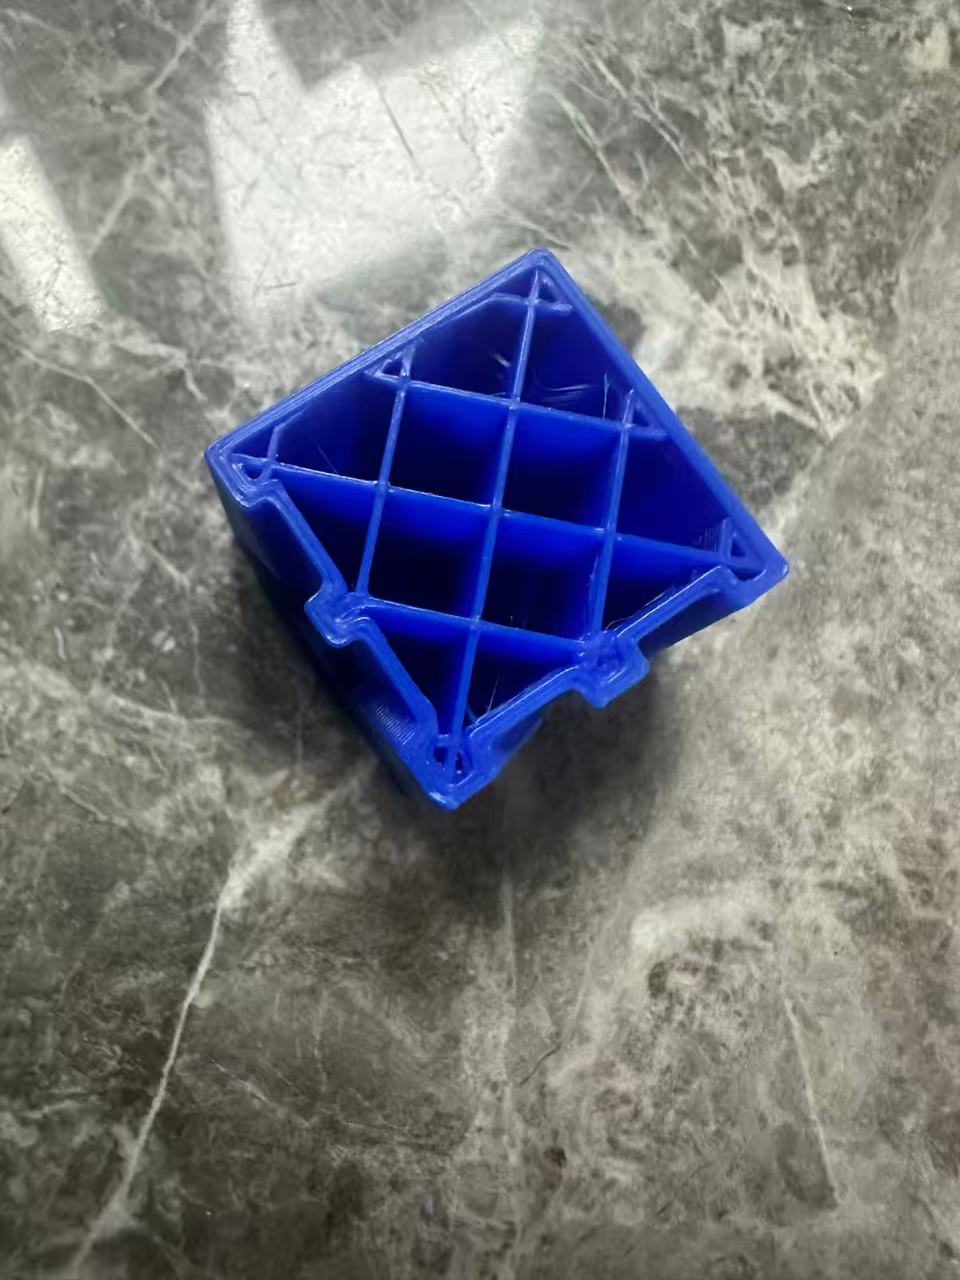
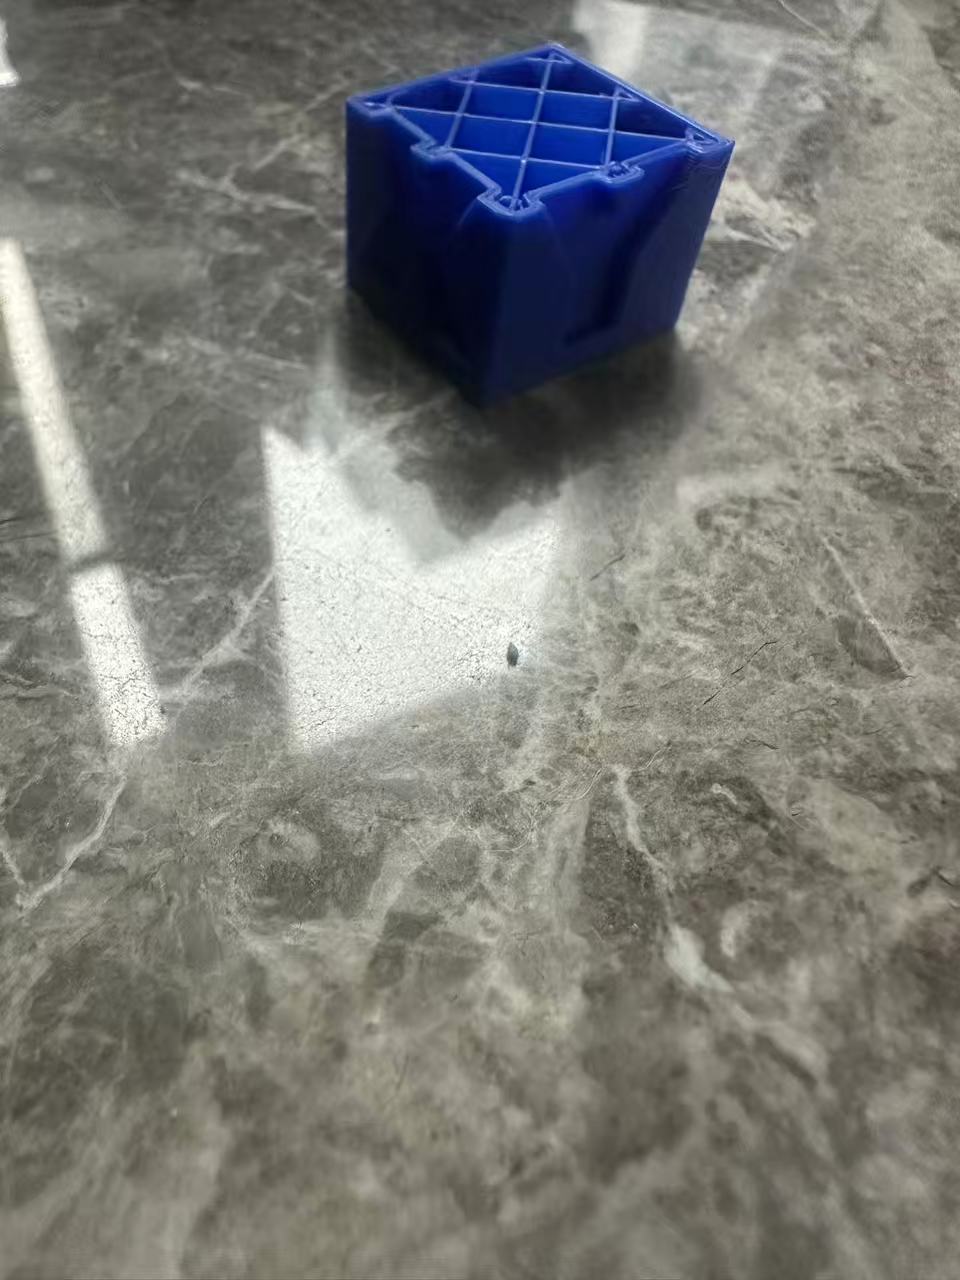
As shown above, under the section in bambu before printing projects. There are different inputs that can be changed. Walls are number of outer layers the object has. If the wall is too thin the the object becomes fragile and easy to destroy. Generally 2 to 3 layers of wall are needed when printing. The other variance is the top and bottom shell. As mentioned before if everything is filled in with materials the project would cost too much resource and time. Different patterns can be chosen to fill in the center of the object to hold it together. Below is a template printed used for test printed halfway to see the progress inside object printed. As seen in this one there is a line on the border of the cube to show that this object used 2 layers of wall whe printed.
 |  |
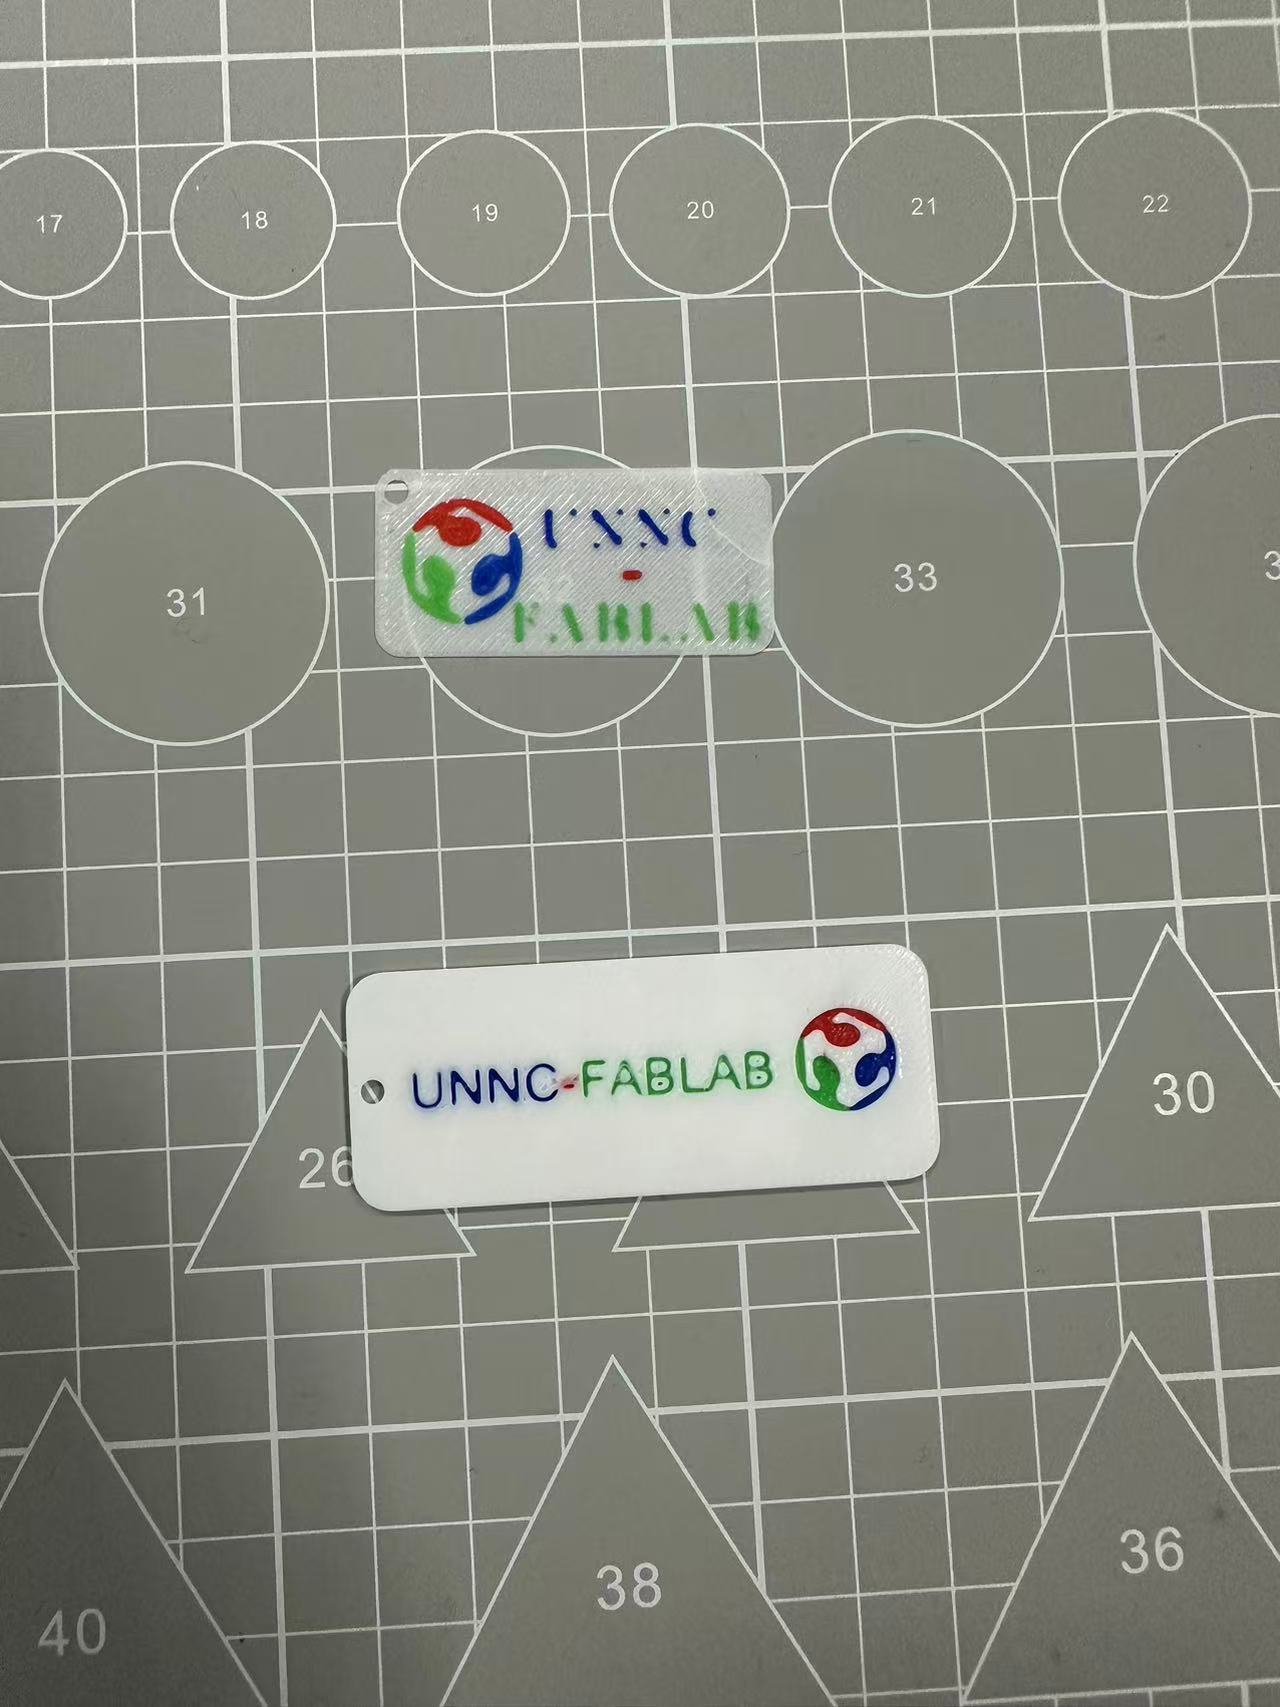
When printing a 3D object sometimes you would want parts of the object to be different materials, or different colors. With the printer in the lab up to 4 material/colors can be loaded for the object. Beneath preparation in Bambu we can add different filaments and select areas of the object on Bambu what type of material or color should be used at which areas. In this example below I used 4 different PLA Basic material that all of different types of colors. 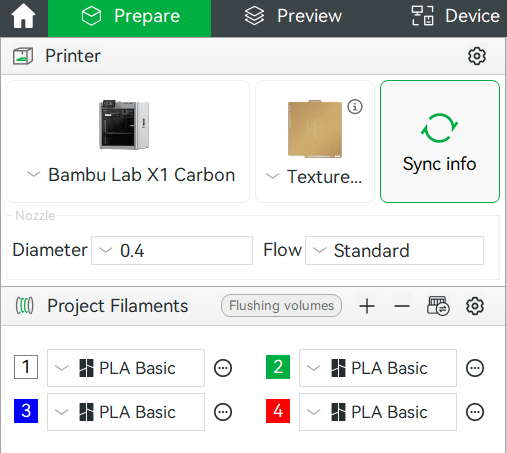
When all preparation is done, the first part is to slice the plate which is to have the system divide the object layer by layer and plan out the printing process. Once that is done print plate will start the print. 
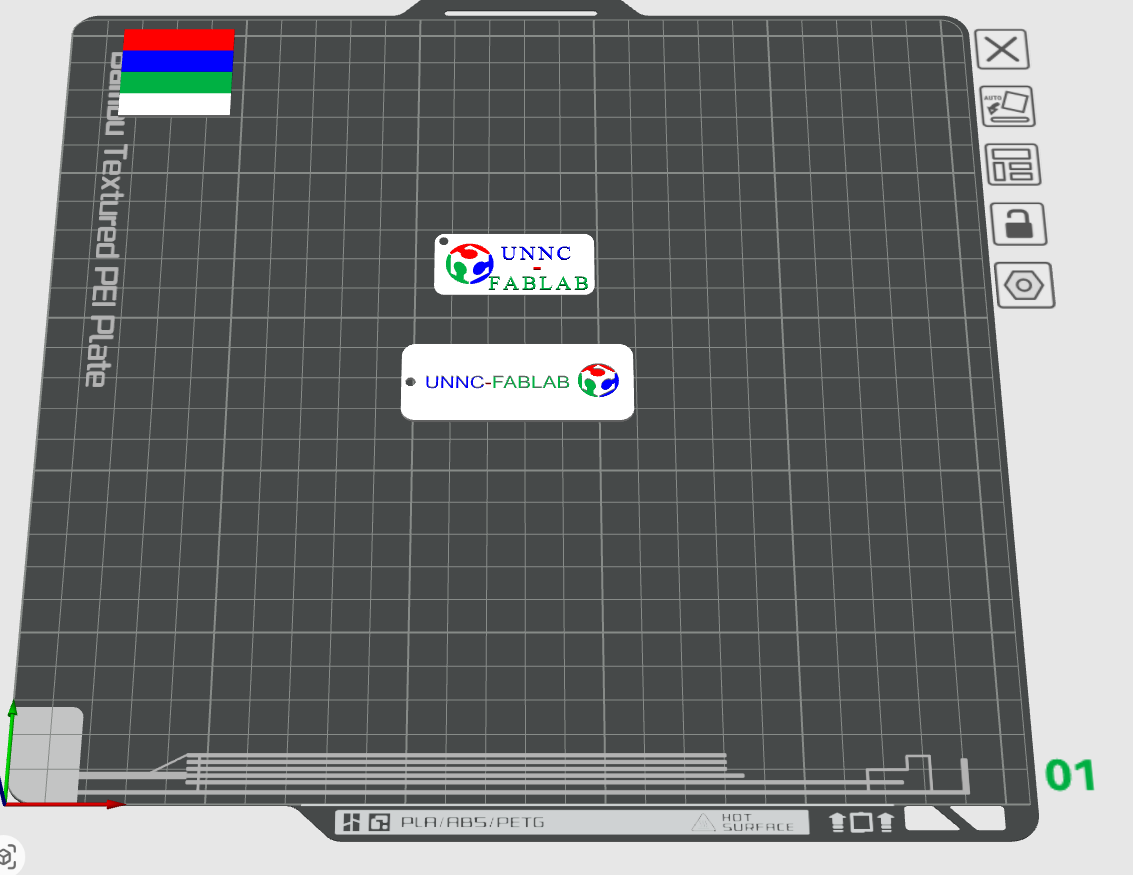
Below is a gif of the printer in action. The area the machine is processing is called the color filter. This is needed when multiple different colors are used in the same object. When changing color the printer will squish out the remaining color loaded in the tube before proceeding to change colors and continue printing. Under the gif shows a preview of a project in Bambu. On the top left shows an indicator of the color filter square that would be printed as well with the objects on the plate. 
Result of the 3D print from previous layout below. These two objects were printed together to save time. Generally it is best to put as many componenets, objects on the same printer board when preparing to print. This is because it takes time for the printer the prepare and takes time for printer to change material/color in between layers. When adding all the components together this saves time from not needing to prepare before print and changing colors.