Laser Cutting
Top Rules
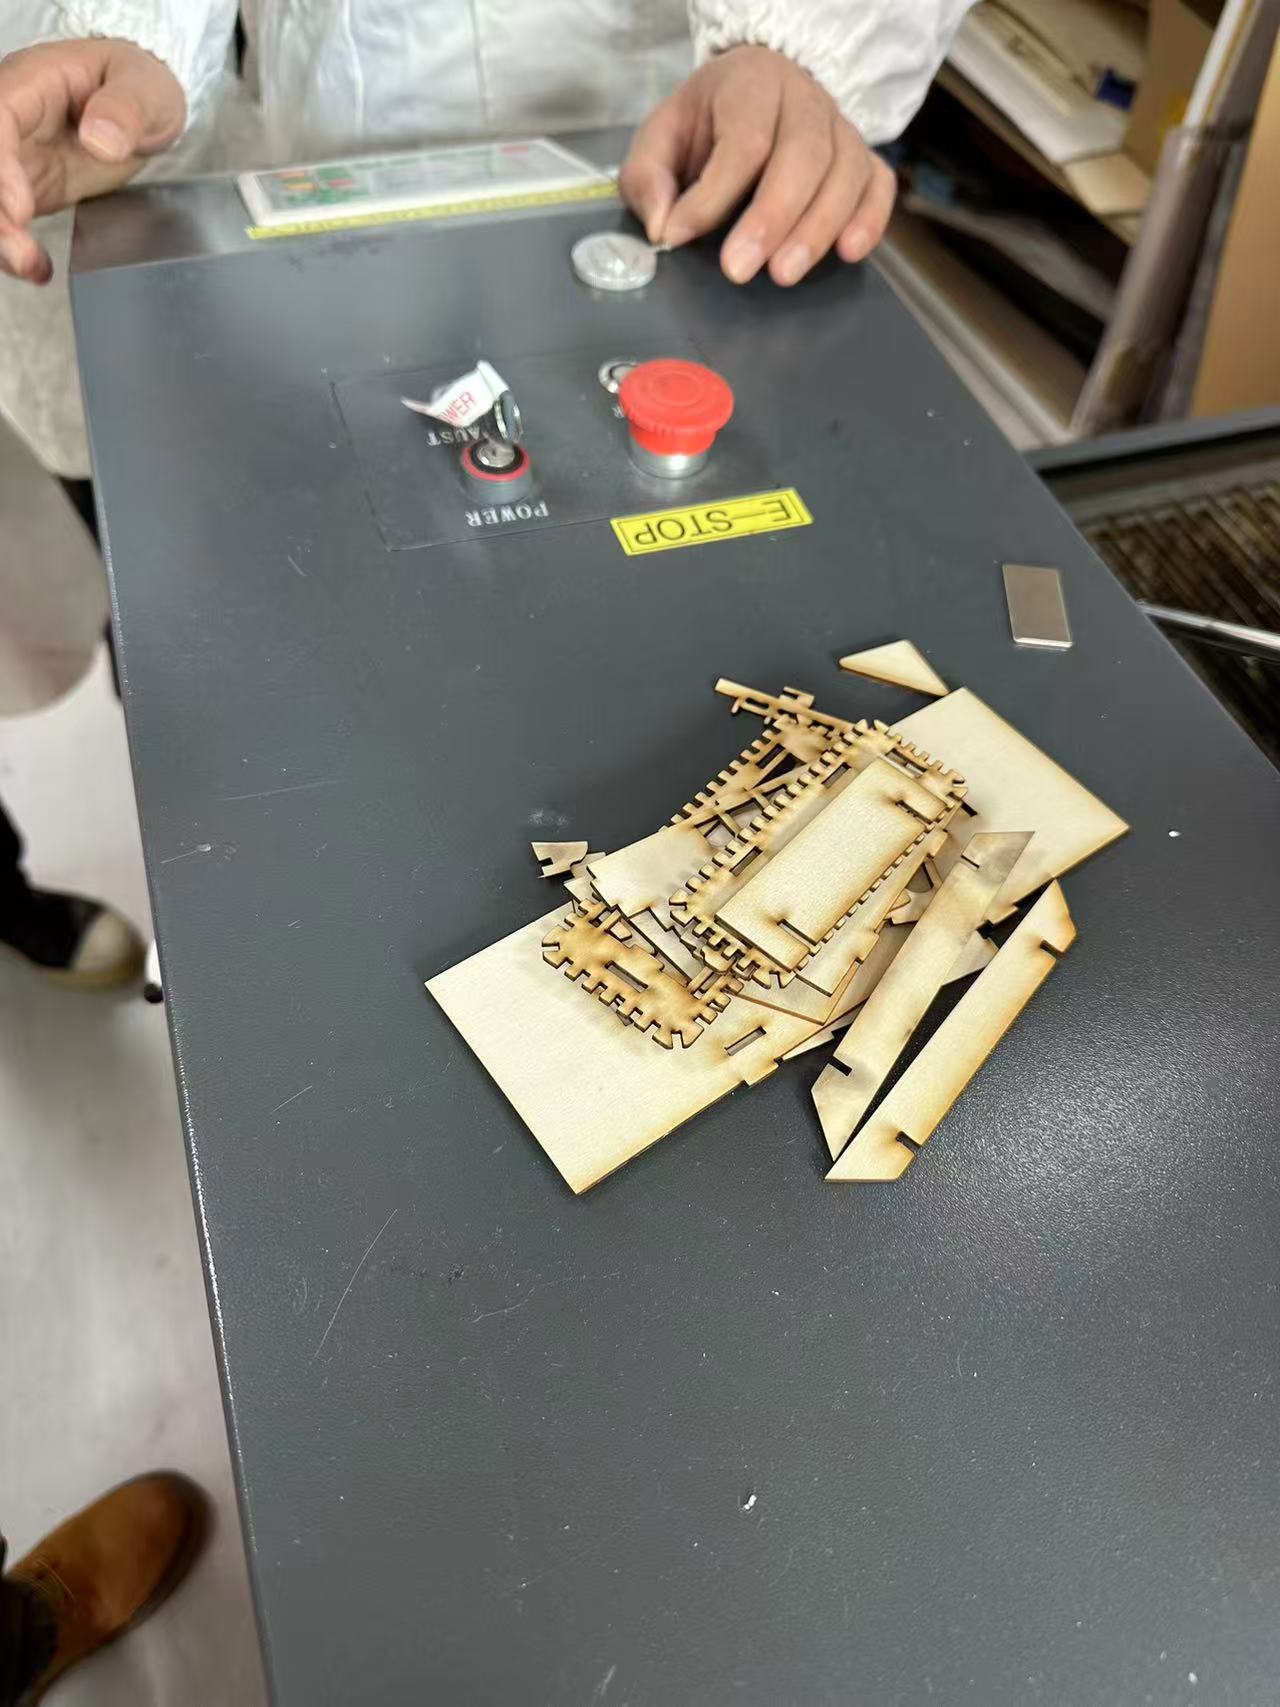
Always check where the Emergency Stop is before using a laser cutting machine.
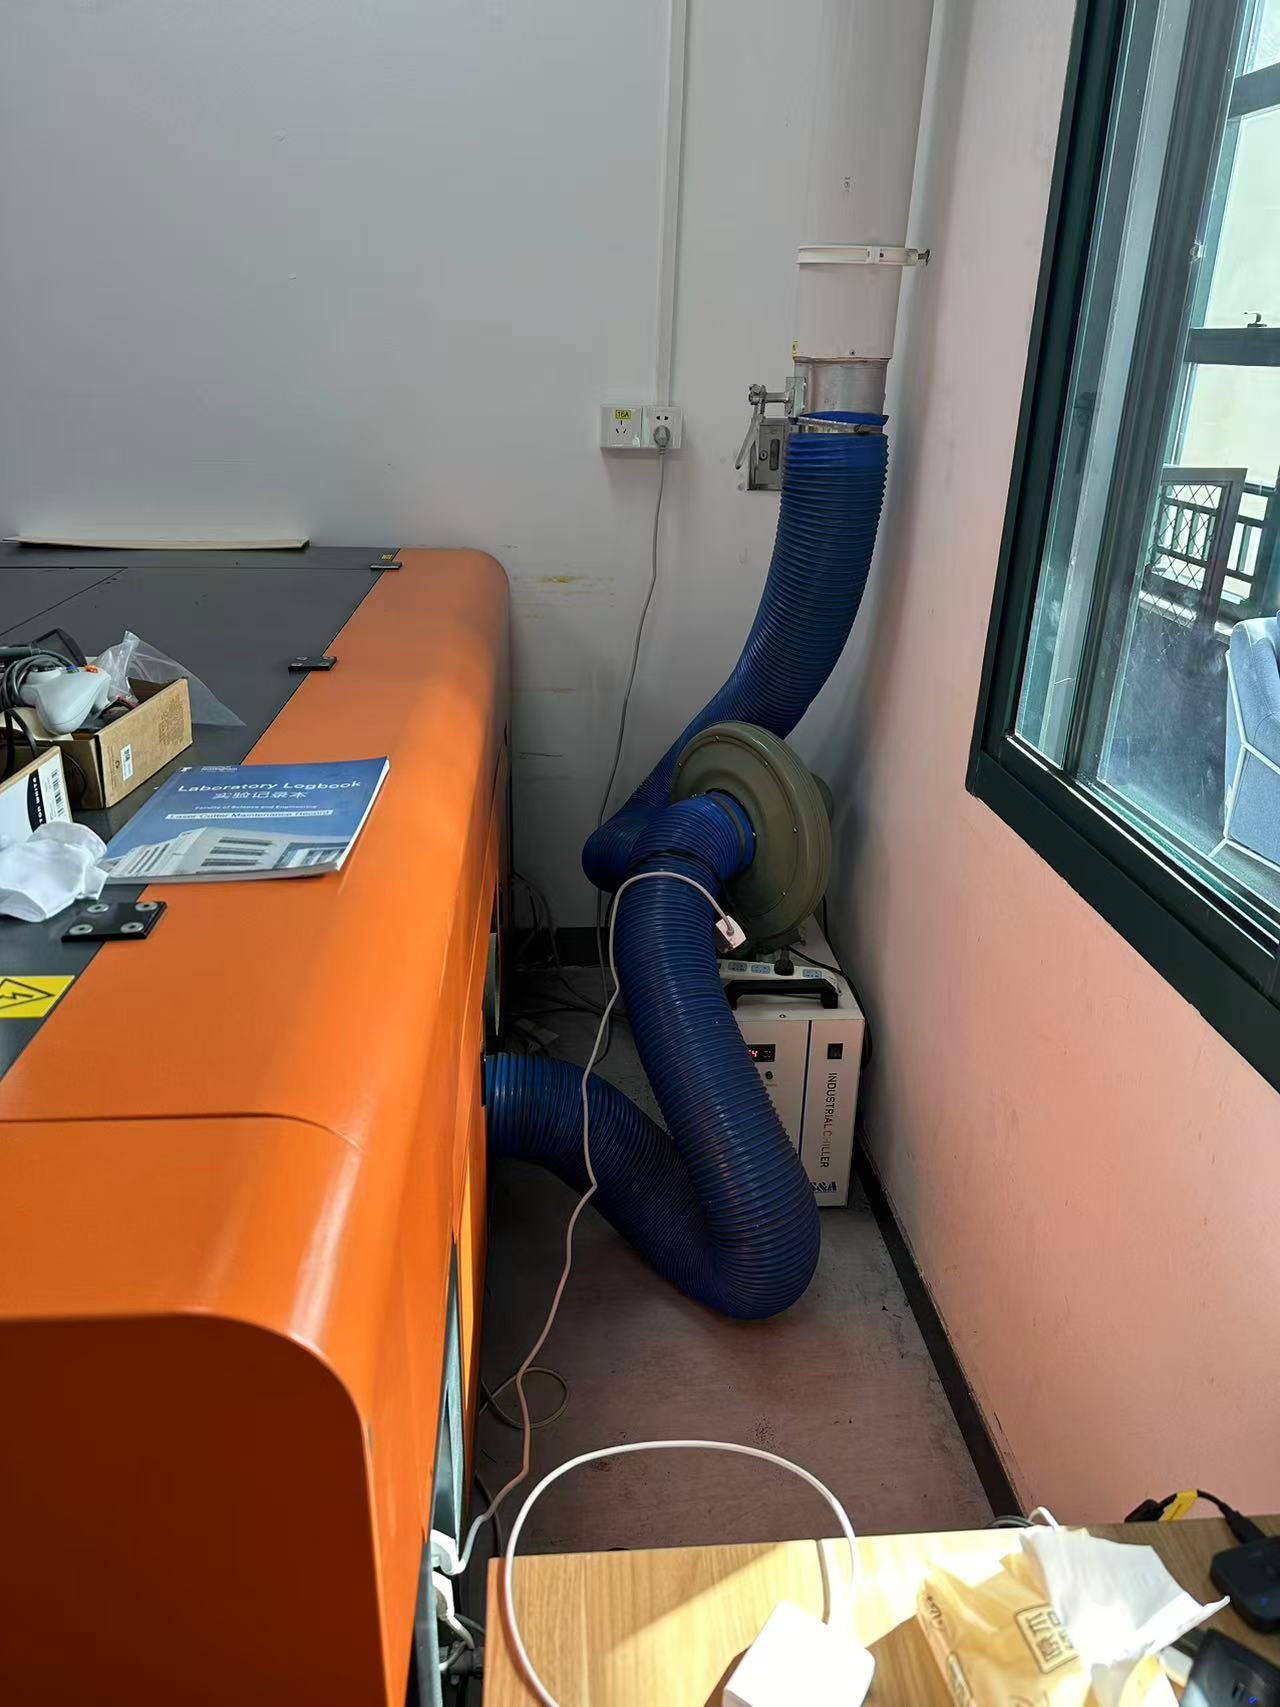
Before starting check to see if the water cooler and wind turbine are active and working.
The wind turbine not being active is acceptable but the smell is usually overwhemling and helps make working environment workable. If the water cooler is not active the laser machine usually would only function for couple minute and break down.
 |  |
Operation on Laser Machine
To print with a laser machine, after adjustments done on the PC, save the file and connect it to the machine. There from File open the folder with the project to laser cut. When done load the material under the laser and press the direction buttons to move the laser pointer. Once ready first press origin to locate the starting point of the laser then press frame to see how much material is to be used and whether or not there is enough material for the machine to cut. Once everything is checked close the lid of the machine gently as slaming it down too hard may cause the material inside to shake and location printed may shift. Finally press Start-Pause to start the process. 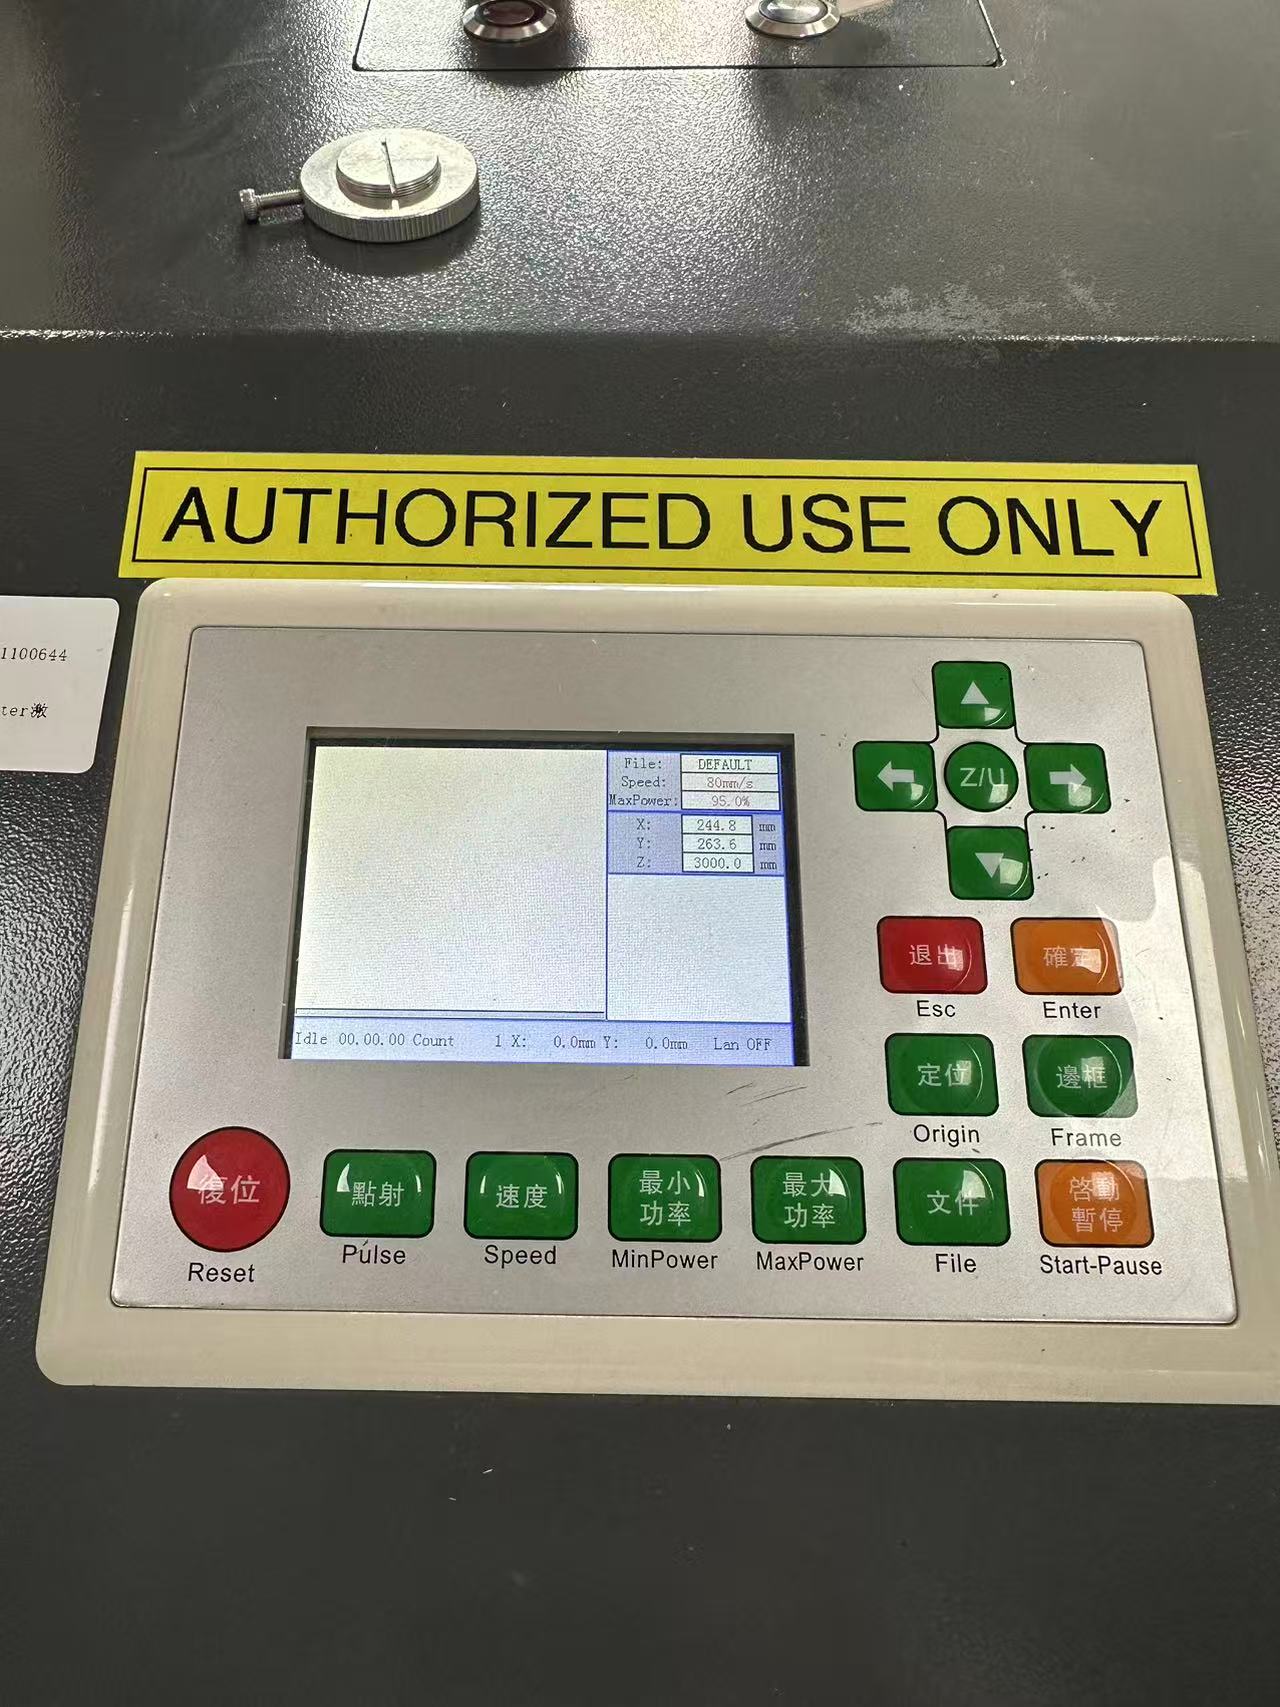
Gif below shows the laser cutting machine in action. 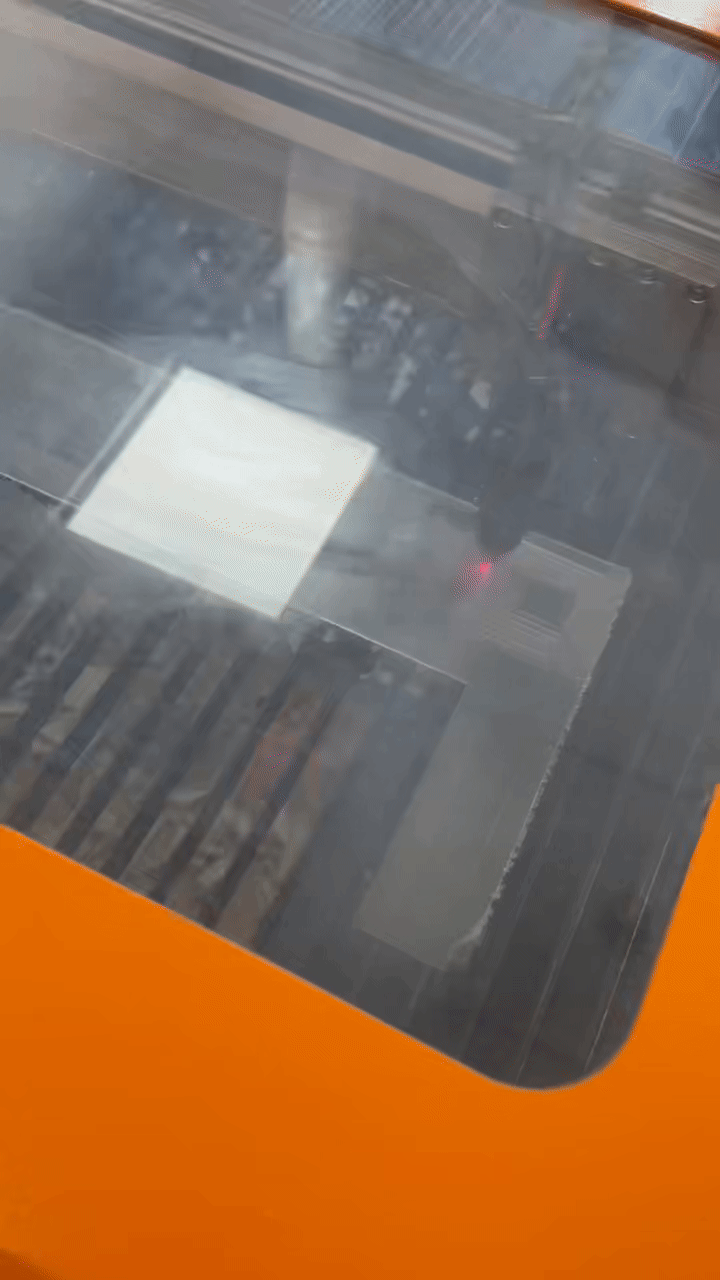
Laser Machine Tests
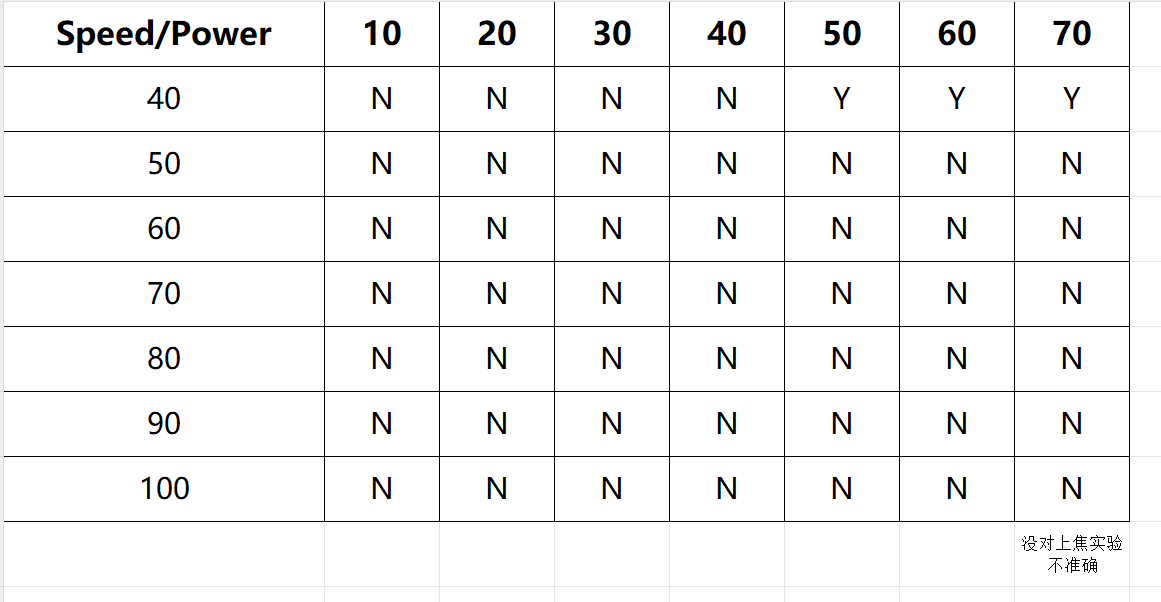
Velocity/Power
There are two laser machine test done, one to know what speed and power to use when cutting and the other to identify the gap created.
For the first test, we created squares overlapping each other. Each square is being cut at the same velocity but with different power. With the outter square using more and more power. Then after each laser cut we change the velocity of the laser and reprint the same square next to the previous one. As shown below.
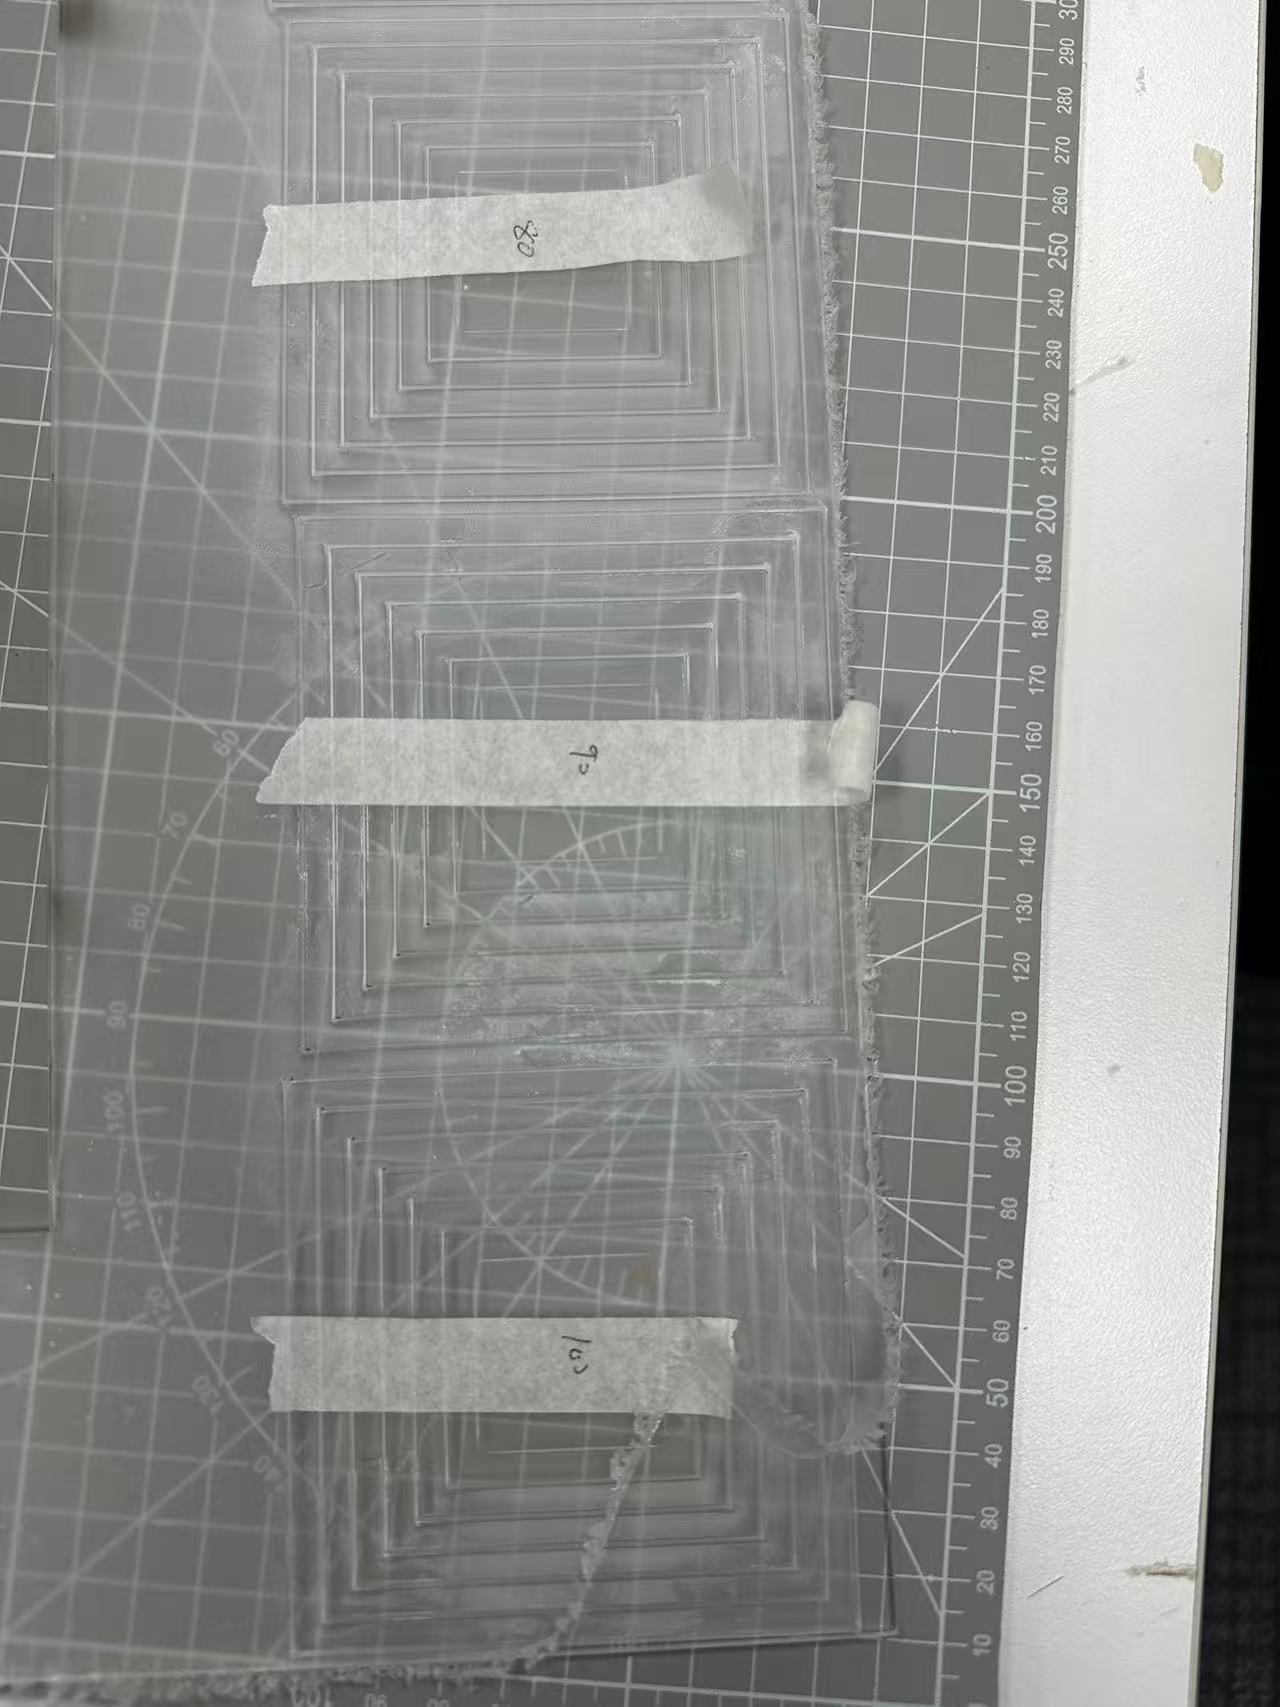 | 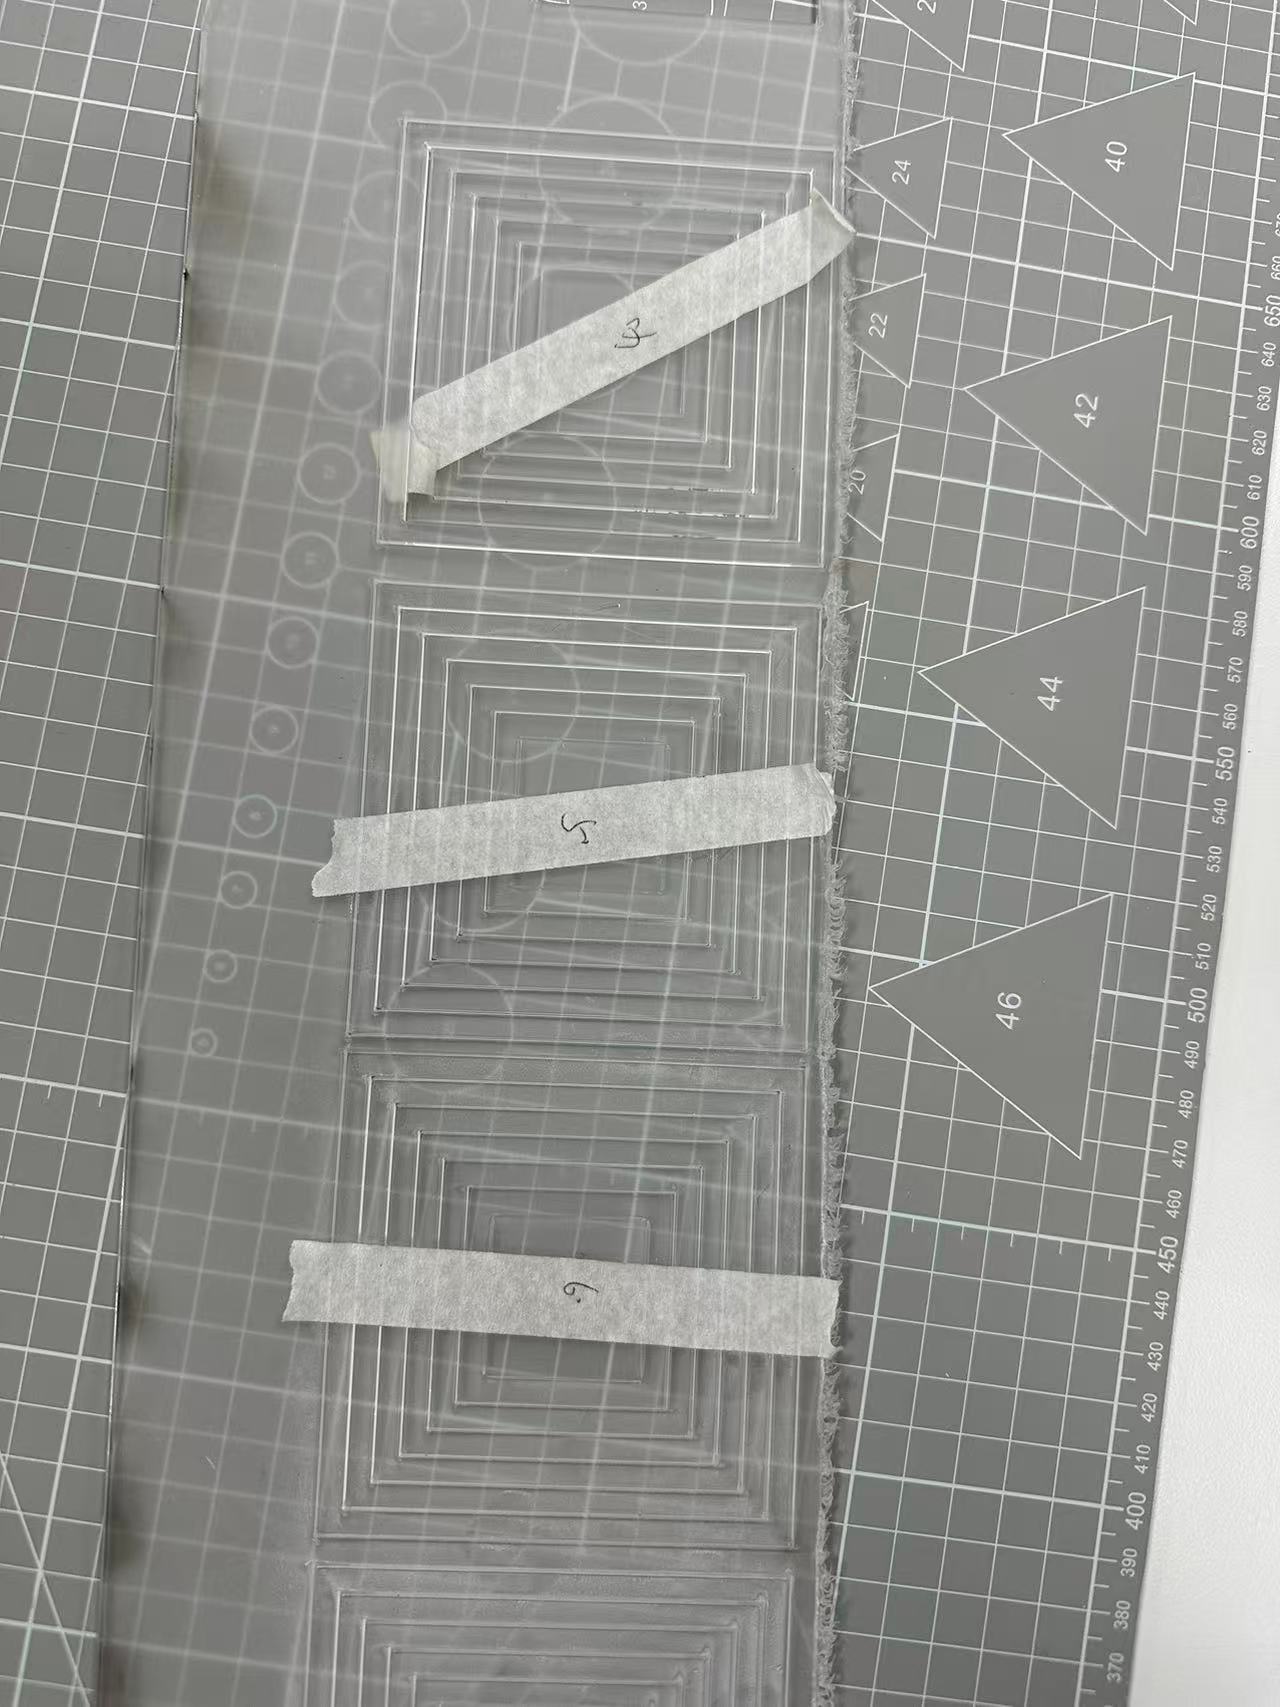 |
This is to find out what the best velocity/power should be used for laser cutting. Having a low velocity and high power would always be able to cut through the material but having the laser run through areas that already have been througly cut causes two issues.
- Too much waste of resource and time.
- Can create wider gaps on the cutlines of laser ends.
To avoid so following chart is created to see the results.
Cut Margin
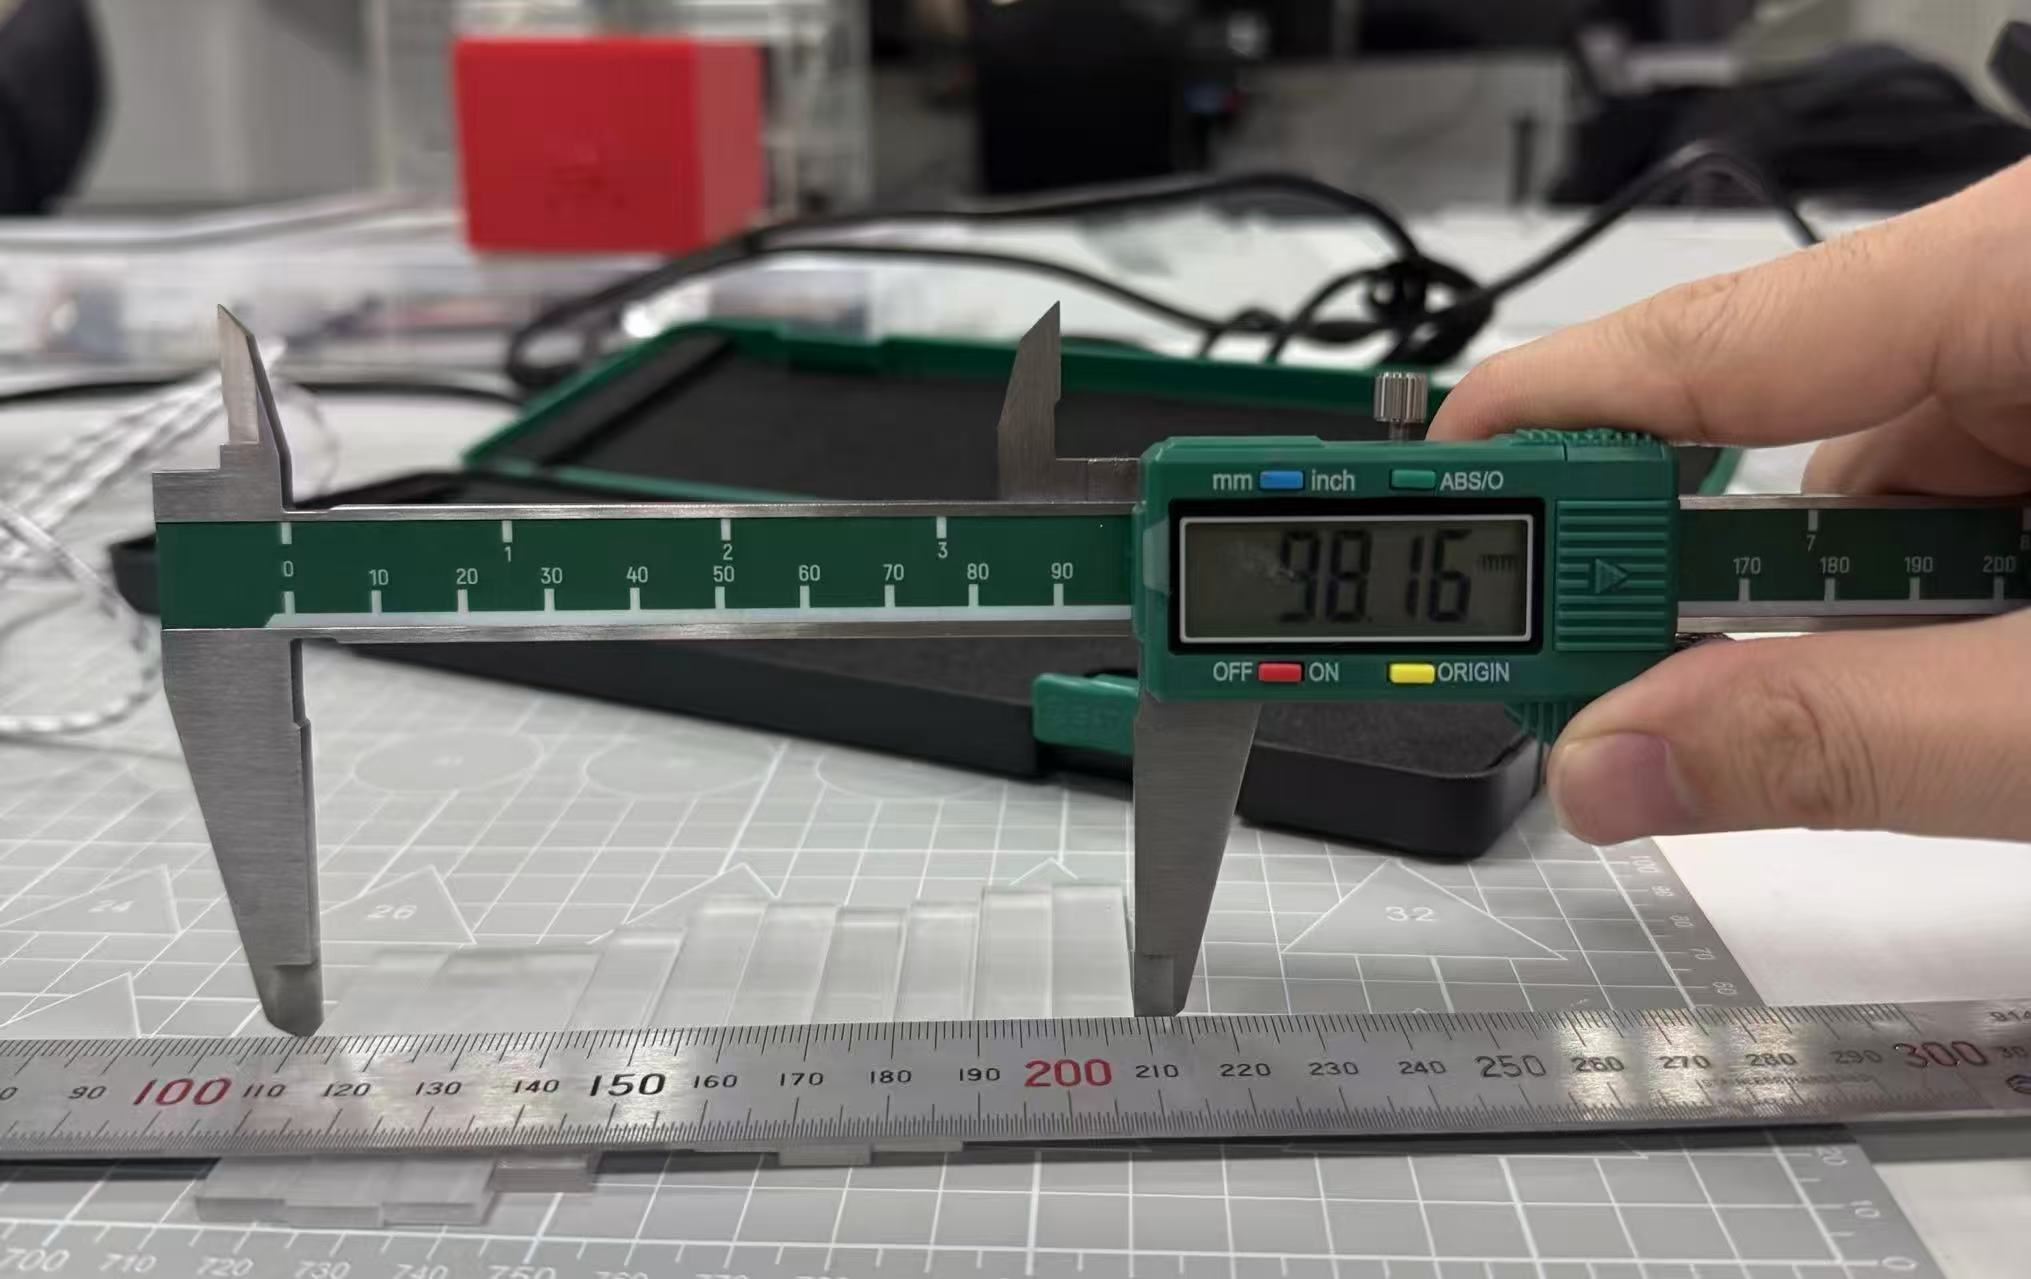
The second test would be done after it is determined which velocity/power would be used after conducting the first test. This test is to find out how much of a gap margin is made when cutting. In this test 10 blocks of same sized rectangle that each are 1 cm wide are printed then lined up together. The difference of the width of all 10 together that would initially be 10x1 of 10 cm and the actual result divided by 10 is the gap created when laser cutting. As shown below the actual result is 98.16 mm. This means that the margin error is around 0.0184 cm for each block.
FOR CLARIFICATION THESE TEST RESULTS ARE NOT ACCURATE DUE TO LASER NOT BEING FOCUSED CORRECTY