Molding and Casting
Casting
Casting on the other hand can require a lot of time to create. First thing is to have a 3-D printed model or wax plate that is carved out to mix and pour gel into. Here is the first model we had printed out 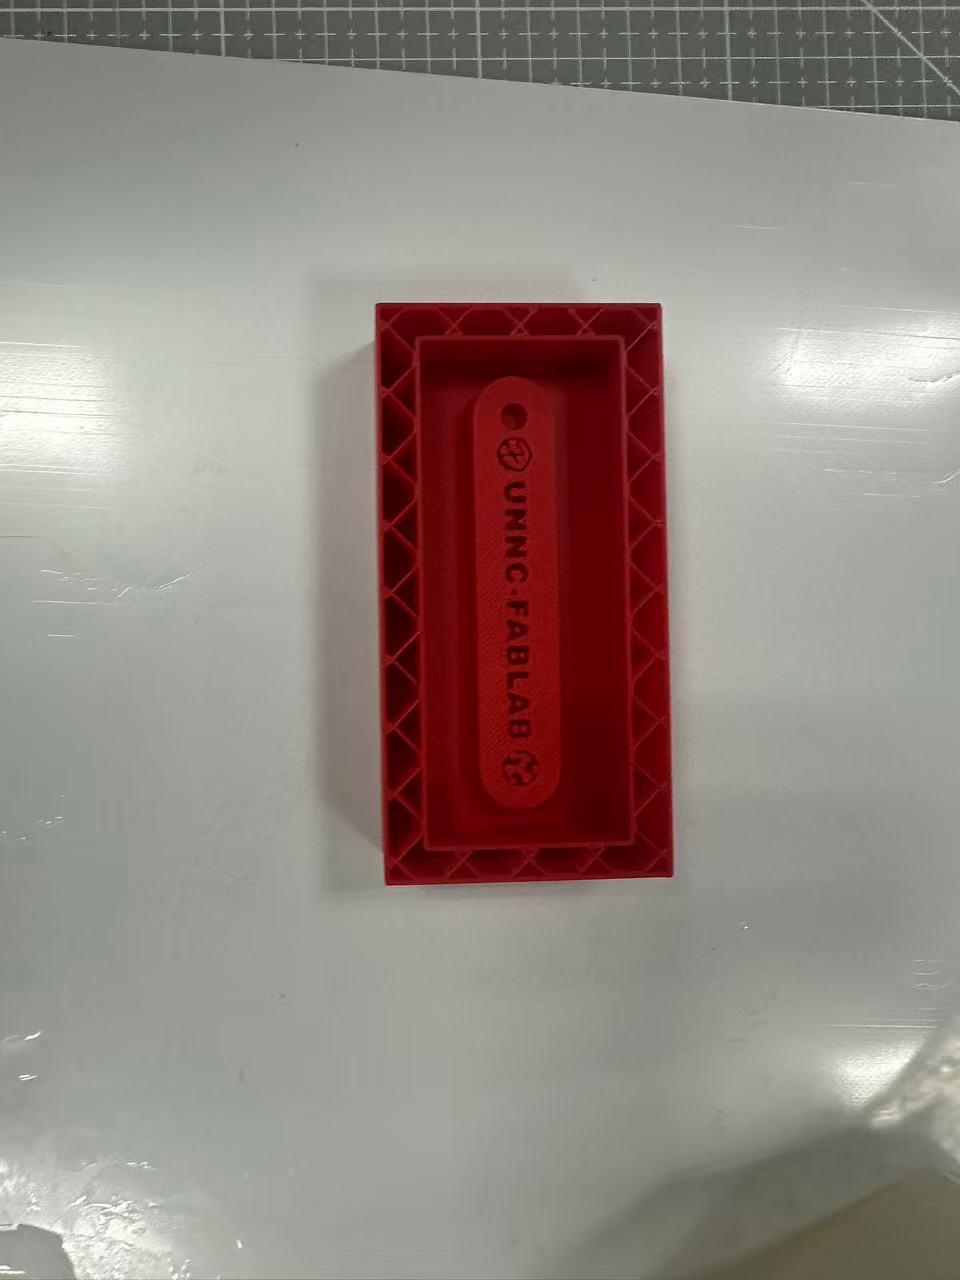
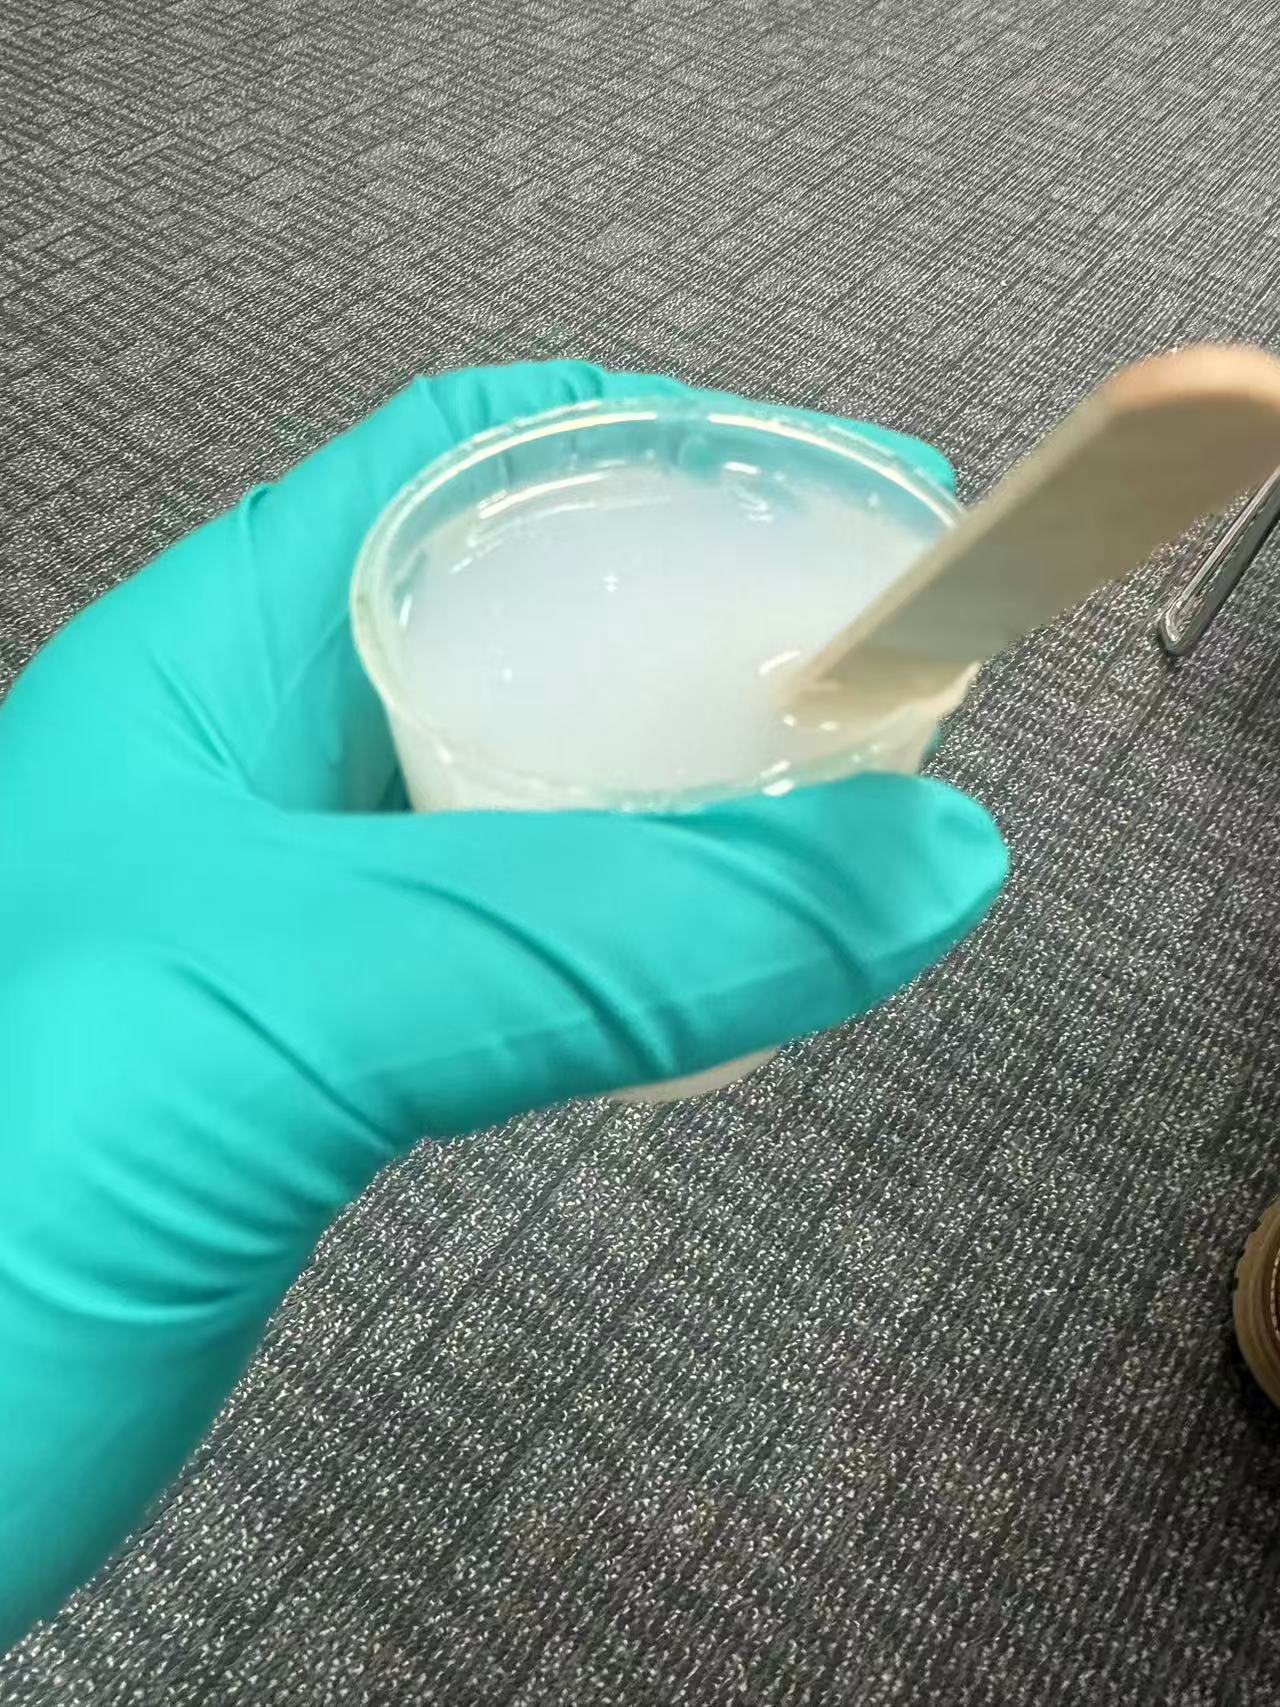
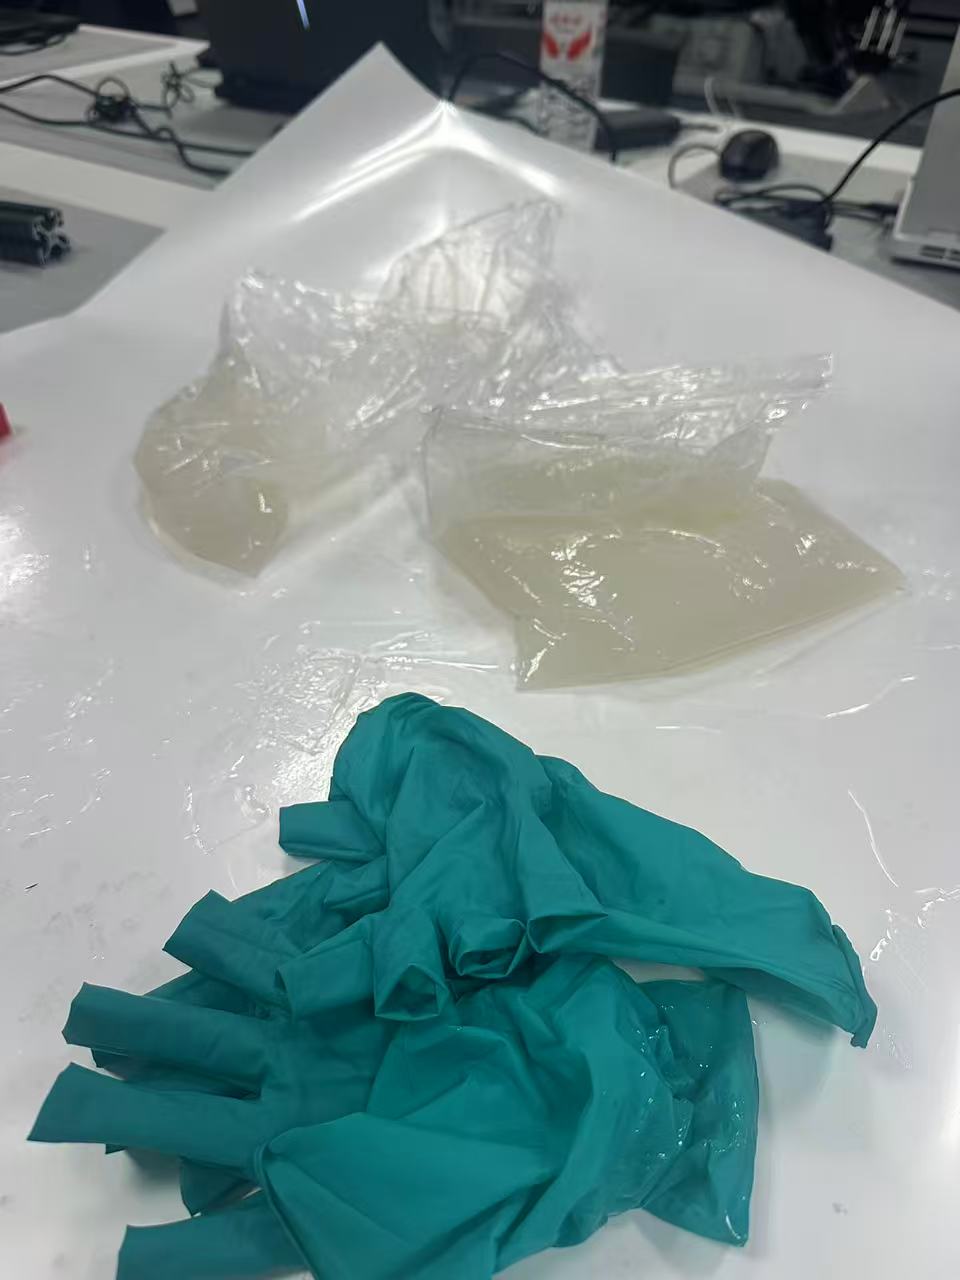
After mixing in gel from bags made in 2014 shown on the right. The ratio mixed 50:50 stirring for half an hour to an hour. Poured in the mixed gel into the shell 3-D printed.
 |  |
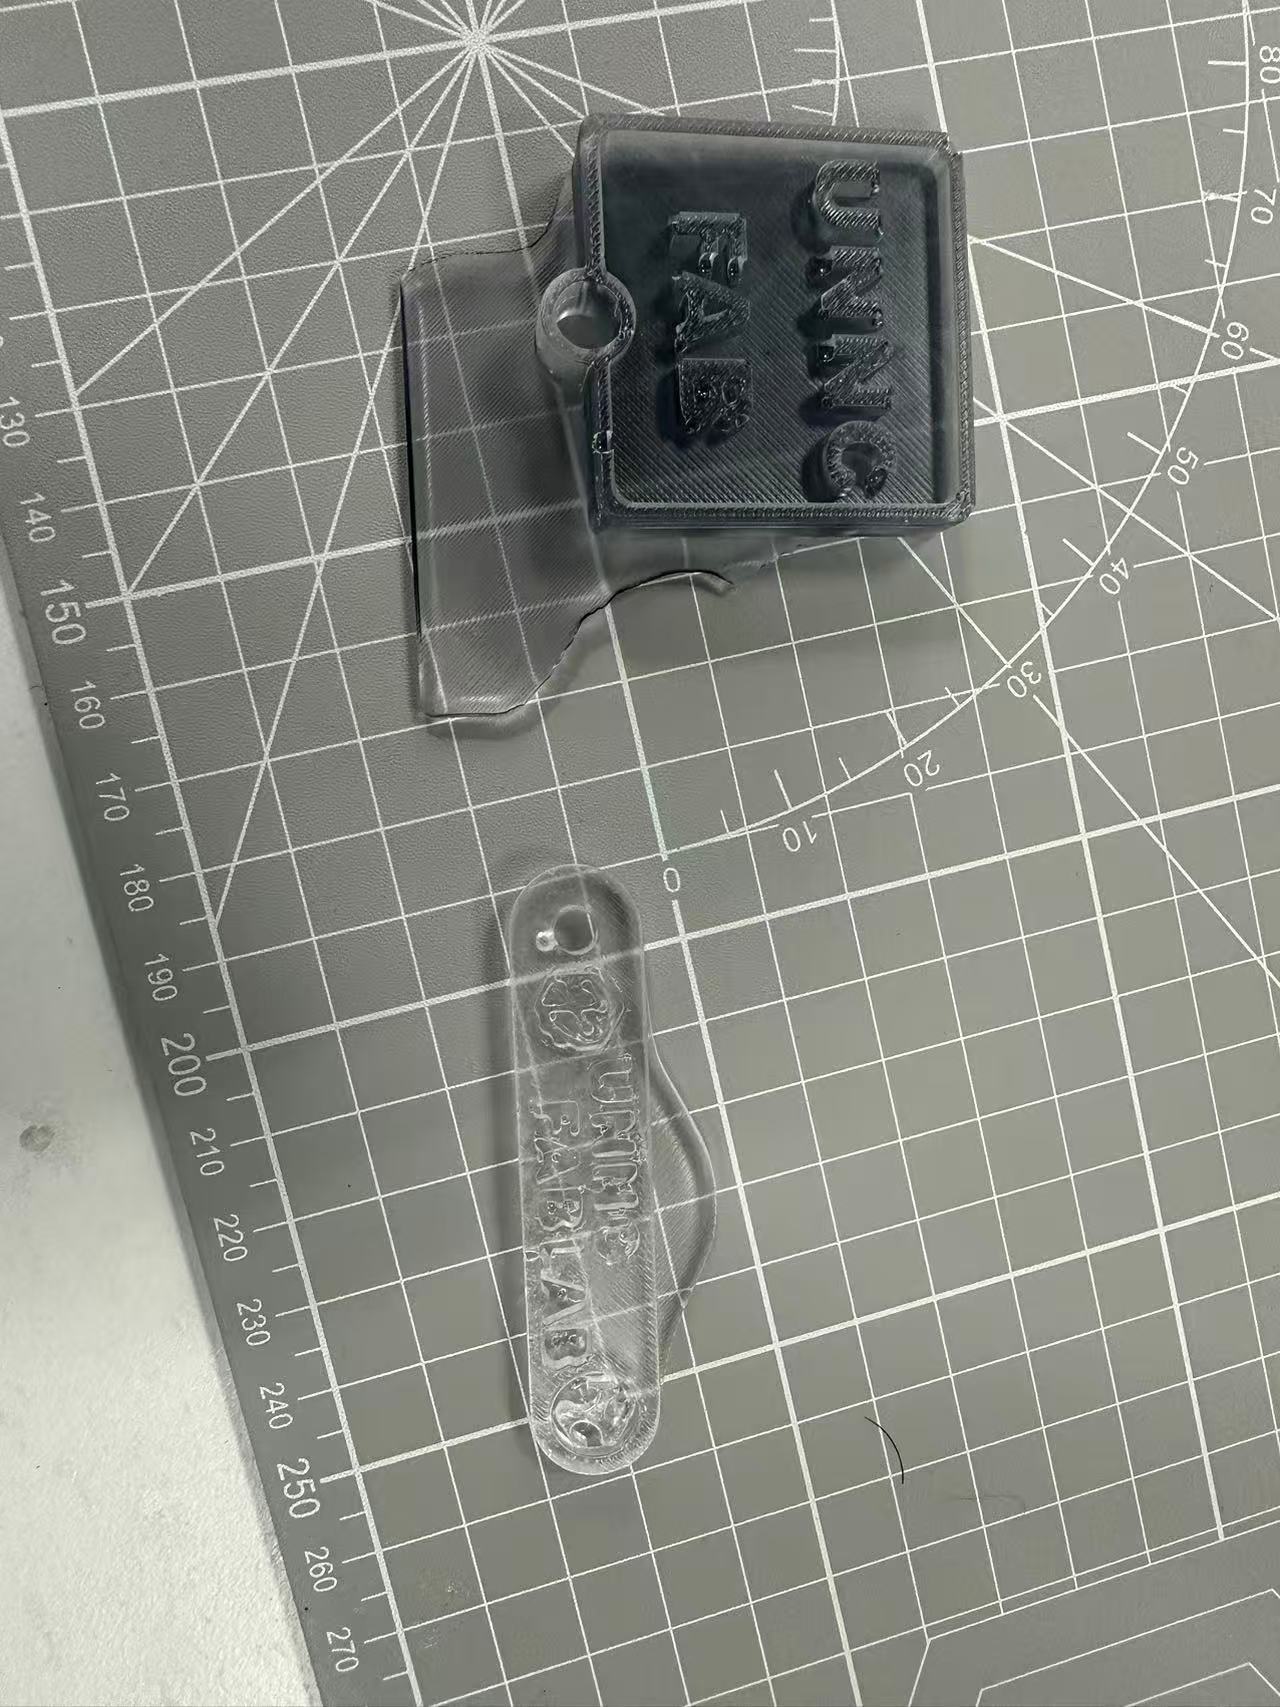
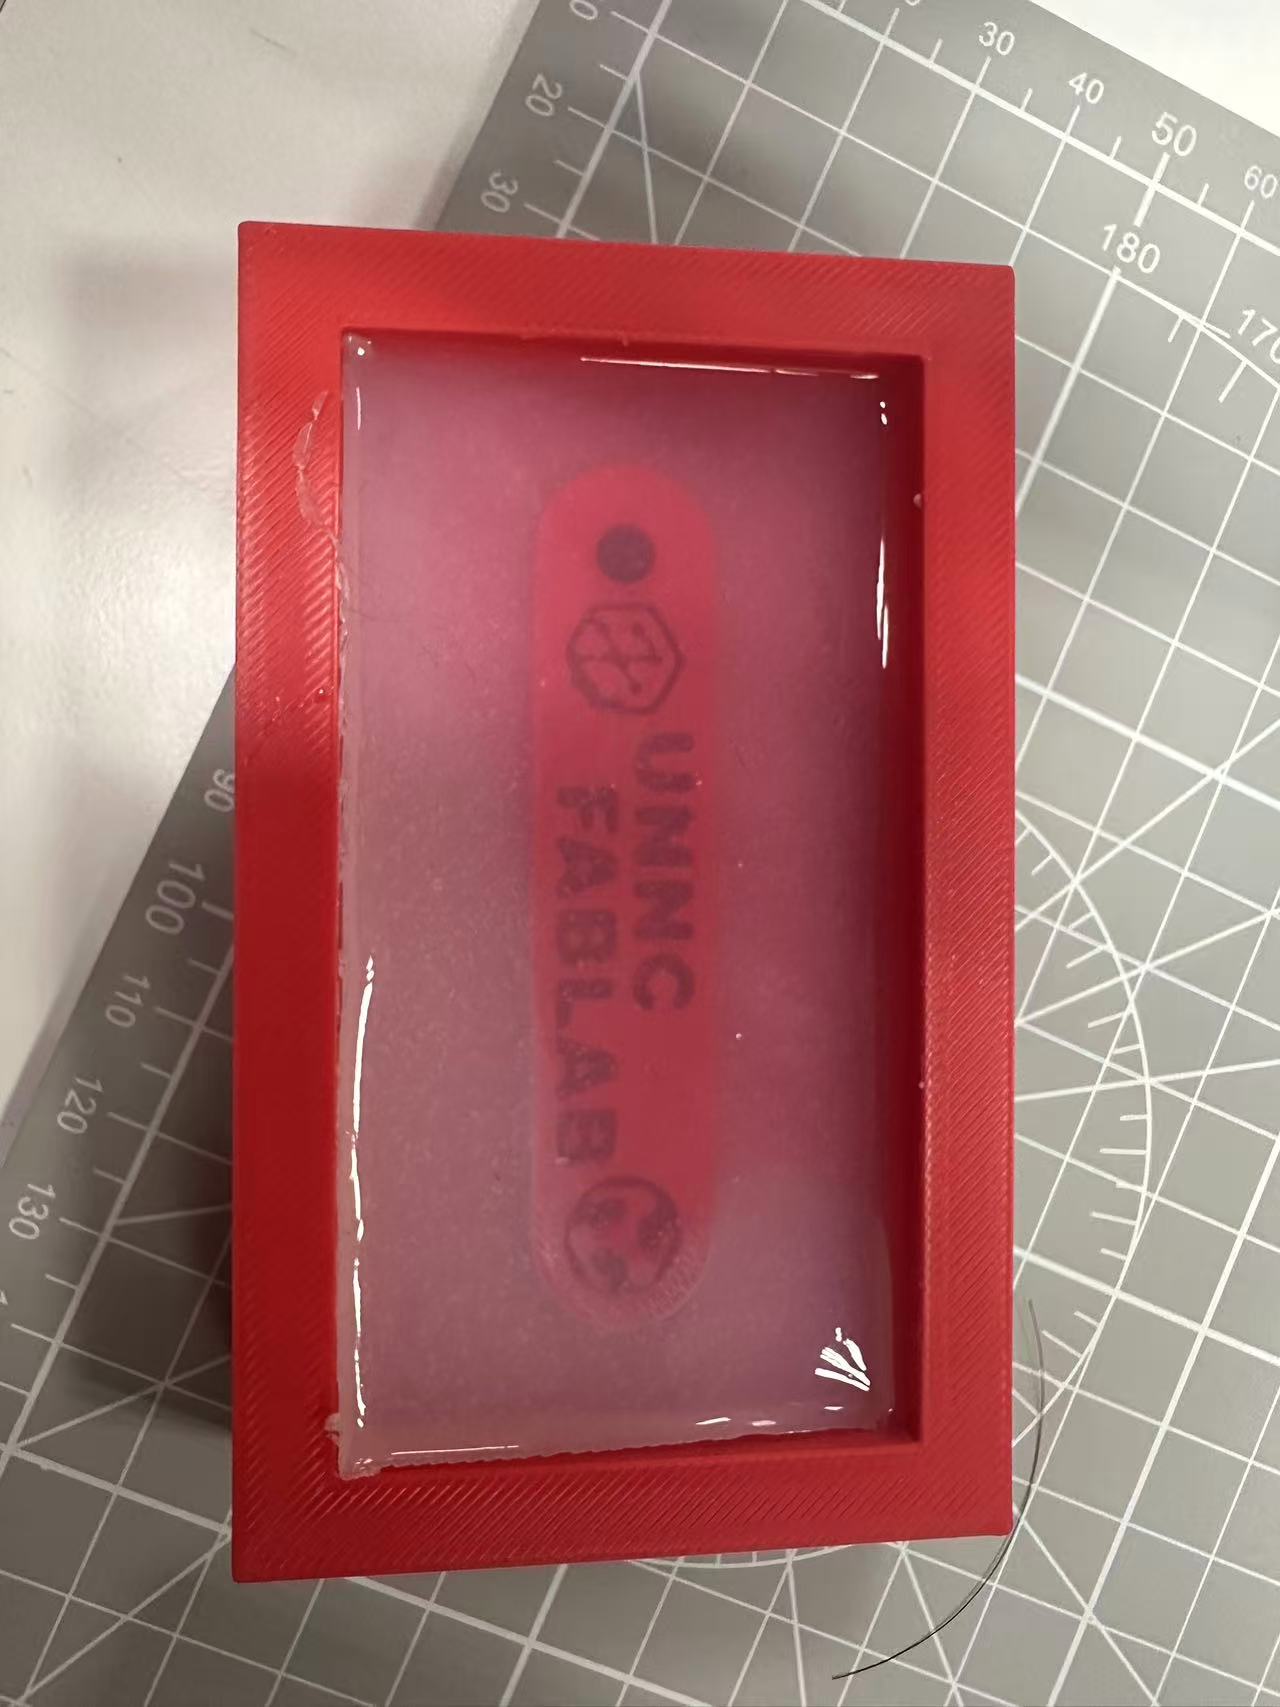
After the gel sit for a day the gel solidify the results are shown below. The gel above is the first model we created the one below was the second version with logo increased in size. (In this photo Resin Adhesive has been poured in the gap to form final casting )
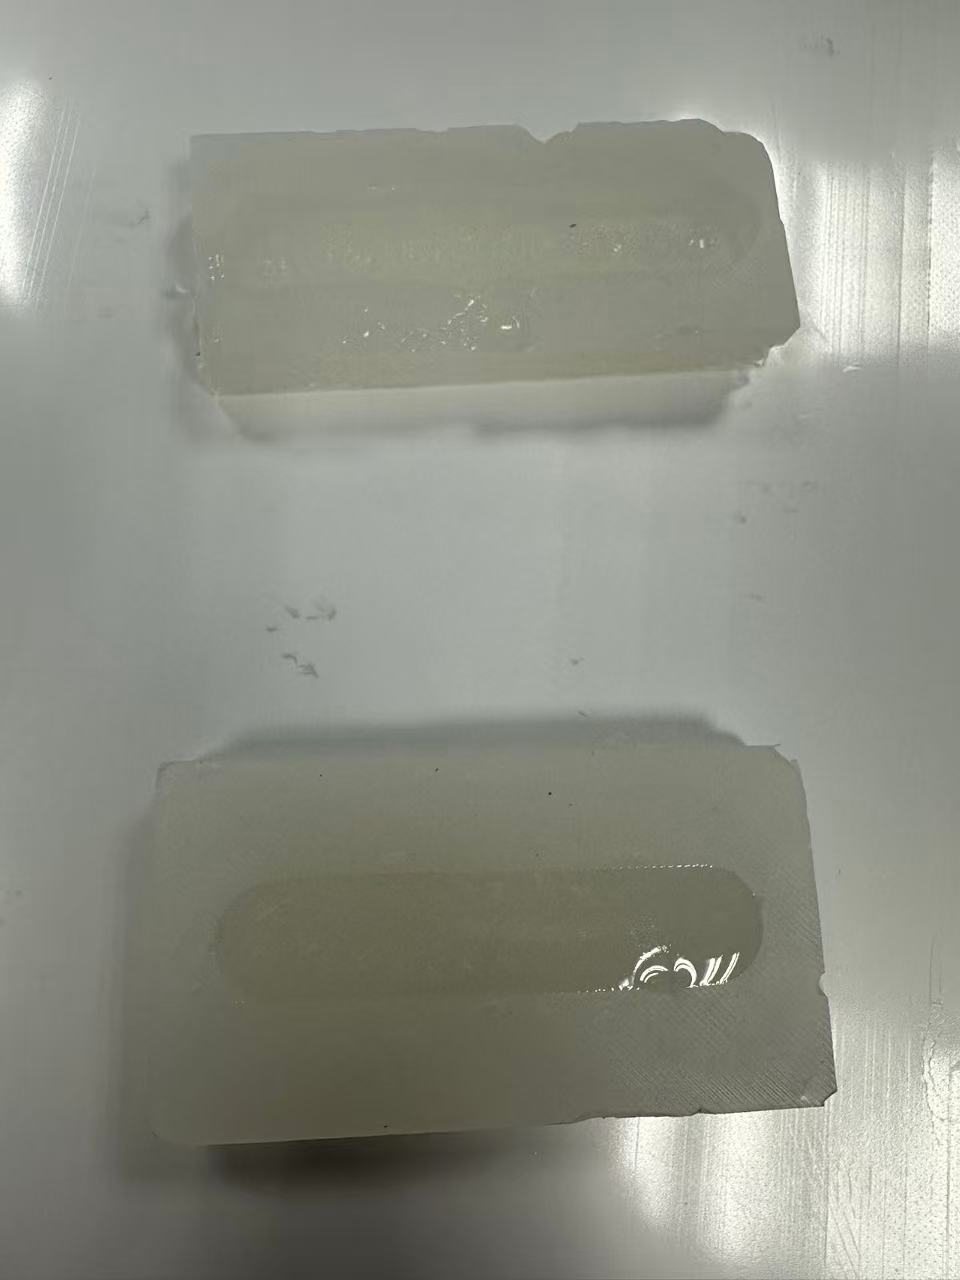
To note that the 11 year old gel may not be the best material to use for casting. The A and B gel are both very chunky and hard to smooth resulting in a lot of extra material on the back and hard to smooth. In order for the gel to sit on a flat surface extra pieces should be cut off.
 |  |
Afterwards by mixing Resin Adhesive A and B we can pour in the gel case to finish. The two bottles on the right are Resin Adhesive A and B. The example on the left with blue liquid is the result. Note that the color is from color dye and intial color is clear
Result A
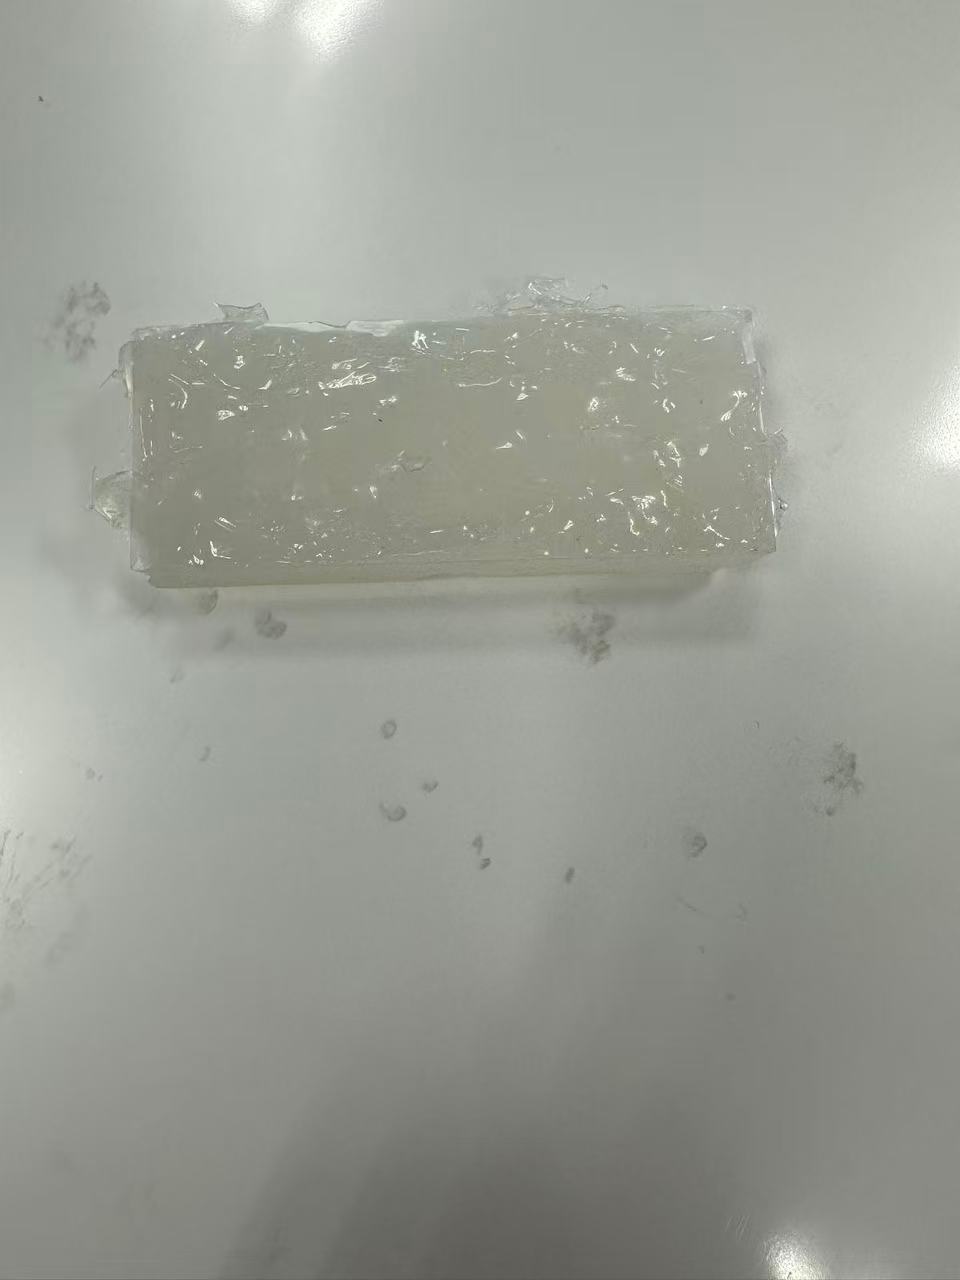
The result of the previous cast did not end up well, most likely due to ratio of Epoxy Resin not being 50:50 after a week the gel was very sticky and hardly came off. 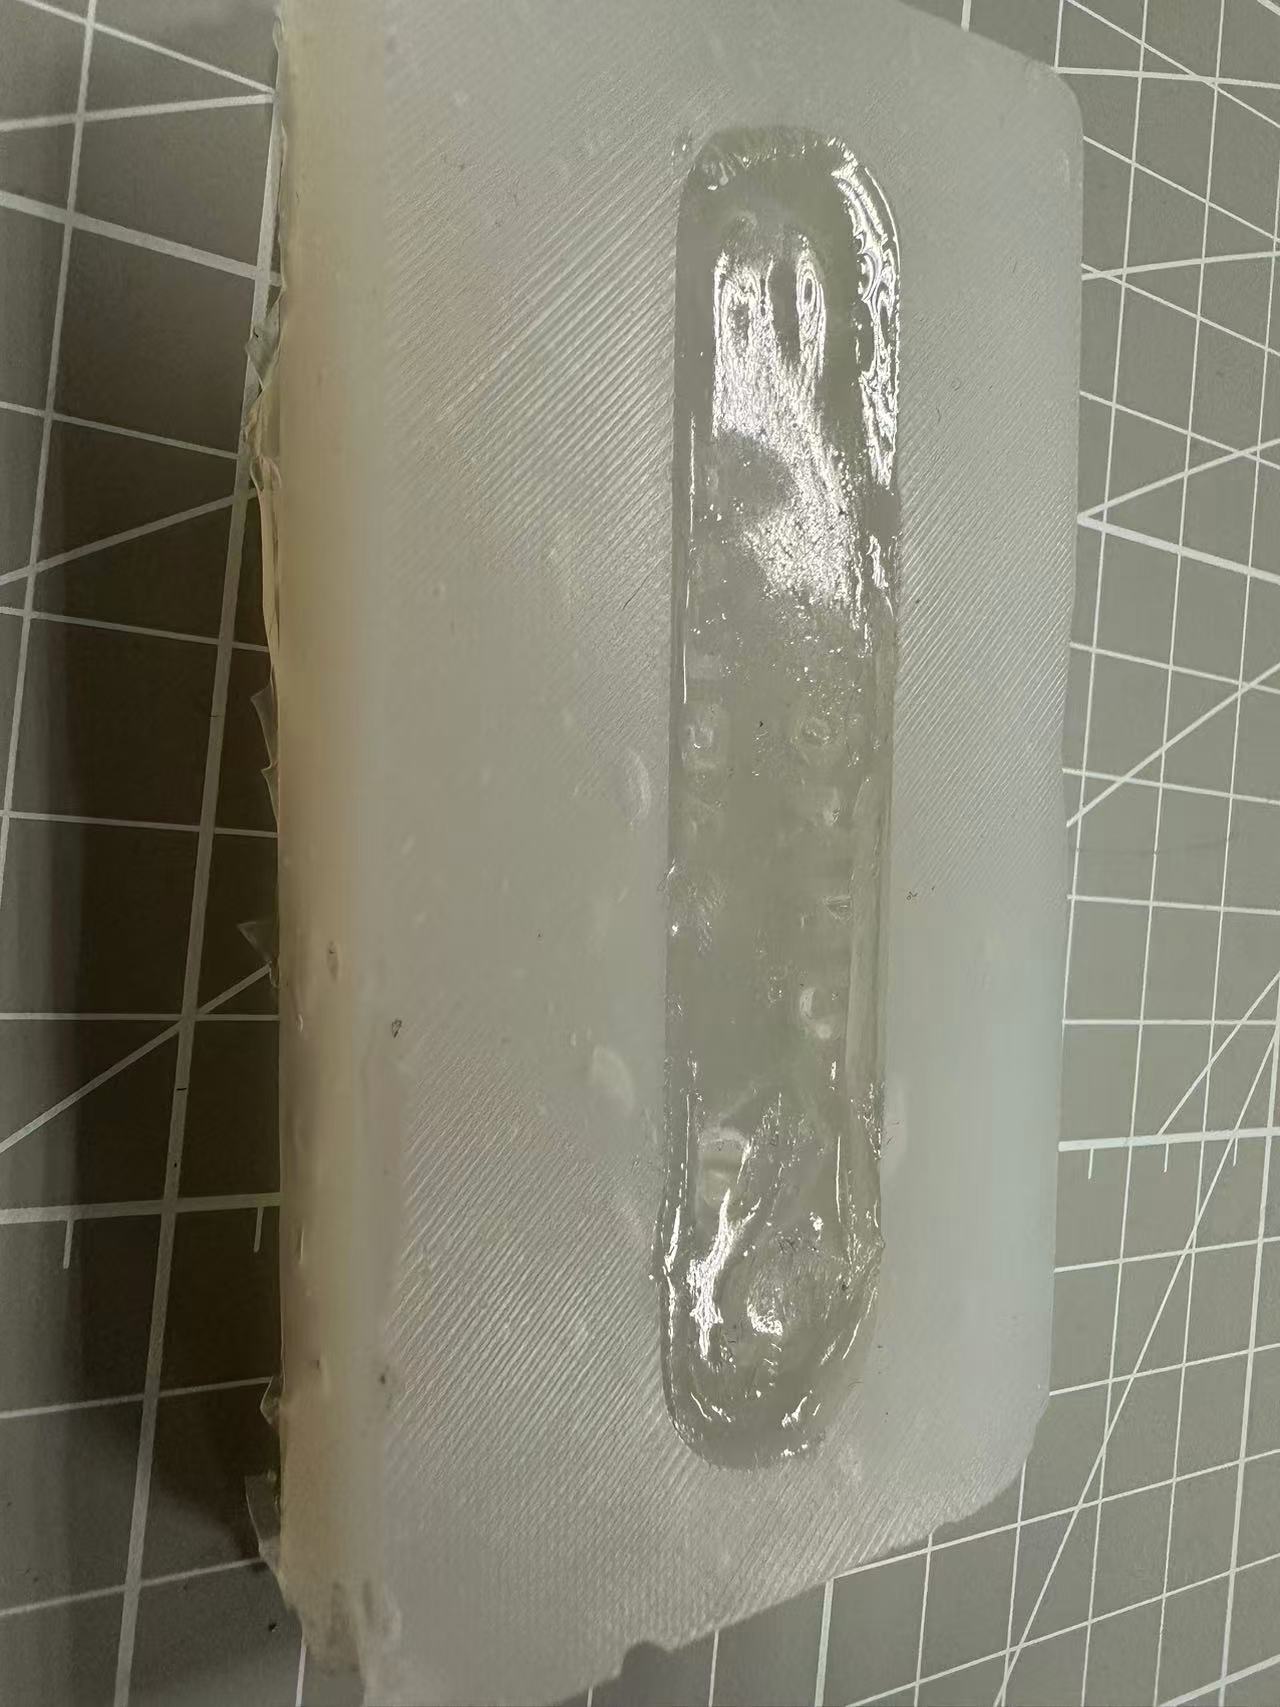
New cast
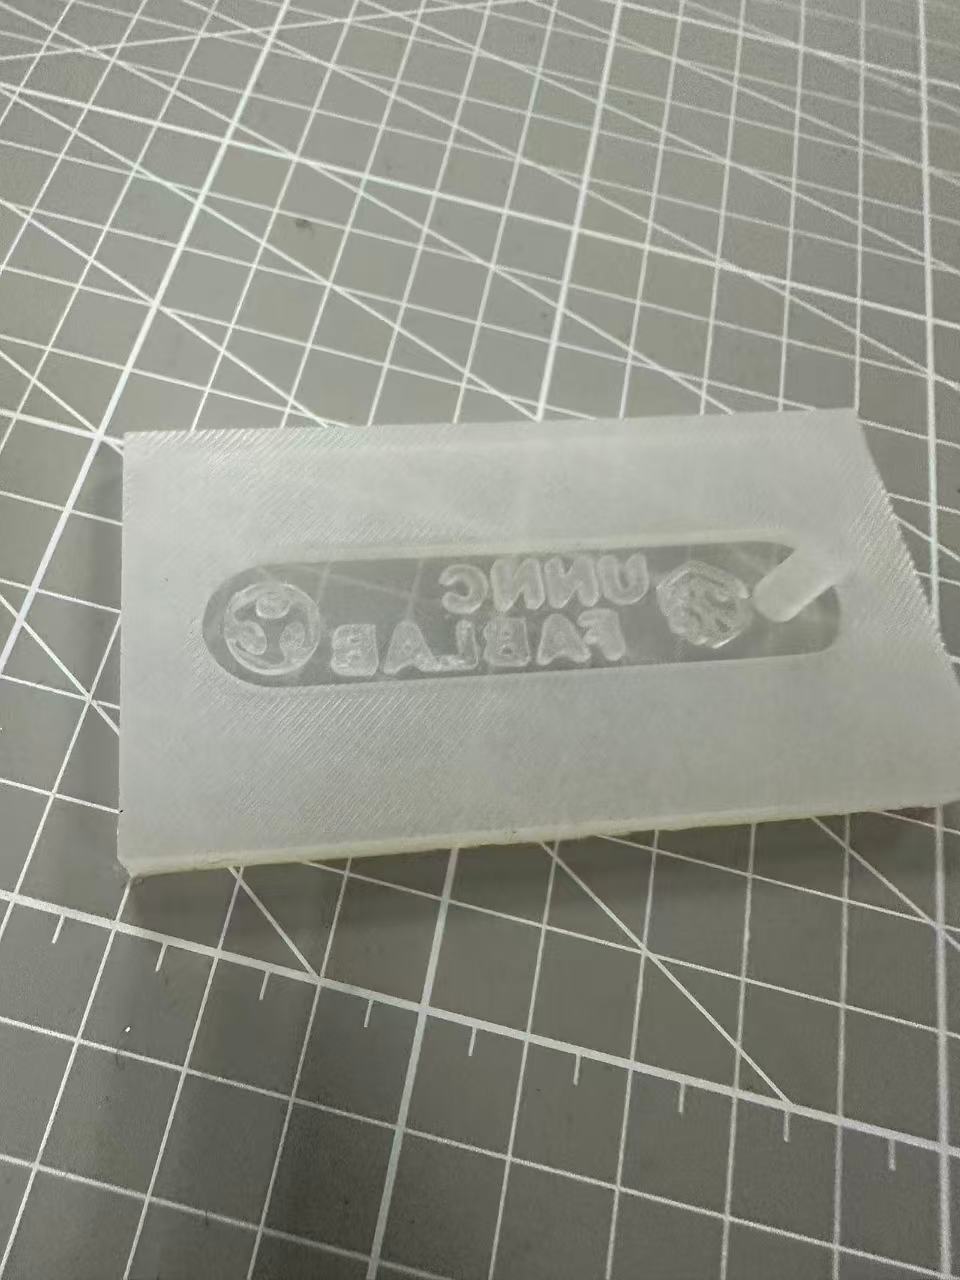
While the previous cast was waiting to solidfy (Which it failed) we also 3D printed a new model with wider letter gap to create a more clear cast.
Gif below shows how to remove the cast model from the 3D printed one. 
This did have some issues, as the measurements when created were slightly off. The depth of the letter was the same as the depth of the key chain which caused it impossible to actually create a cast with the letters. 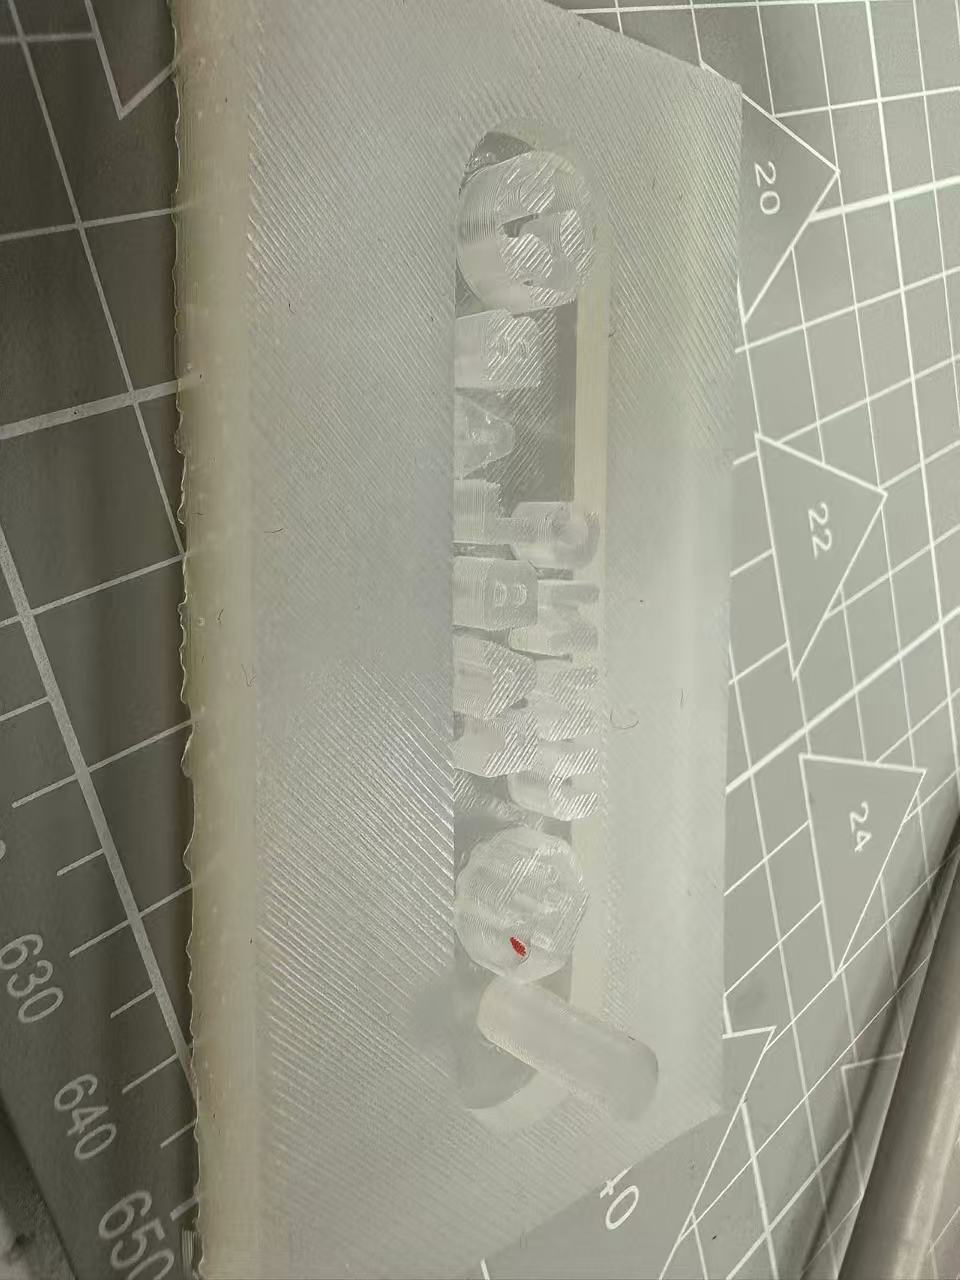
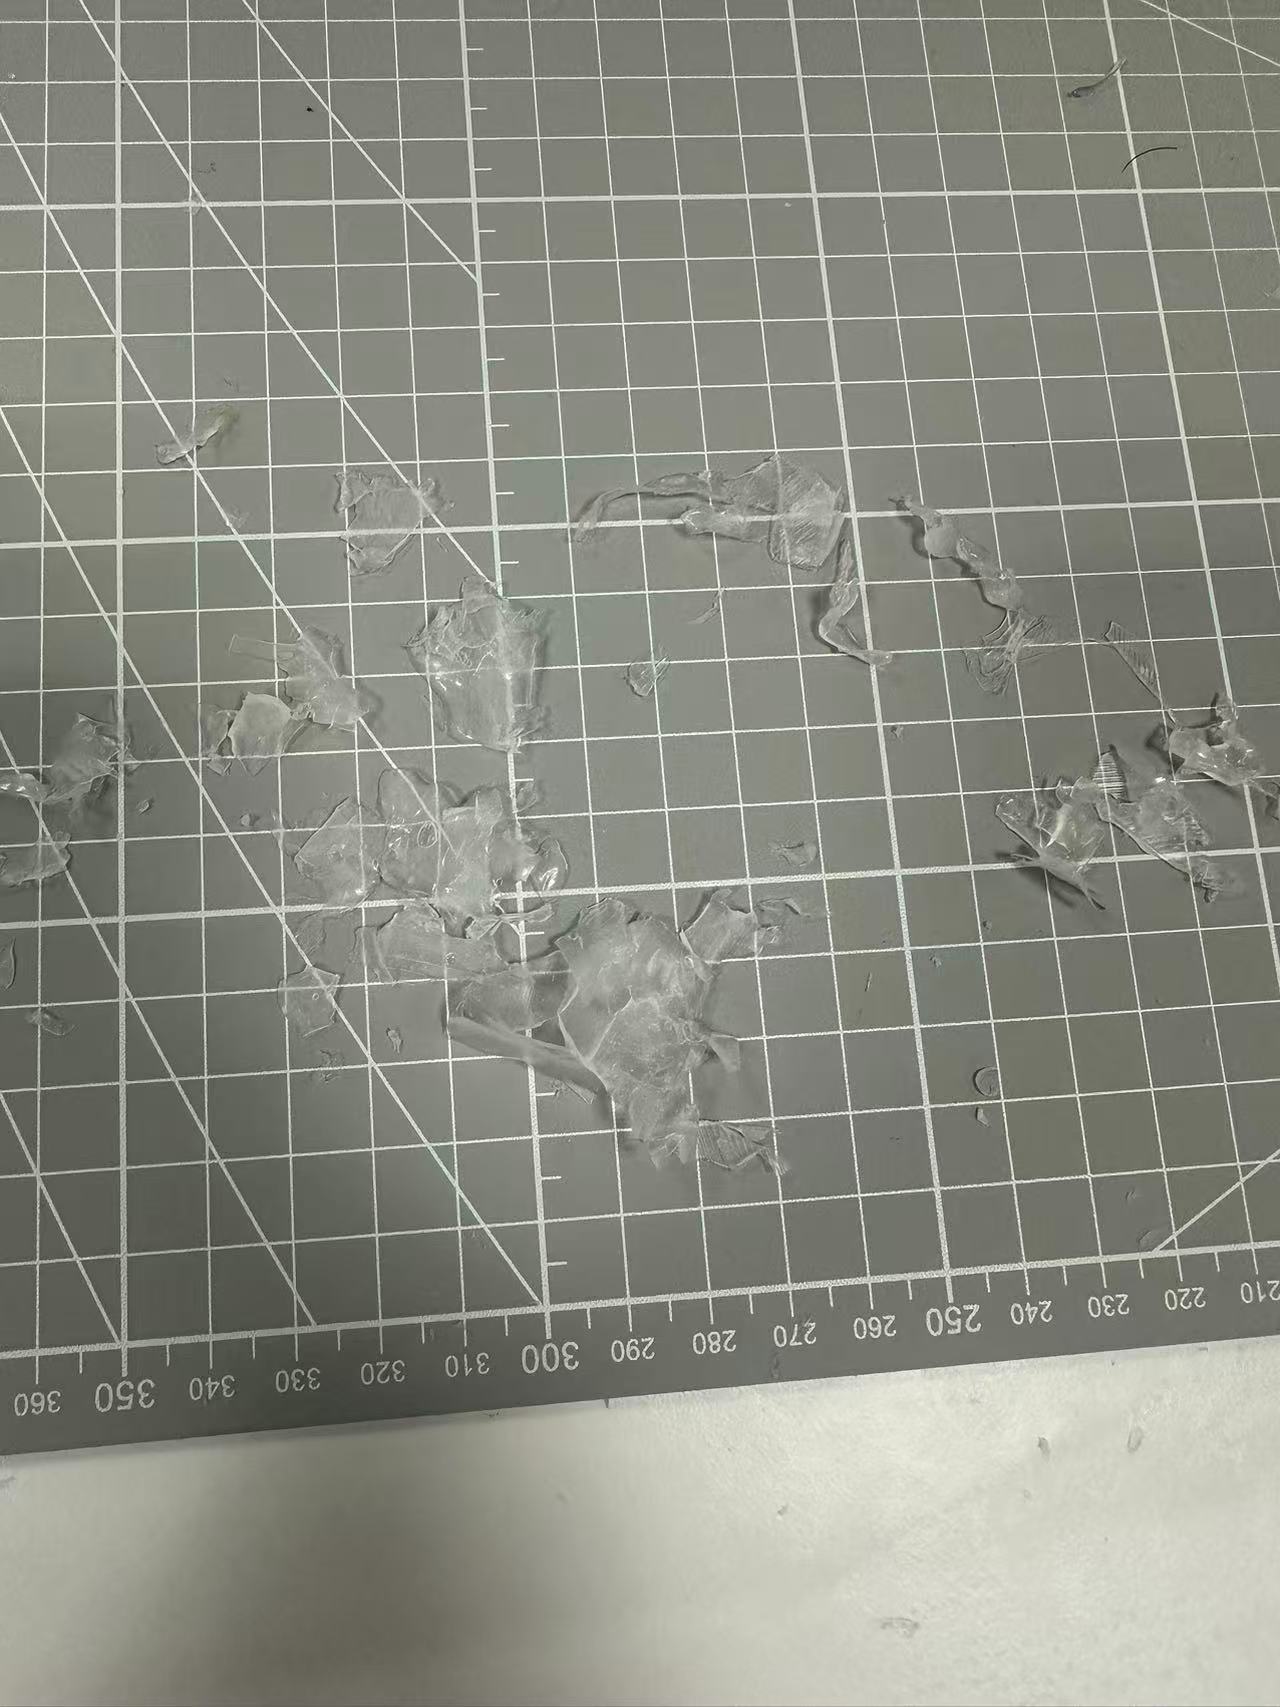
To be able to actually cast the model. We cutted the excess material off by half. result shown on the left photo and excess material on the right.
 | 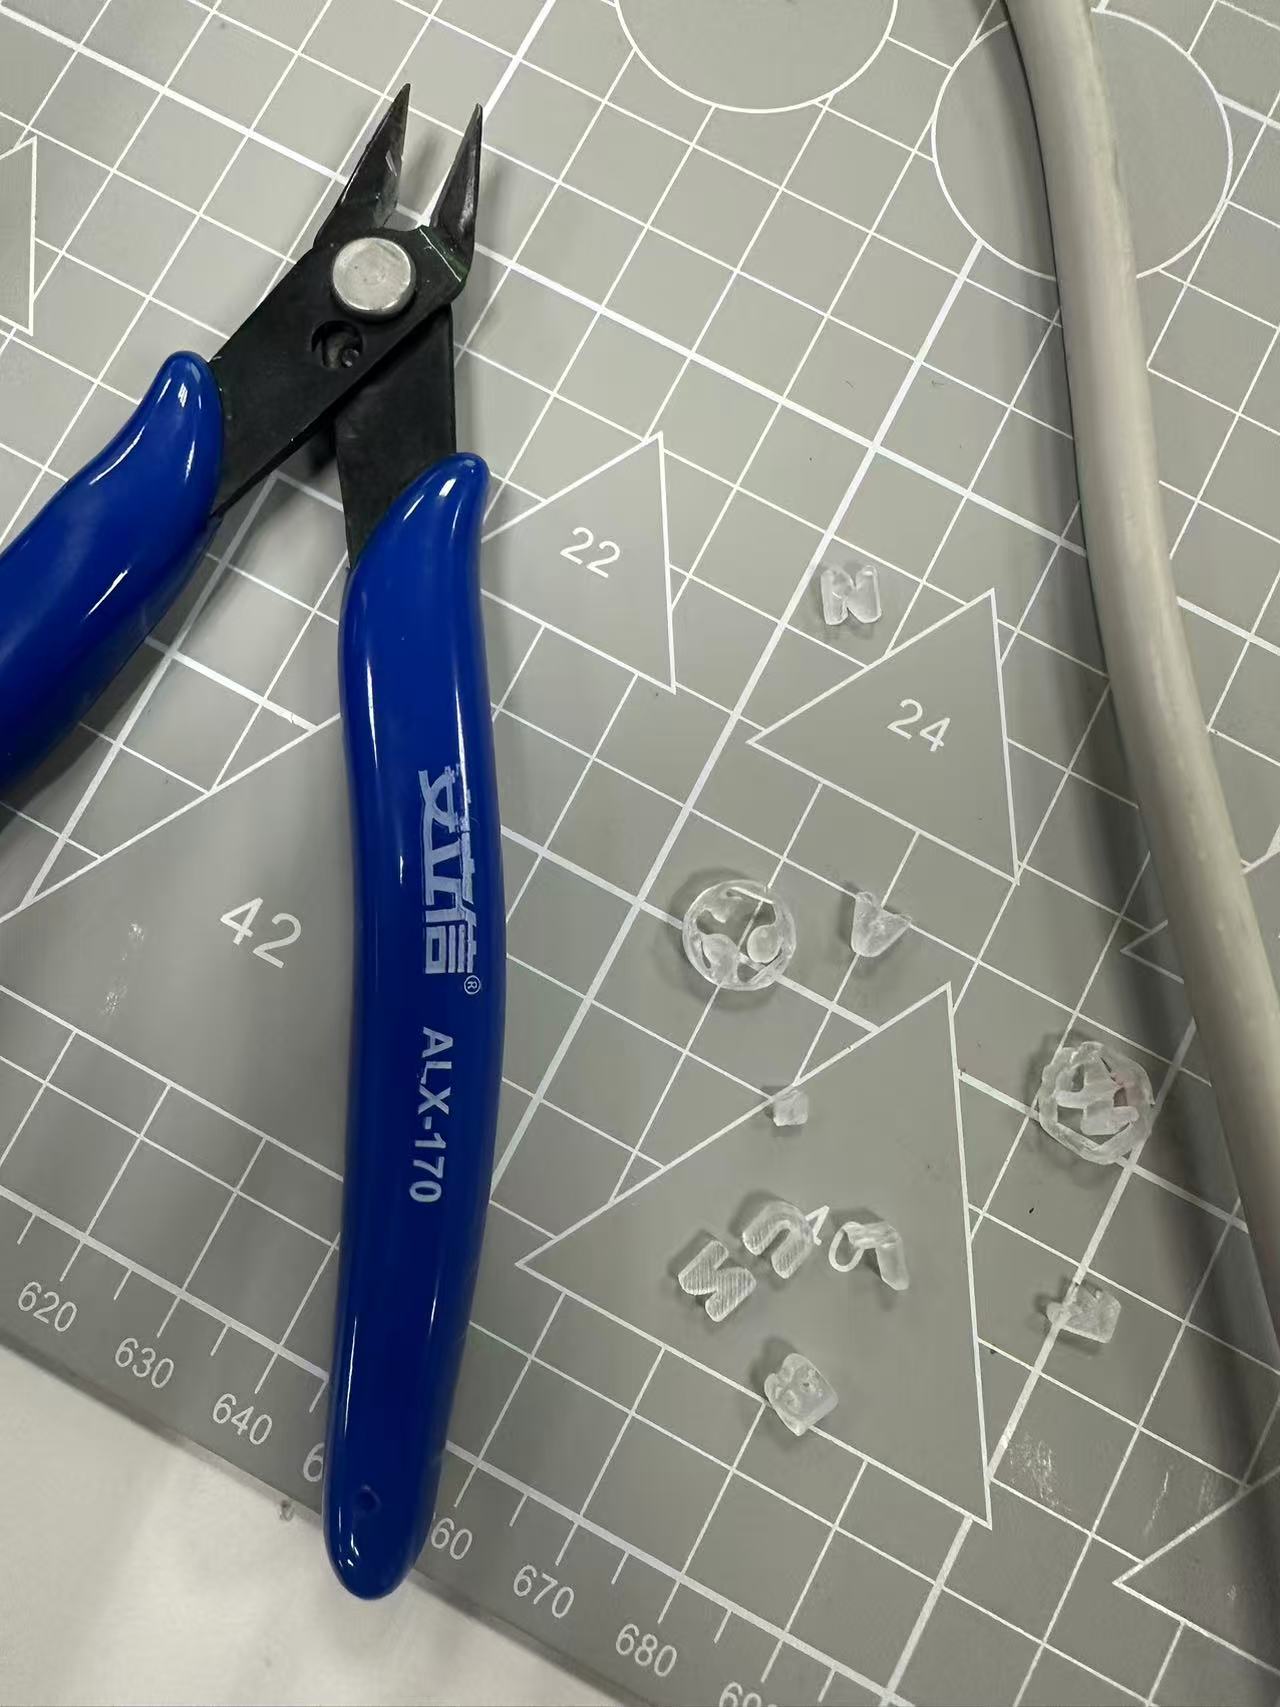 |
Result B
The new result is shown below. Show below is the correct 50:50 ratio of epoxy resin. Extra parts can be cut off when taken out.