Week 2 - Arduino
Arduino Basic
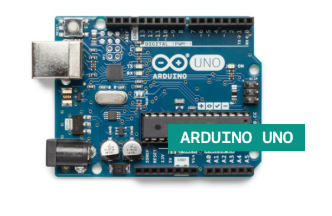
There are many different types of Arduino boards that have been created. The one for course that will likely be most often used is the Arduino Uno board.
Some examples of components used in Arduino:
Breadboard (Where all the components placed to connect onto a Arduino)
Resistors (Arduino has output of 3.3V and 5V without resistors some objects such as led lights will fry)
Arduino Code
Arduino IDE
Interface of Arduino IDE: 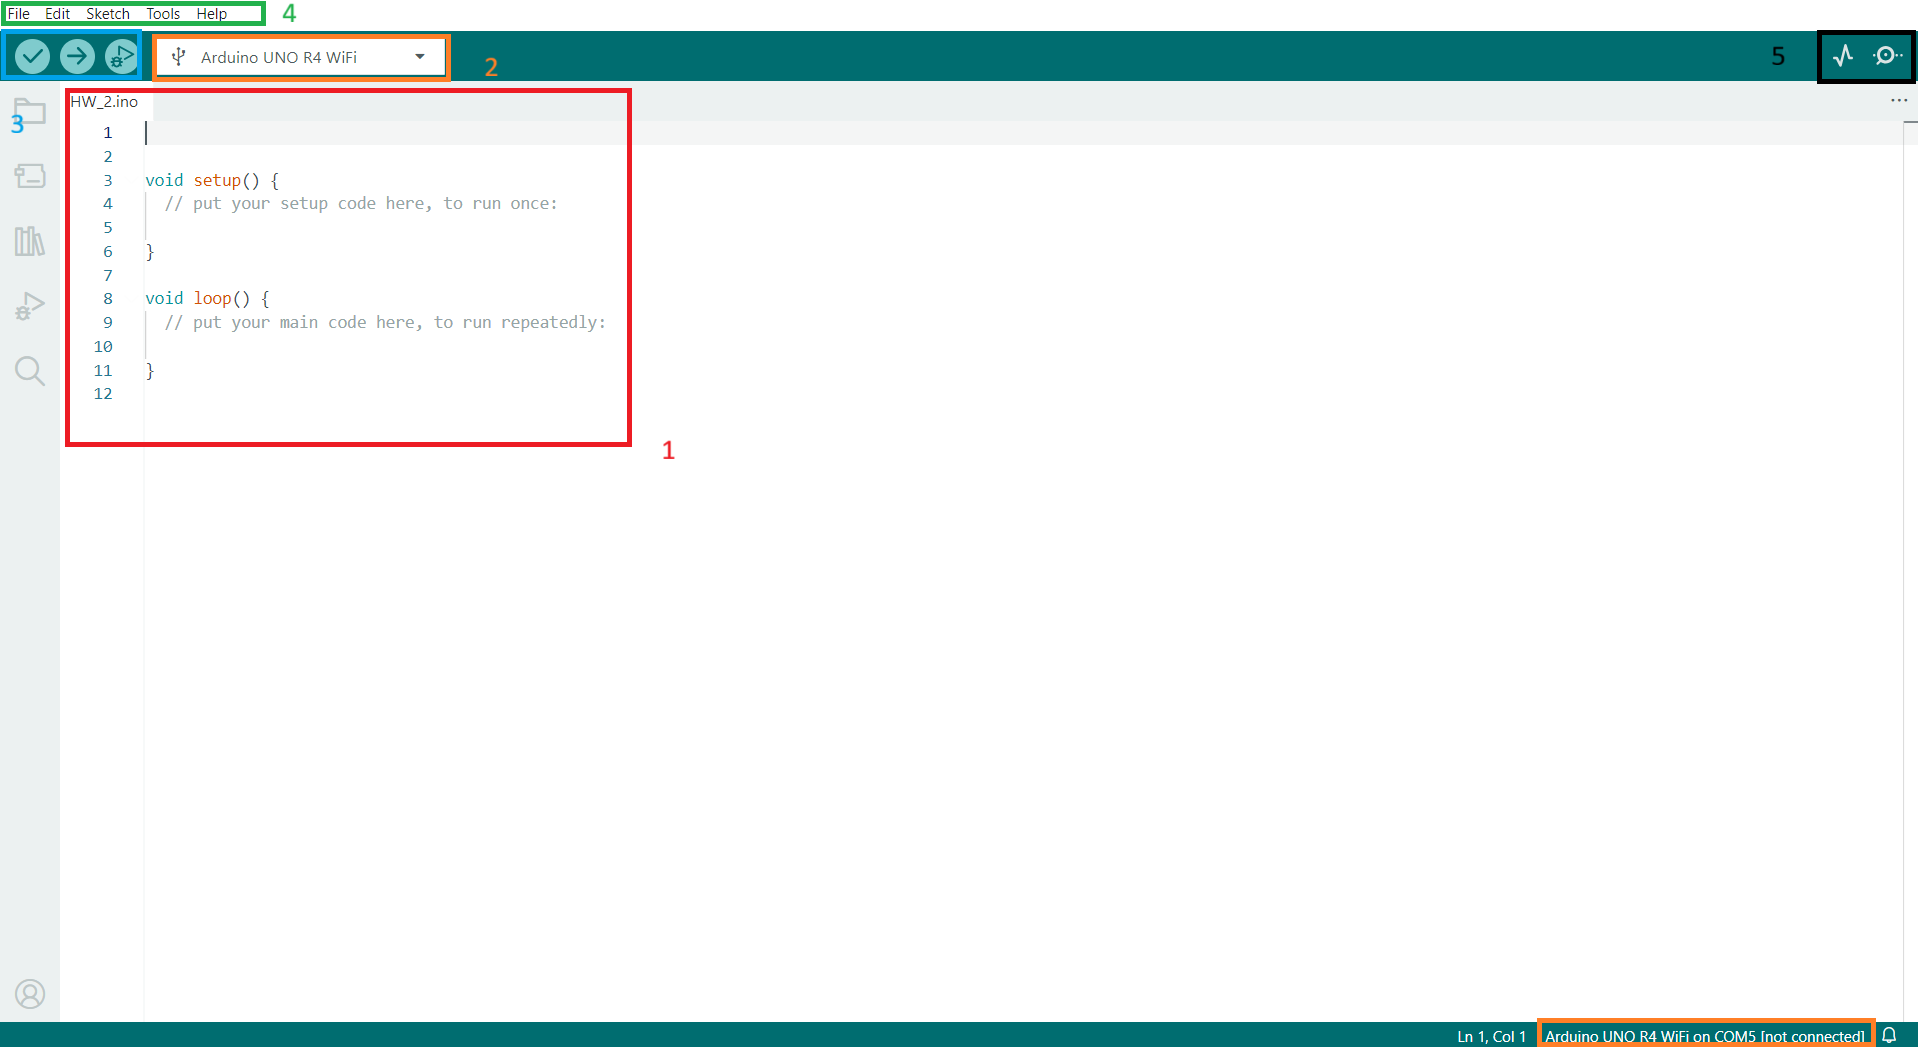
Where Arduino code is written, void setup() is where you input code that runs once and void loop() is where you input code that runs as long as the program is running.
This is where you select what type of Arduino board you are using, usually offered as choice when connected to your PC.
Leftmost icon is to verify, this check if the program has any syntax error and if it can be succesfully runned. Middle icon is to Upload or compile, this sends signal to your Arduino board and runs the code written. Rightmost icon is to start debugging if there are issues in the code.
Header tools that can be used in Arduino.
Serial Plotter and Serial Monitor, useful tools that provides current output of Arduino board such as sensor or motor.
digitalread()Reads value of pin either HIGH or LOW.
Example:
val = digitalRead(inPin);While digitalread is to process what is given. There is also a need to give commands.
digitalwrite()Write a HIGH or LOW value to a digital pin. Does not return anything
pinMode()Configures specified pin to input or output.
An example with all of the above:
int ledPin = 13;  // LED connected to digital pin 13
int inPin = 7;    // pushbutton connected to digital pin 7
int val = 0;      // variable to store the read value

void setup() {
  pinMode(ledPin, OUTPUT);  // sets the digital pin 13 as output
  pinMode(inPin, INPUT);    // sets the digital pin 7 as input
}

void loop() {
  val = digitalRead(inPin);   // read the input pin
  digitalWrite(ledPin, val);  // sets the LED to the button's value
}
Alert
For connecting wires to Arduino board, 3.3V or 5V is positive whereas GND is the negative.
Always use red wires for positive and black wires for GND to avoid confusion.
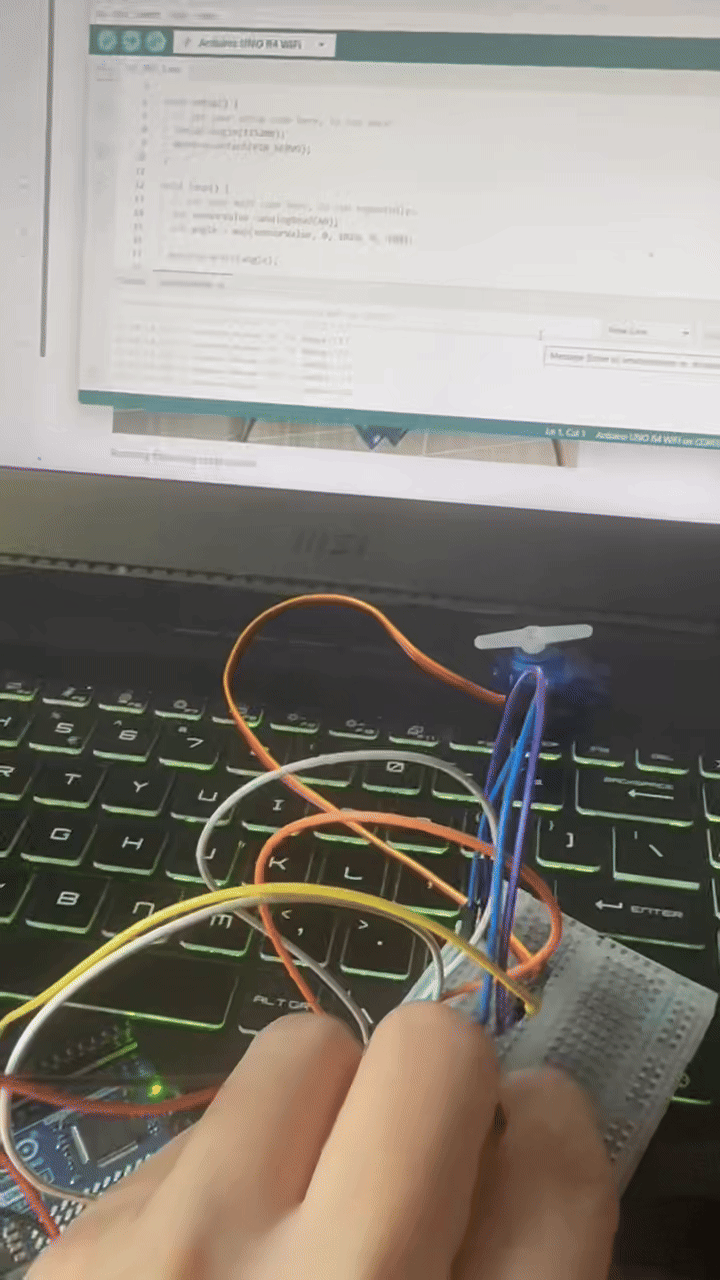
Arduino Output
Connecting sensor and motor to Arduino.
Connect 5V and GND to breadboard. Then attach sensor and motor to breadboard. \
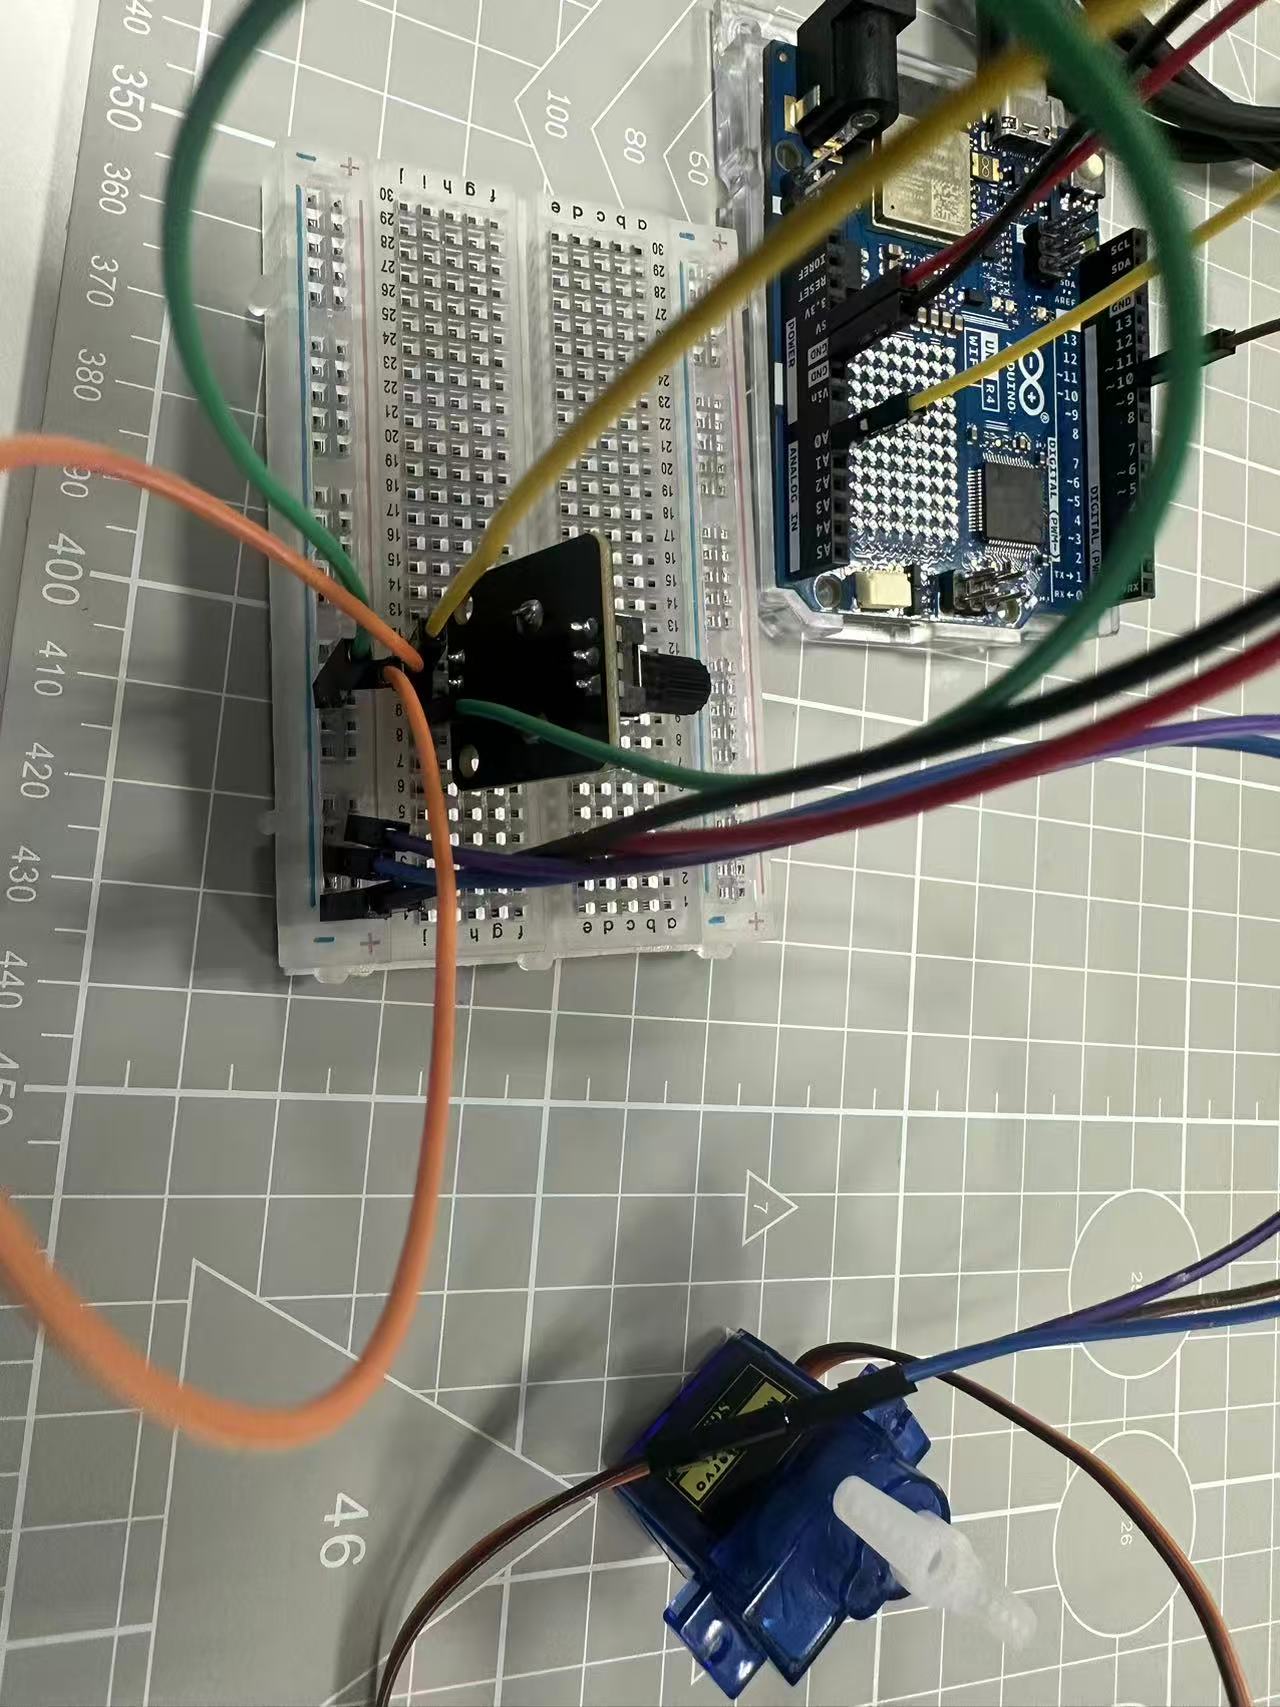
Running following code below:
#include <Servo.h>
#define PIN_SERVO 10

Servo myservo;

void setup() {
  // put your setup code here, to run once:
  Serial.begin(115200);
  myservo.attach(PIN_SERVO);
}

void loop() {
  // put your main code here, to run repeatedly:
  int sensorValue =analogRead(A0);
  int angle = map(sensorValue, 0, 1023, 0, 180);

  myservo.write(angle);

  Serial.print("Sensor Value: ");
  Serial.print(sensorValue);
  Serial.print(" -> Angle: ");
  Serial.println(angle);

  delay(200);


}
Library and functions
Sometimes when there is lines of code you would repeatedly use multiple different times it might be easier to create a function for it such as:
void deal(unsigned char value){

for(int i=0;i<8;i++)

digitalWrite(ledPins[i],bitRead(value,i));

}
This way instead of writing the same codes everytime you want to write 1 through 8 we can call function deal instead and add in variables in the parantheses.
In the case where there are mass amount of code that exists within a function a library would be used instead. These are files that under the same folder and can be called to. Purpose is to clean the coding so only the important sections can be clearly seen.
Arduino Store
Arduino Kits can be purchased with link below. https://store.arduino.cc/