Week 1 - Project Manage
Goal:
Build a personal site for final project and recording assignments.
Prepartion (Install Following):
- Github Desktop (https://desktop.github.com)
- nodejs (https://nodejs.org/en/)
- VScode (https://code.visualstudio.com/)
- Image upload service Picgo (https://github.com/Molunerfinn/PicGo/releases/tag/v2.2.2)
- GIT (https://git-scm.com/install/windows)
Set up website with Vitepress
GIT
Once Vscode and GIT is installed open terminal in Vscode by (Ctrl + ~) Then type:
git --versionIf results in git version 2.4x.x then installation is successful.
Afterwards run the following lines in terminal:
git config --global user.name "Your Name"
git config --global user.email "youremail@example.com"
Replace quotation with your own information. Once setup this creates .git folder which helps you track the project. After done installing open Vscode and run the following code to install vitepress
Package Json
We will need package.json added to the project to do so type in
npm init -yThis file is needed cause it acts as the “brain” function of the project, it can record installed libraries,create shortcut and define project name and version for publishing.
Local Webpage
To check progress of the webpage you can view the site locally through following command in terminal: npm run docs:dev
Search Bar
Adding a search bar for information in site is simple by adding following search: { provider: 'local' }, under the themeconfig in config.js implements a local search on site.
Project Tree
Here is what my project tree looks like:
GitHub
└─ 2025-2-simon
   ├─ docs
   │  ├─ .vitepress
   │  │  ├─ cache
   │  │  │  └─ deps
   │  │  │     ├─ chunk-JAPIL3UL.js
   │  │  │     ├─ chunk-JAPIL3UL.js.map
   │  │  │     ├─ chunk-OV36UNJN.js
   │  │  │     ├─ chunk-OV36UNJN.js.map
   │  │  │     ├─ package.json
   │  │  │     ├─ vitepress___@vueuse_core.js
   │  │  │     ├─ vitepress___@vueuse_core.js.map
   │  │  │     ├─ vitepress___@vueuse_integrations_useFocusTrap.js
   │  │  │     ├─ vitepress___@vueuse_integrations_useFocusTrap.js.map
   │  │  │     ├─ vitepress___@vue_devtools-api.js
   │  │  │     ├─ vitepress___@vue_devtools-api.js.map
   │  │  │     ├─ vitepress___mark__js_src_vanilla__js.js
   │  │  │     ├─ vitepress___mark__js_src_vanilla__js.js.map
   │  │  │     ├─ vitepress___minisearch.js
   │  │  │     ├─ vitepress___minisearch.js.map
   │  │  │     ├─ vue.js
   │  │  │     ├─ vue.js.map
   │  │  │     └─ _metadata.json
   │  │  ├─ config.js
   │  │  └─ style.css
   │  ├─ courses
   │  │  ├─ 3D_Printing
   │  │  │  ├─ 3D Printing.gif
   │  │  │  ├─ 3D-Printing.md
   │  │  │  ├─ Cube02ProfileMini.3mf
   │  │  │  └─ Fablab-Plate.3mf
   │  │  ├─ Arduino
   │  │  │  ├─ Arduino.md
   │  │  │  ├─ Homework
   │  │  │  │  ├─ Arduino-Lights.md
   │  │  │  │  ├─ Assessment-2.md
   │  │  │  │  └─ Motor Sensor Switch Light.gif
   │  │  │  └─ Motor Sensor.gif
   │  │  ├─ CAD
   │  │  │  ├─ CAD.md
   │  │  │  └─ Homework
   │  │  │     ├─ 3D Model Moving.gif
   │  │  │     ├─ Assessment-3.md
   │  │  │     ├─ CAD Design History .mp4
   │  │  │     ├─ Design History.gif
   │  │  │     ├─ Engineer Sketch Joystick.pdf
   │  │  │     └─ Joystick.f3d
   │  │  ├─ Electric Design
   │  │  │  ├─ BackupProjects_yousa_x_psyd_personal_0_20260103.zip
   │  │  │  ├─ Electric-Design.md
   │  │  │  └─ Gerber_New-Project_PCB_New-Project_2_2025-12-24.zip
   │  │  ├─ Laser_Cutting
   │  │  │  ├─ Laser Printing.gif
   │  │  │  └─ Laser-Cut.md
   │  │  ├─ Molding_Casting
   │  │  │  ├─ Casting-Model.f3d
   │  │  │  ├─ Mold Action.gif
   │  │  │  ├─ Mold Material.gif
   │  │  │  ├─ Molding-Casting.md
   │  │  │  └─ Removing Cast.gif
   │  │  ├─ PCB Manufacture
   │  │  │  ├─ PCB prep GIF.gif
   │  │  │  └─ PCB.md
   │  │  ├─ Processing
   │  │  │  ├─ Process Arduino LED.gif
   │  │  │  └─ Processing.md
   │  │  └─ Project_Manage
   │  │     ├─ Homework
   │  │     │  ├─ Apple-Program.md
   │  │     │  └─ Open-Source.md
   │  │     └─ Project-Manage.md
   │  ├─ index.md
   │  └─ public
   │     └─ Background.jpg
   ├─ package-lock.json
   ├─ package.json
   └─ README.md
To make this project tree is simple, in Vscode install project tree extension. By using (Ctrl + Shift + P) this creates a README file in the project with the tree of the entire project.
Git Clone
First copy the URL of the Github repository under <> Code ex: https://github.com/UNNC-Fab/2025-2-simon Then open terminal and type following command, remember to fill in your own github
git clone https://github.com/UNNC-Fab/2025-2-simonOnce done type cd project name and then code .-r to open cloned project from Github in Vscode
Vitepress
npm add -D vitepressThis will generate a node_modules folder. 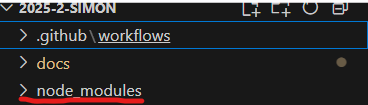
Next run following command to start building project:
npx vitepress initWith this a blank website is built, to add things in lets start with a template.
Vitepress builds through a file called config.mts under docs/.vitepress
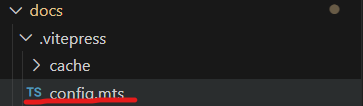
Details of my config page is following:
import { defineConfig } from 'vitepress'

// https://vitepress.dev/reference/site-config
export default defineConfig({
  title: "My Fablab Project",
  description: "A VitePress Site",
  base: '/2025-2-simon/',
  themeConfig: {
    // https://vitepress.dev/reference/default-theme-config
    nav: [
      { text: 'Home', link: '/' },
      { text: 'Course', link: '/Project-Manage' },
      { text: 'Homework', link: '/Open-Source' }
    ],

    sidebar: [
      {
        text: 'Course',
        items: [
          { text: 'Project Manage', link: '/Project-Manage' },
          { text: 'Arduino', link: '/Arduino' },
        ]
      },
        {
        text: 'Homework',
        items: [
          { text: 'Open Source', link: '/Open-Source' },
          { text: 'Progamming Sowftware Apple', link: '/Apple-Program' },
        ]
      }

    ],

    socialLinks: [
      { icon: 'github', link: 'https://github.com/vuejs/vitepress' }
    ]
  }
})
In addition index.md file:
---
# https://vitepress.dev/reference/default-theme-home-page
layout: home

hero:
  name: "My Fablab Project"
  text: "A VitePress Site"
  tagline: Simon Li
  image:
    light: https://image-processor-storage.s3.us-west-2.amazonaws.com/images/281c2d4581ed27c8a258b0e79bc504ad/halo-of-neon-ring-illuminated-in-the-stunning-landscape-of-yosemite.jpg
    dark: https://d1hjkbq40fs2x4.cloudfront.net/2020-12-04/files/1.jpg
    style:
      width: '2000px'
      height: 'auto'

features:
  - title: HTML Web Design
    details: Course details
  - title: TBD
    details: N/A
  - title: TBD
    details: N/A
---
Results shown below: 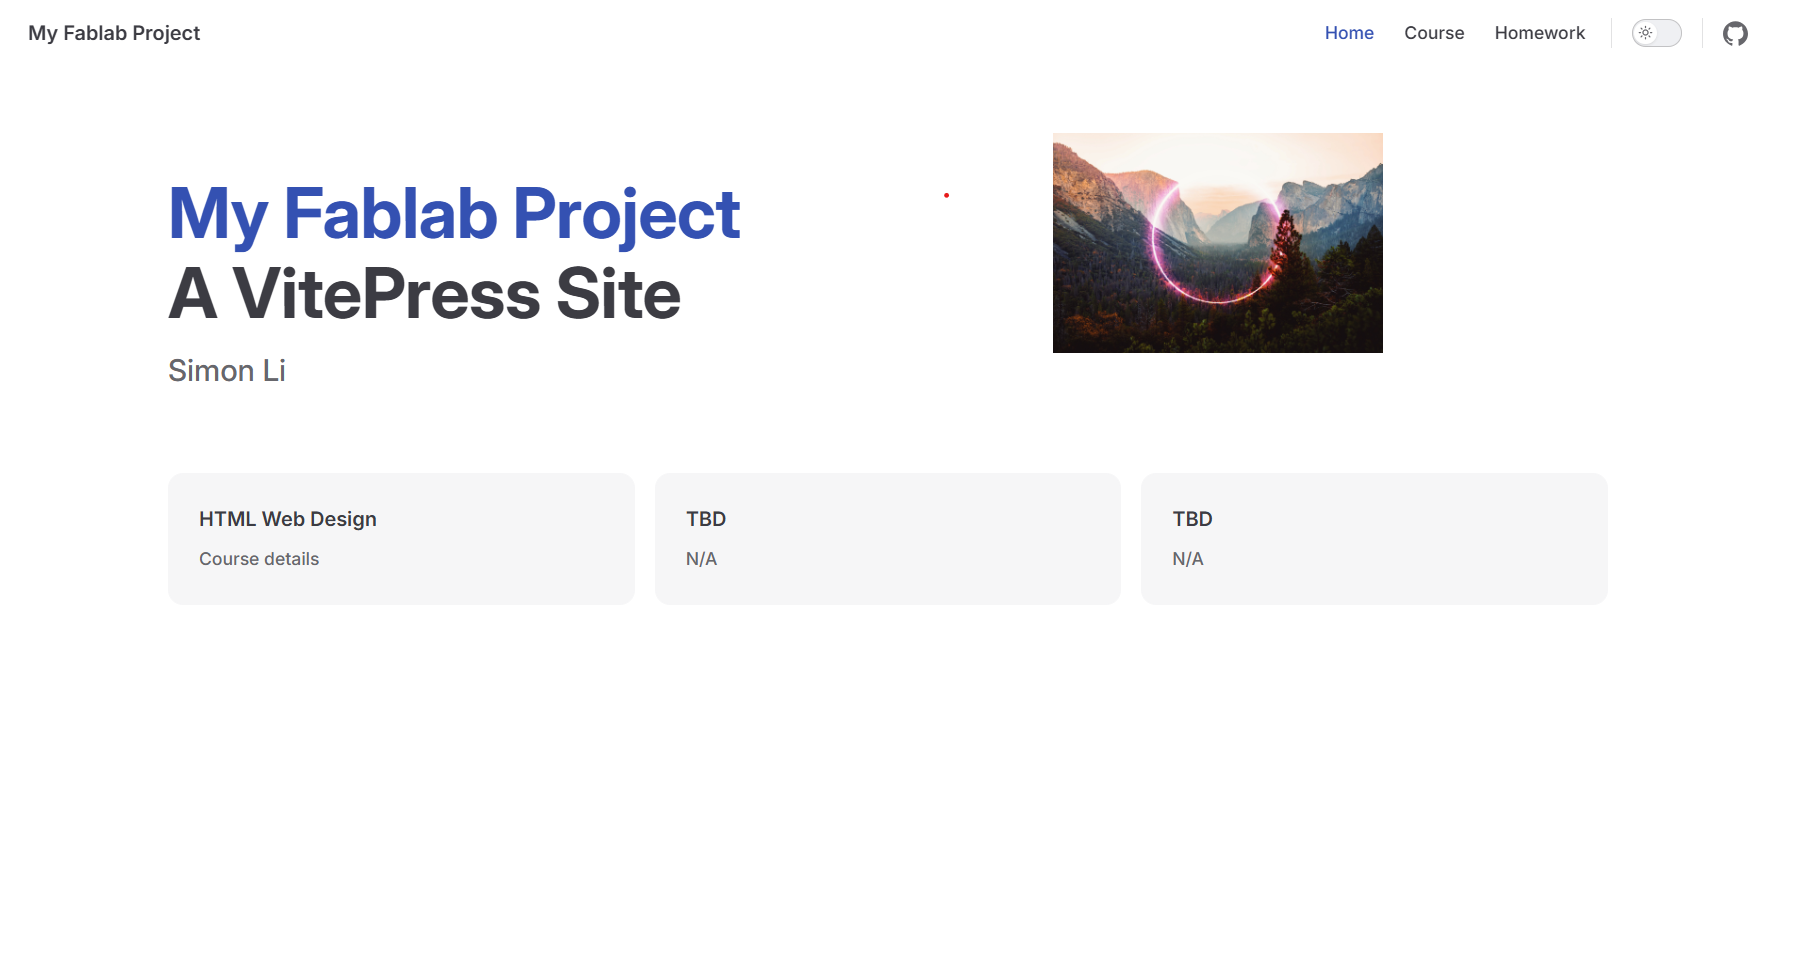
Deploy to GitHub
There are two ways to push changes to Github
- Use Git to commit and push change to repository of GiHub
git add --all    # Add all changes
git commit -m "v1"    # Commit changes
git push origin main # Push changes to GitLab- Use GitHub desktop to push changes. First thing is to create a new folder called .github\workflows and create a new file named deploy.yml
 Then proceed to add following code into deploy.yml
name: Deploy VitePress site to Pages

on:
  push:
    branches: [main]

  workflow_dispatch:

permissions:
  contents: read
  pages: write
  id-token: write

concurrency:
  group: pages
  cancel-in-progress: false

jobs:

  build:
    runs-on: ubuntu-latest
    steps:
      - name: Checkout
        uses: actions/checkout@v4
        with:
          fetch-depth: 0 # 如果未启用 lastUpdated,则不需要

      - name: Setup Node
        uses: actions/setup-node@v4
        with:
          node-version: 22.14.0
          cache: npm
      - name: Setup Pages
        uses: actions/configure-pages@v4
      - name: Install dependencies
        run: npm ci
      - name: Build with VitePress
        run: npm run docs:build
      - name: Upload artifact
        uses: actions/upload-pages-artifact@v3
        with:
          path: docs/.vitepress/dist


  deploy:
    environment:
      name: github-pages
      url: ${{ steps.deployment.outputs.page_url }}
    needs: build
    runs-on: ubuntu-latest
    name: Deploy
    steps:
      - name: Deploy to GitHub Pages
        id: deployment
        uses: actions/deploy-pages@v4
Fill in summary, description and then commit to main. Afterwards push to origins changes will be uploaded to GitHub Repository. 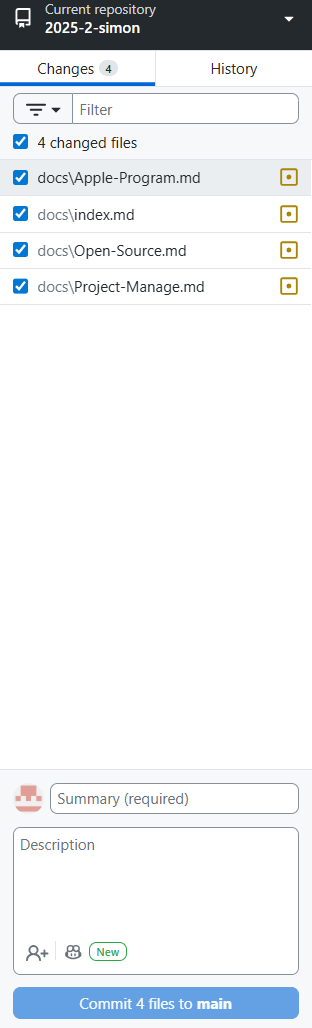
Changes to Template
With the template created from VitePress there are many things that we may want to change or delete. First of all we added html format to our index.md this way we can customize our front page more flexible. For this to work we added a style.css folder under /docs/.vitepress/cache both file data shown below.
---
home: true
sidebar: false
heroImage: ''
---
<style scoped>
/* This <style scoped> applies ONLY to this page */
.home-page {
position: fixed;
top: 0;
left: 0;
width: 100vw;
height: 100vh;
background-image: url('/Background.jpg');
background-size: cover;
background-position: center;
background-repeat: no-repeat;
background-attachment: fixed;
z-index: 0;
}
.hero {
position: fixed;
top: 0;
left: 0;
width: 100vw;
height: 100vh;
display: flex;
align-items: center;
justify-content: center;
color: white;
font-size: 3rem;
font-weight: bold;
text-shadow: 0 0 10px rgba(0,0,0,0.7);
z-index: 1;
pointer-events: none;
}
.hero-text {
pointer-events: auto;
}
</style>
<div class="home-page"></div>
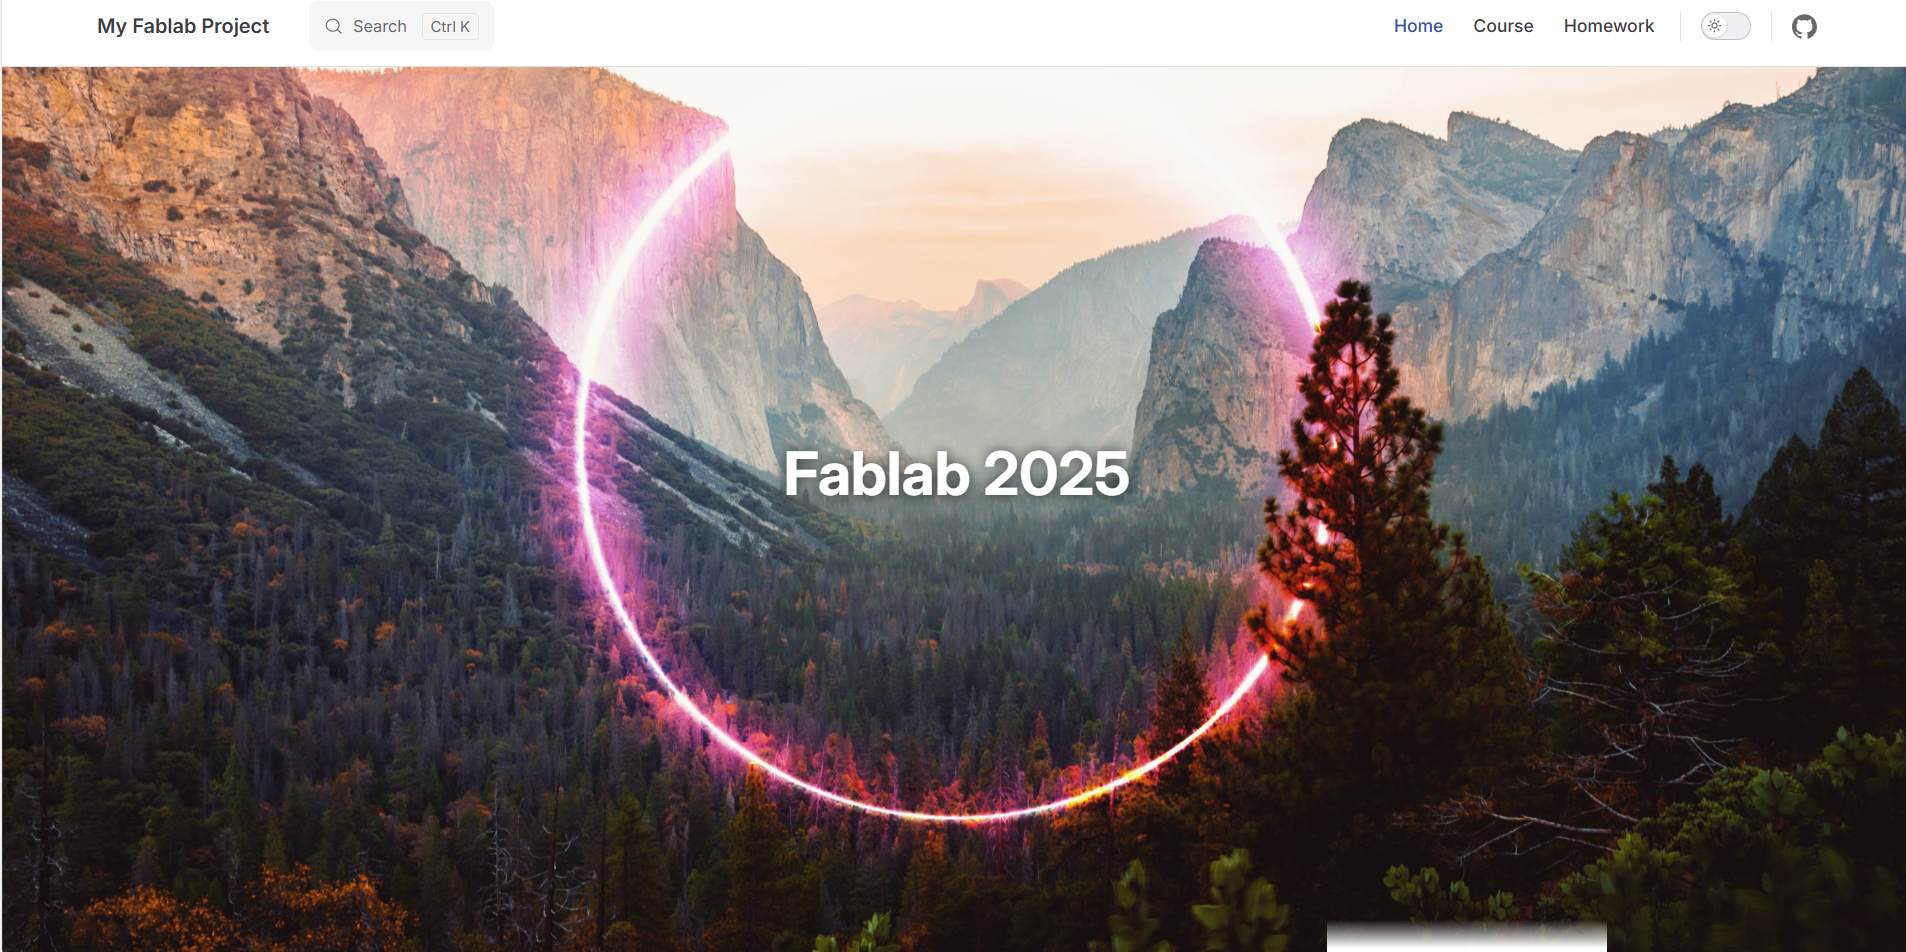
<div class="hero">
<div class="hero-text">Fablab 2025</div>
</div>/* Hide sidebar on homepage */
.Layout[data-page-type="home"] .VPSidebar,
.vp-doc[data-page-type="home"] + .VPSidebar,
body:has([data-frontmatter*="home: true"]) .VPSidebar {
display: none !important;
}
/* Make content full width on homepage */
.Layout[data-page-type="home"] .VPContent,
.vp-doc[data-page-type="home"],
body:has([data-frontmatter*="home: true"]) .VPContent {
margin-left: 0 !important;
padding-left: 0 !important;
}
/* Your existing hero styles */
.hero {
background-image: url('https://image-processor-storage.s3.us-west-2.amazonaws.com/images/281c2d4581ed27c8a258b0e79bc504ad/halo-of-neon-ring-illuminated-in-the-stunning-landscape-of-yosemite.jpg');
background-size: cover;
background-position: center;
background-repeat: no-repeat;
height: 100vh;
color: white;
text-align: center;
backdrop-filter: brightness(0.6);
font-family: "Segoe UI", Tahoma, Geneva, Verdana, sans-serif;
text-shadow: 0 2px 8px rgba(0, 0, 0, 0.7);
display: flex;
flex-direction: column;
justify-content: center;
align-items: center;
margin: 0;
}
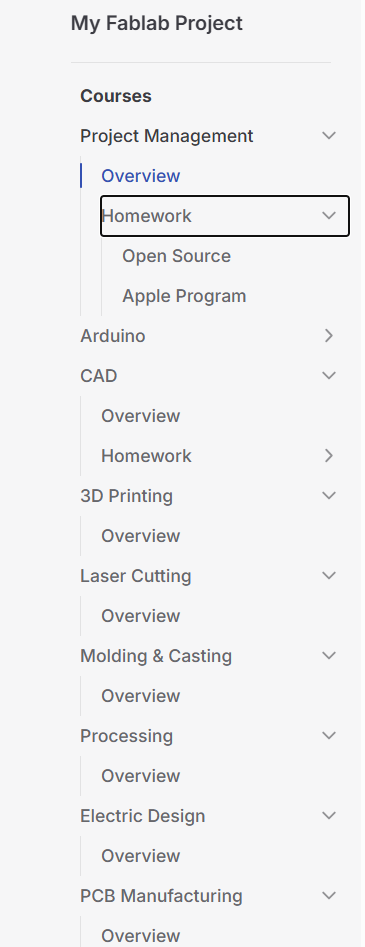
/* Rest of your existing styles... */Afterwards the task bar shown on left needed to be looped in so assignments could be shown under courses this is done in config.js, this way the sidebar can collapse and have information looped.
import { defineConfig } from 'vitepress'

export default defineConfig({
  title: "My Fablab Project",
  description: "A VitePress Site",
  base: '/2025-2-simon/',
  themeConfig: {
    search: { provider: 'local' },
    nav: [
      { text: 'Home', link: '/' },
      { text: 'Course', link: '/courses/Project_Manage/Project-Manage' },
      { text: 'Homework', link: '/courses/Project_Manage/Homework/Open-Source' }
    ],
    sidebar: [
      {
        text: 'Courses',
        items: [
          {
            text: 'Project Management',
            collapsed: false,
            items: [
              { text: 'Overview', link: '/courses/Project_Manage/Project-Manage' },
              {
                text: 'Homework',
                collapsed: true,
                items: [
                  { text: 'Open Source', link: '/courses/Project_Manage/Homework/Open-Source' },
                  { text: 'Apple Program', link: '/courses/Project_Manage/Homework/Apple-Program' }
                ]
              }
            ]
          },
          {
            text: 'Arduino',
            collapsed: true,
            items: [
              { text: 'Overview', link: '/courses/Arduino/Arduino' },
              {
                text: 'Homework',
                collapsed: true,
                items: [
                  { text: 'Assessment', link: '/courses/Arduino/Homework/Assessment-2' },
                  { text: 'Arduino Lights', link: '/courses/Arduino/Homework/Arduino-Lights' },
                ]
              }
            ]
          },
          {
            text: 'CAD',
            collapsed: false,
            items: [
              { text: 'Overview', link: '/courses/CAD/CAD' },
              {
                text: 'Homework',
                collapsed: true,
                items: [
                  { text: 'Assessment', link: '/courses/CAD/Homework/Assessment-3' },
                ]
              }
            ]
          },
          {
            text: '3D Printing',
            collapsed: false,
            items: [
              { text: 'Overview', link: '/courses/3D_Printing/3D-Printing' },

            ]
          },
          {
            text: 'Laser Cutting',
            collapsed: false,
            items: [
              { text: 'Overview', link: '/courses/Laser_Cutting/Laser-Cut' },

            ]
          },
          {
            text: 'Molding & Casting',
            collapsed: false,
            items: [
              { text: 'Overview', link: '/courses/Molding_Casting/Molding-Casting' },

            ]
          },
          {
            text: 'Processing',
            collapsed: false,
            items: [
              { text: 'Overview', link: '/courses/Processing/Processing' },

            ]
          },
          {
            text: 'Electric Design',
            collapsed: false,
            items: [
              { text: 'Overview', link: '/courses/Electric Design/Electric-Design' },

            ]
          },
          {
            text: 'PCB Manufacturing',
            collapsed: false,
            items: [
              { text: 'Overview', link: '/courses/PCB Manufacture/PCB' },

            ]
          },
        ]
      }
    ],
    socialLinks: [
      { icon: 'github', link: 'https://github.com/UNNC-Fab/2025-2-simon' }
    ]
  },
  head: [
    ['link', { rel: 'stylesheet', href: '/style.css' }]
  ],
})
Here is how it looks after all the changes:
Picgo
For images on webpage, we will upload them to picgo which will be linked to a seperate repository in github for images only, so when posting links created by picgo such as in formats of ! [] () it will pull image directly from that repository.
Create new repository
Log in to Github, then in the top right corner + click to create new dedicated repositoty for image bed picgo. Give it a name, choose to make it public and initialize repository. (Check Read me Box) then create repository. Then once repository is created make a new folder with any file in it. This is to ensure we have a folder where all images can be stored. 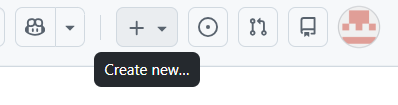
Generate Personal Access Token (PAT)
Go to profile on the top right and click settings, on the left sidebar scroll down to botttom to find <> developer settings. Click to create generate new token, either one should work. Set expiration date for token created, usually set long duration so image upload doesn't just stop working after a while. Once created copy the token link in some document and save it. Token only show once ever! 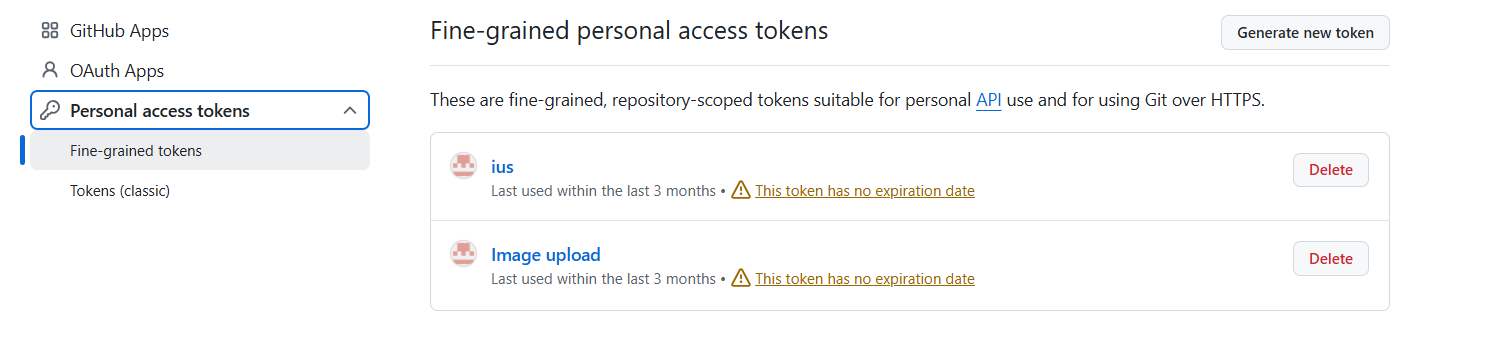
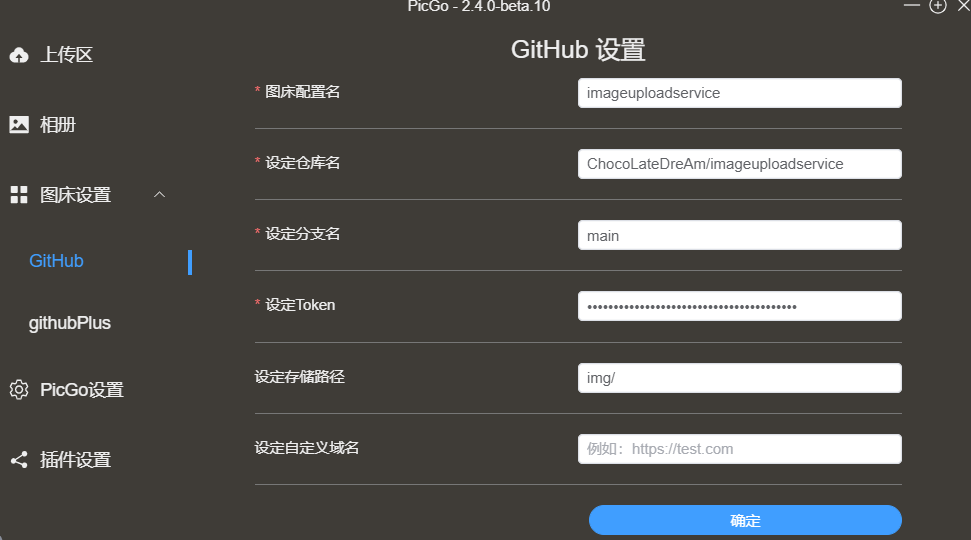
Configure Picgo
Open picgo app once downloaded. Enter Picbed Settings and select GitHub Enter following information
- Repo: Github user name and repository
- Branch: Usually main
- Token: Paste token from previous step
- Path: Image in specific folder img/ or leave blank to store in root
- Custom URL
Once steps above are completed your picgo should be set to use. When website needs photo or screenshot, upload them to picgo then under almbum you can copy link and paste it directly to VisualCode for usage.